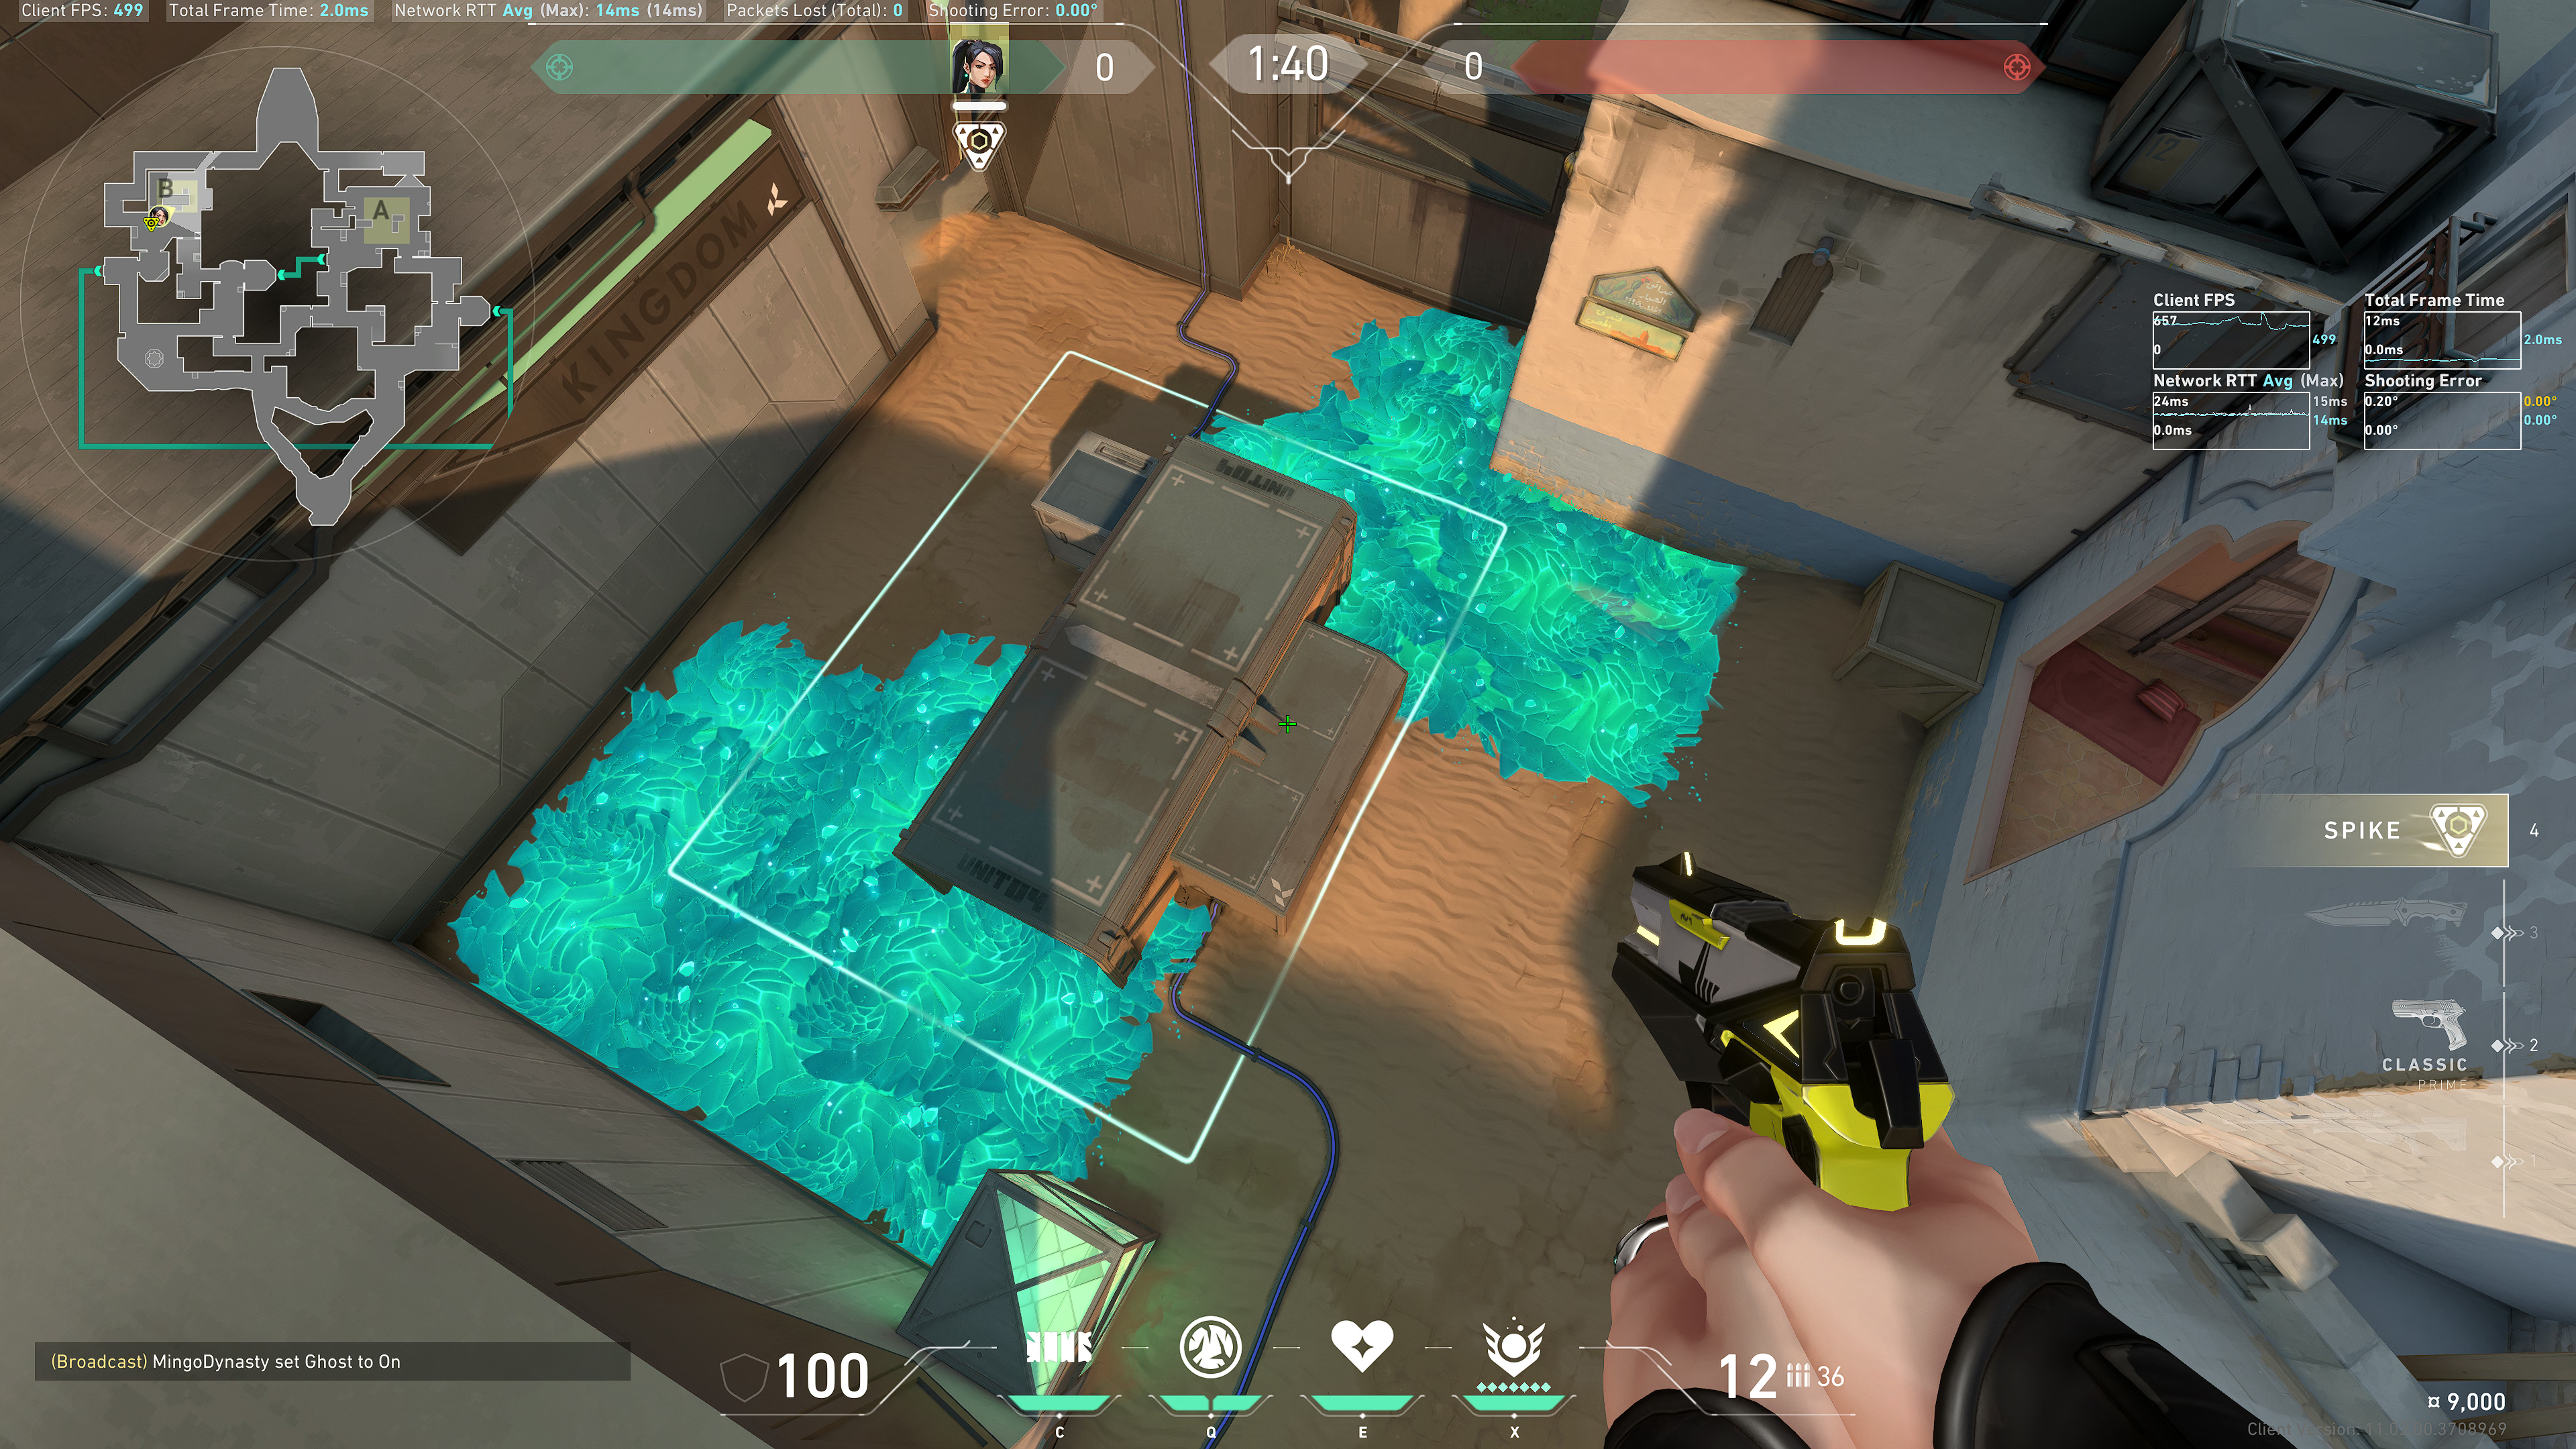
Bind
Attack
A Site
Lamps
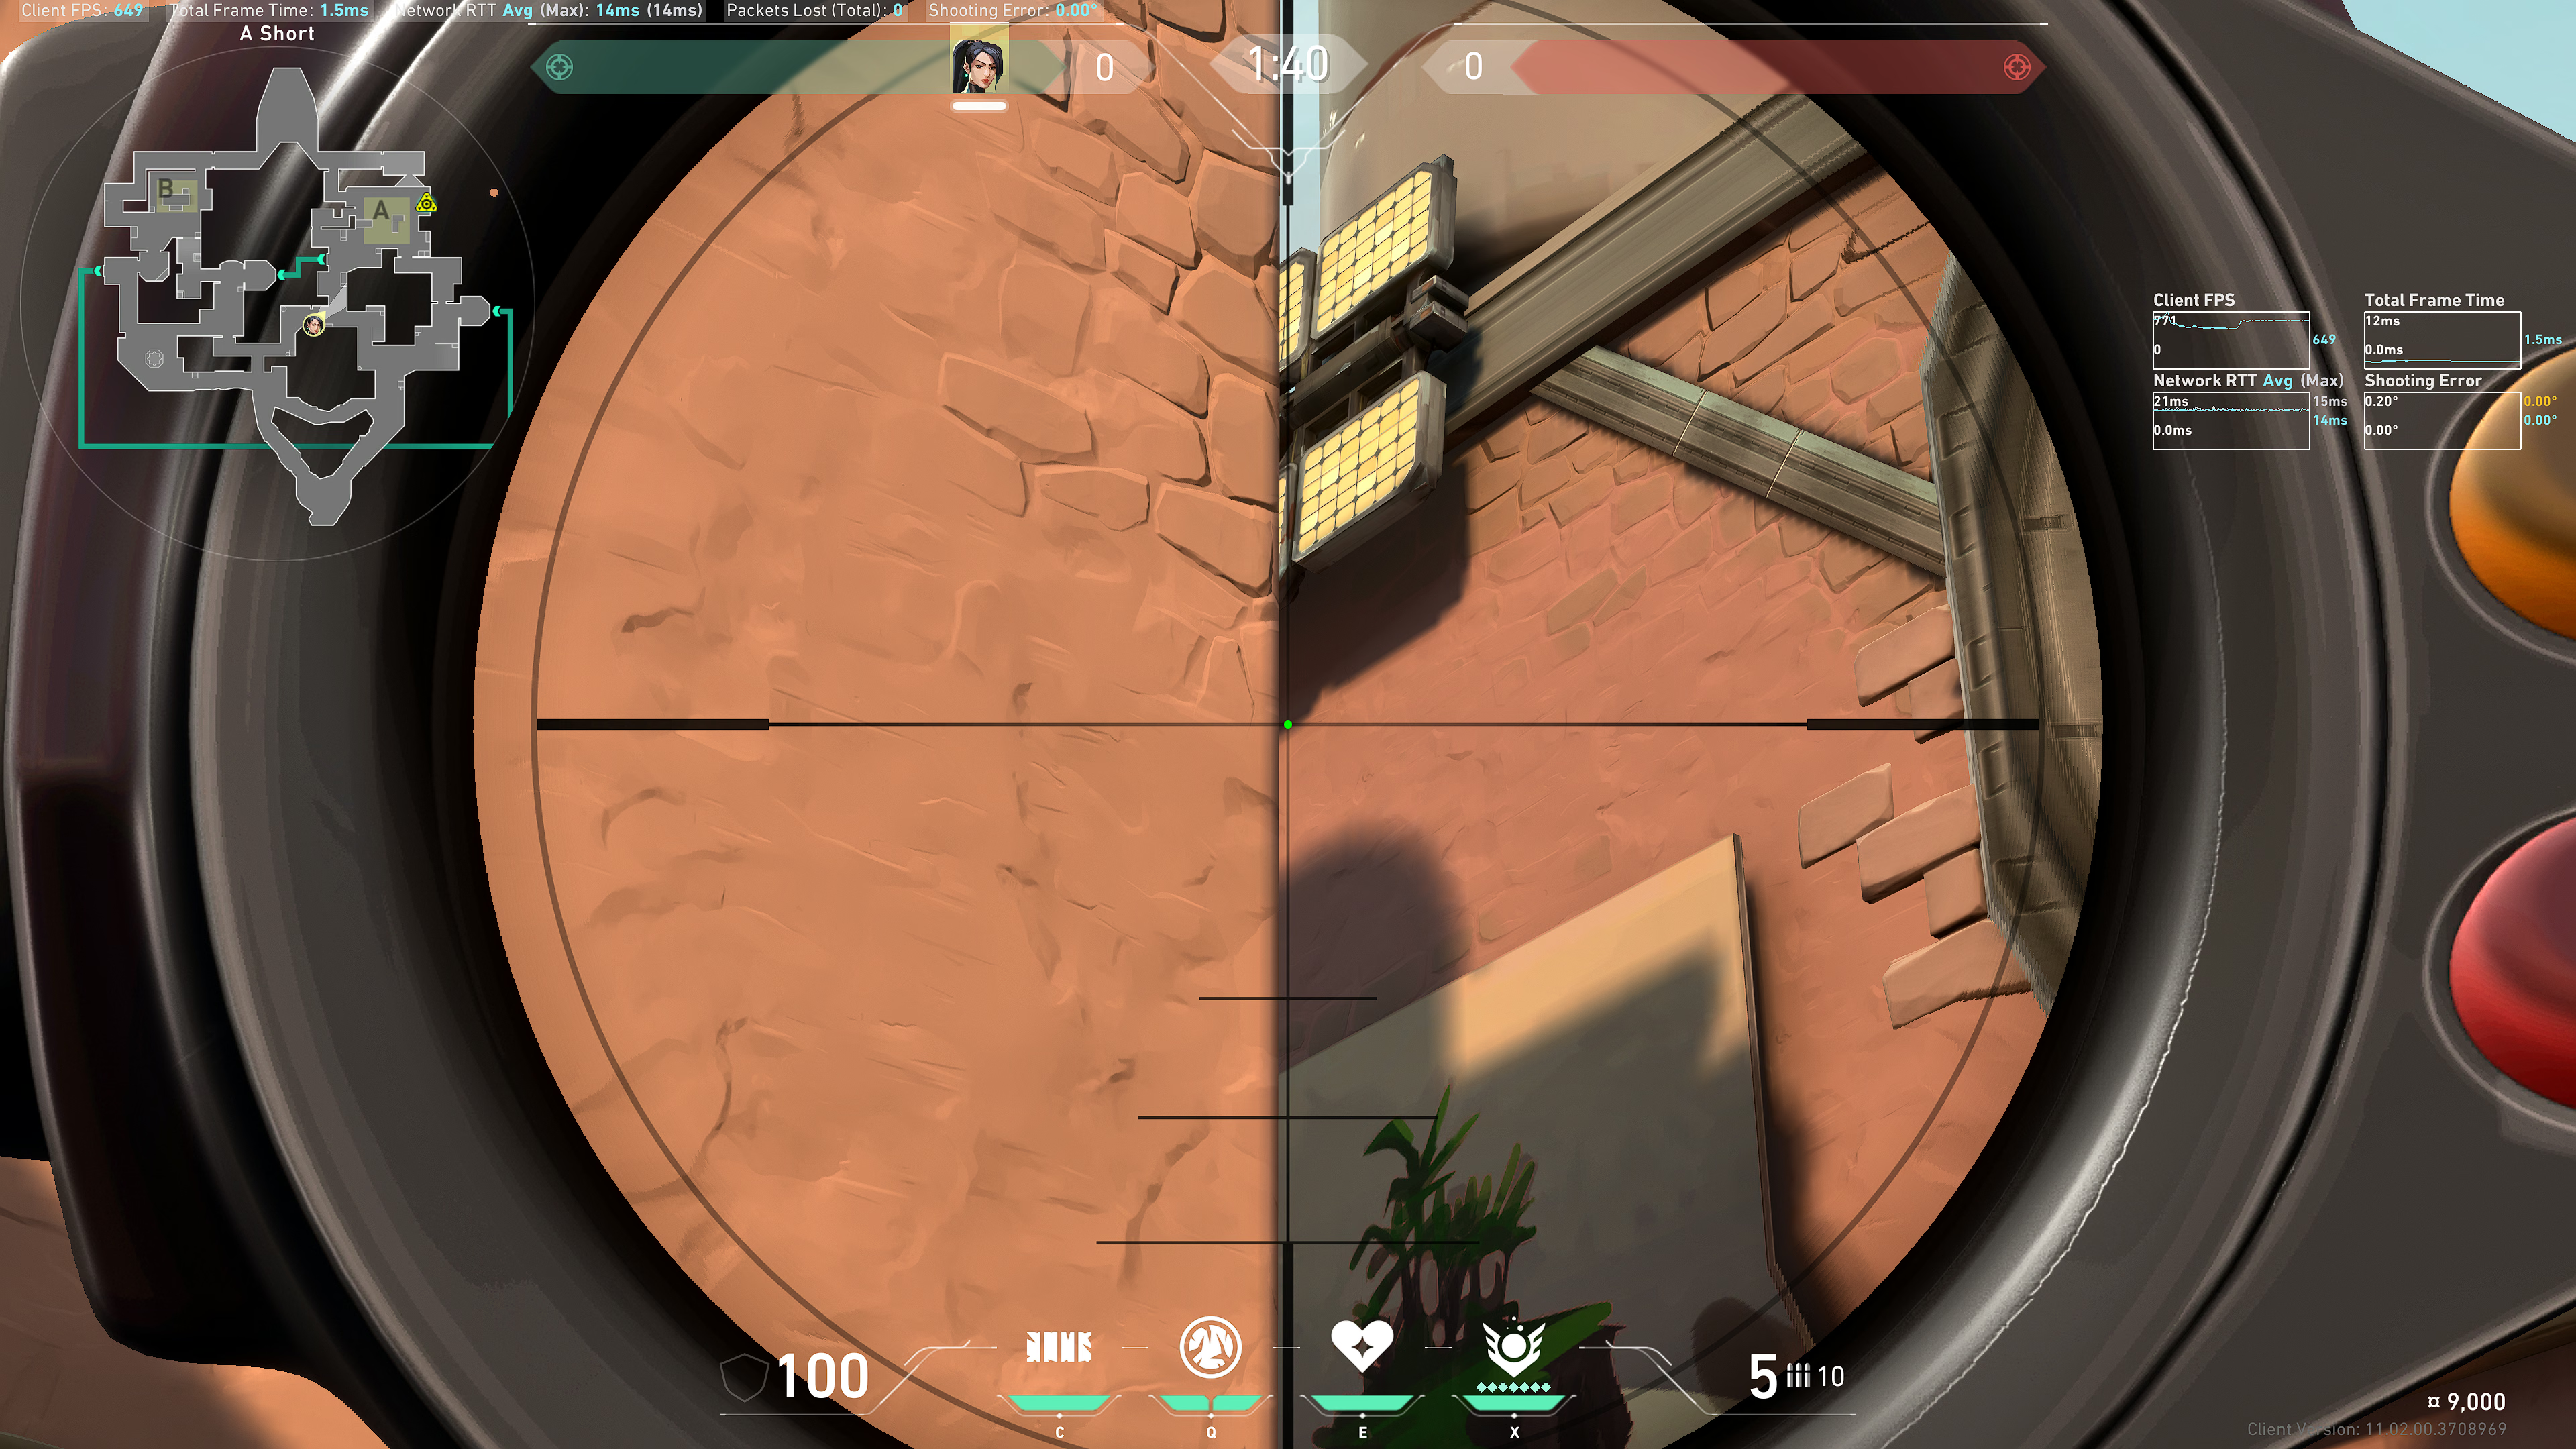
Take note of this vertical line in the bricks:
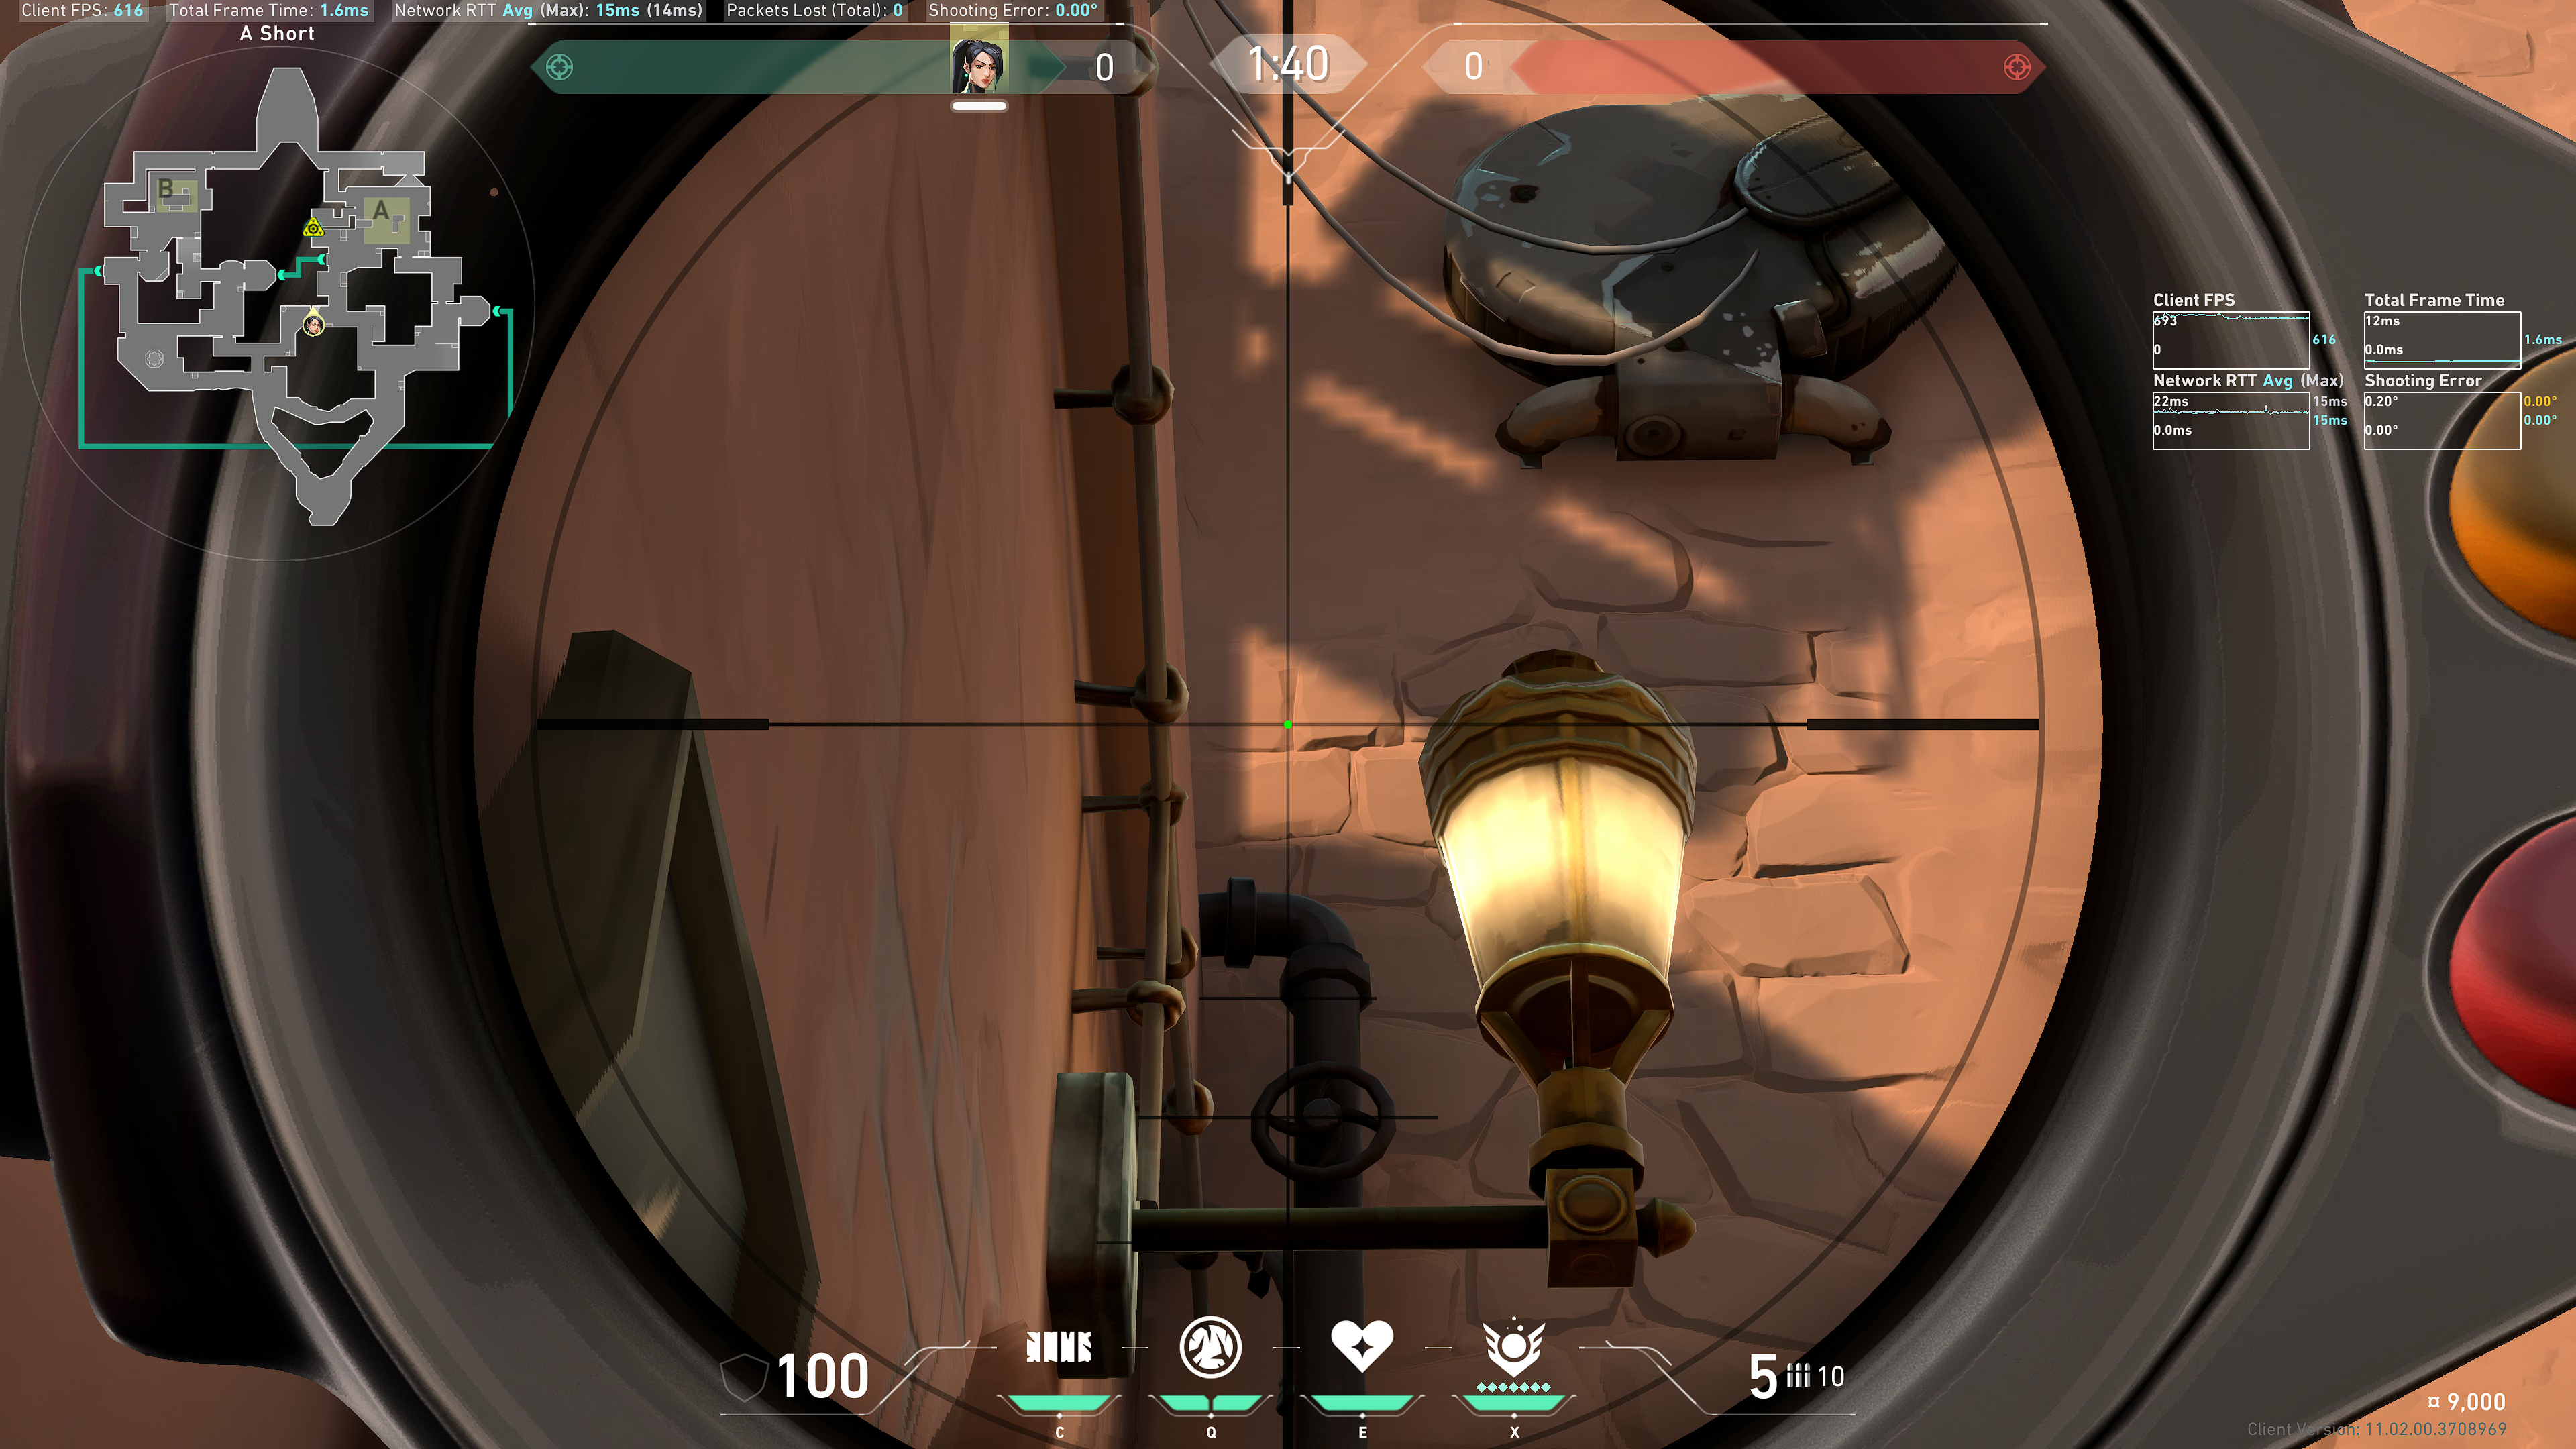
The right pointy of the Ice Orb counter outline; line this up with that vertical line in the bricks, about 1/3 of the way up:
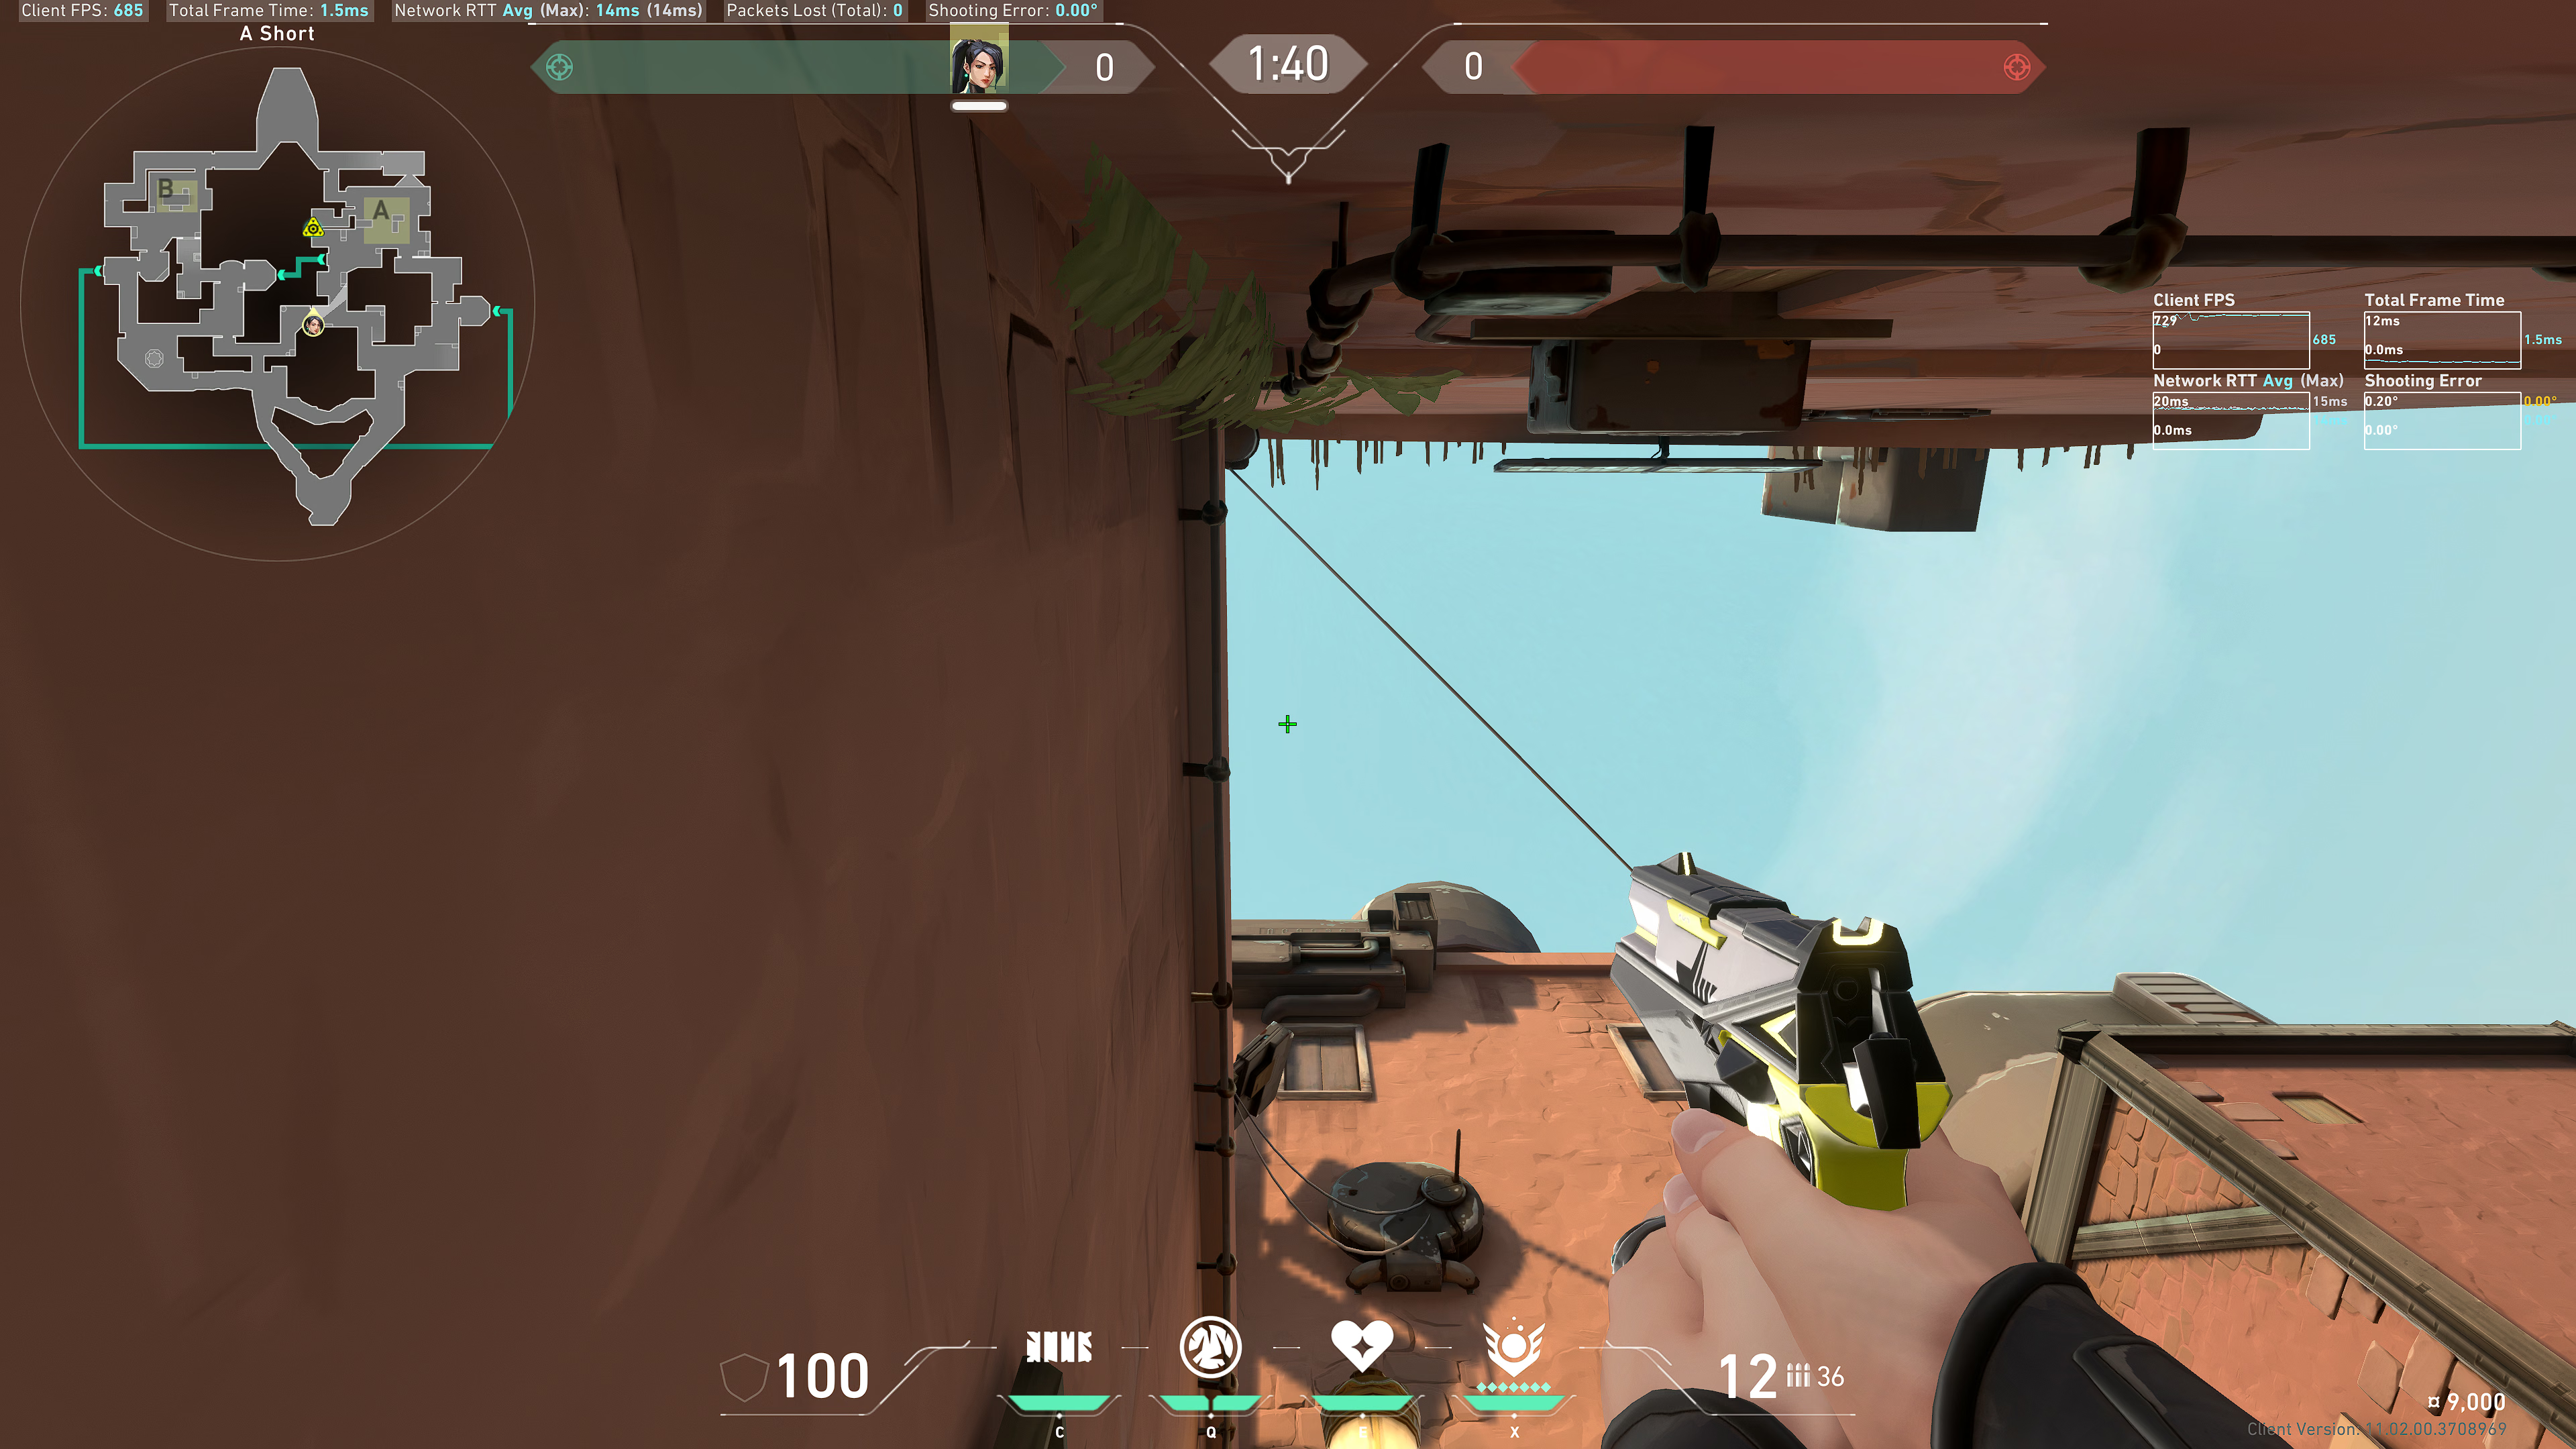
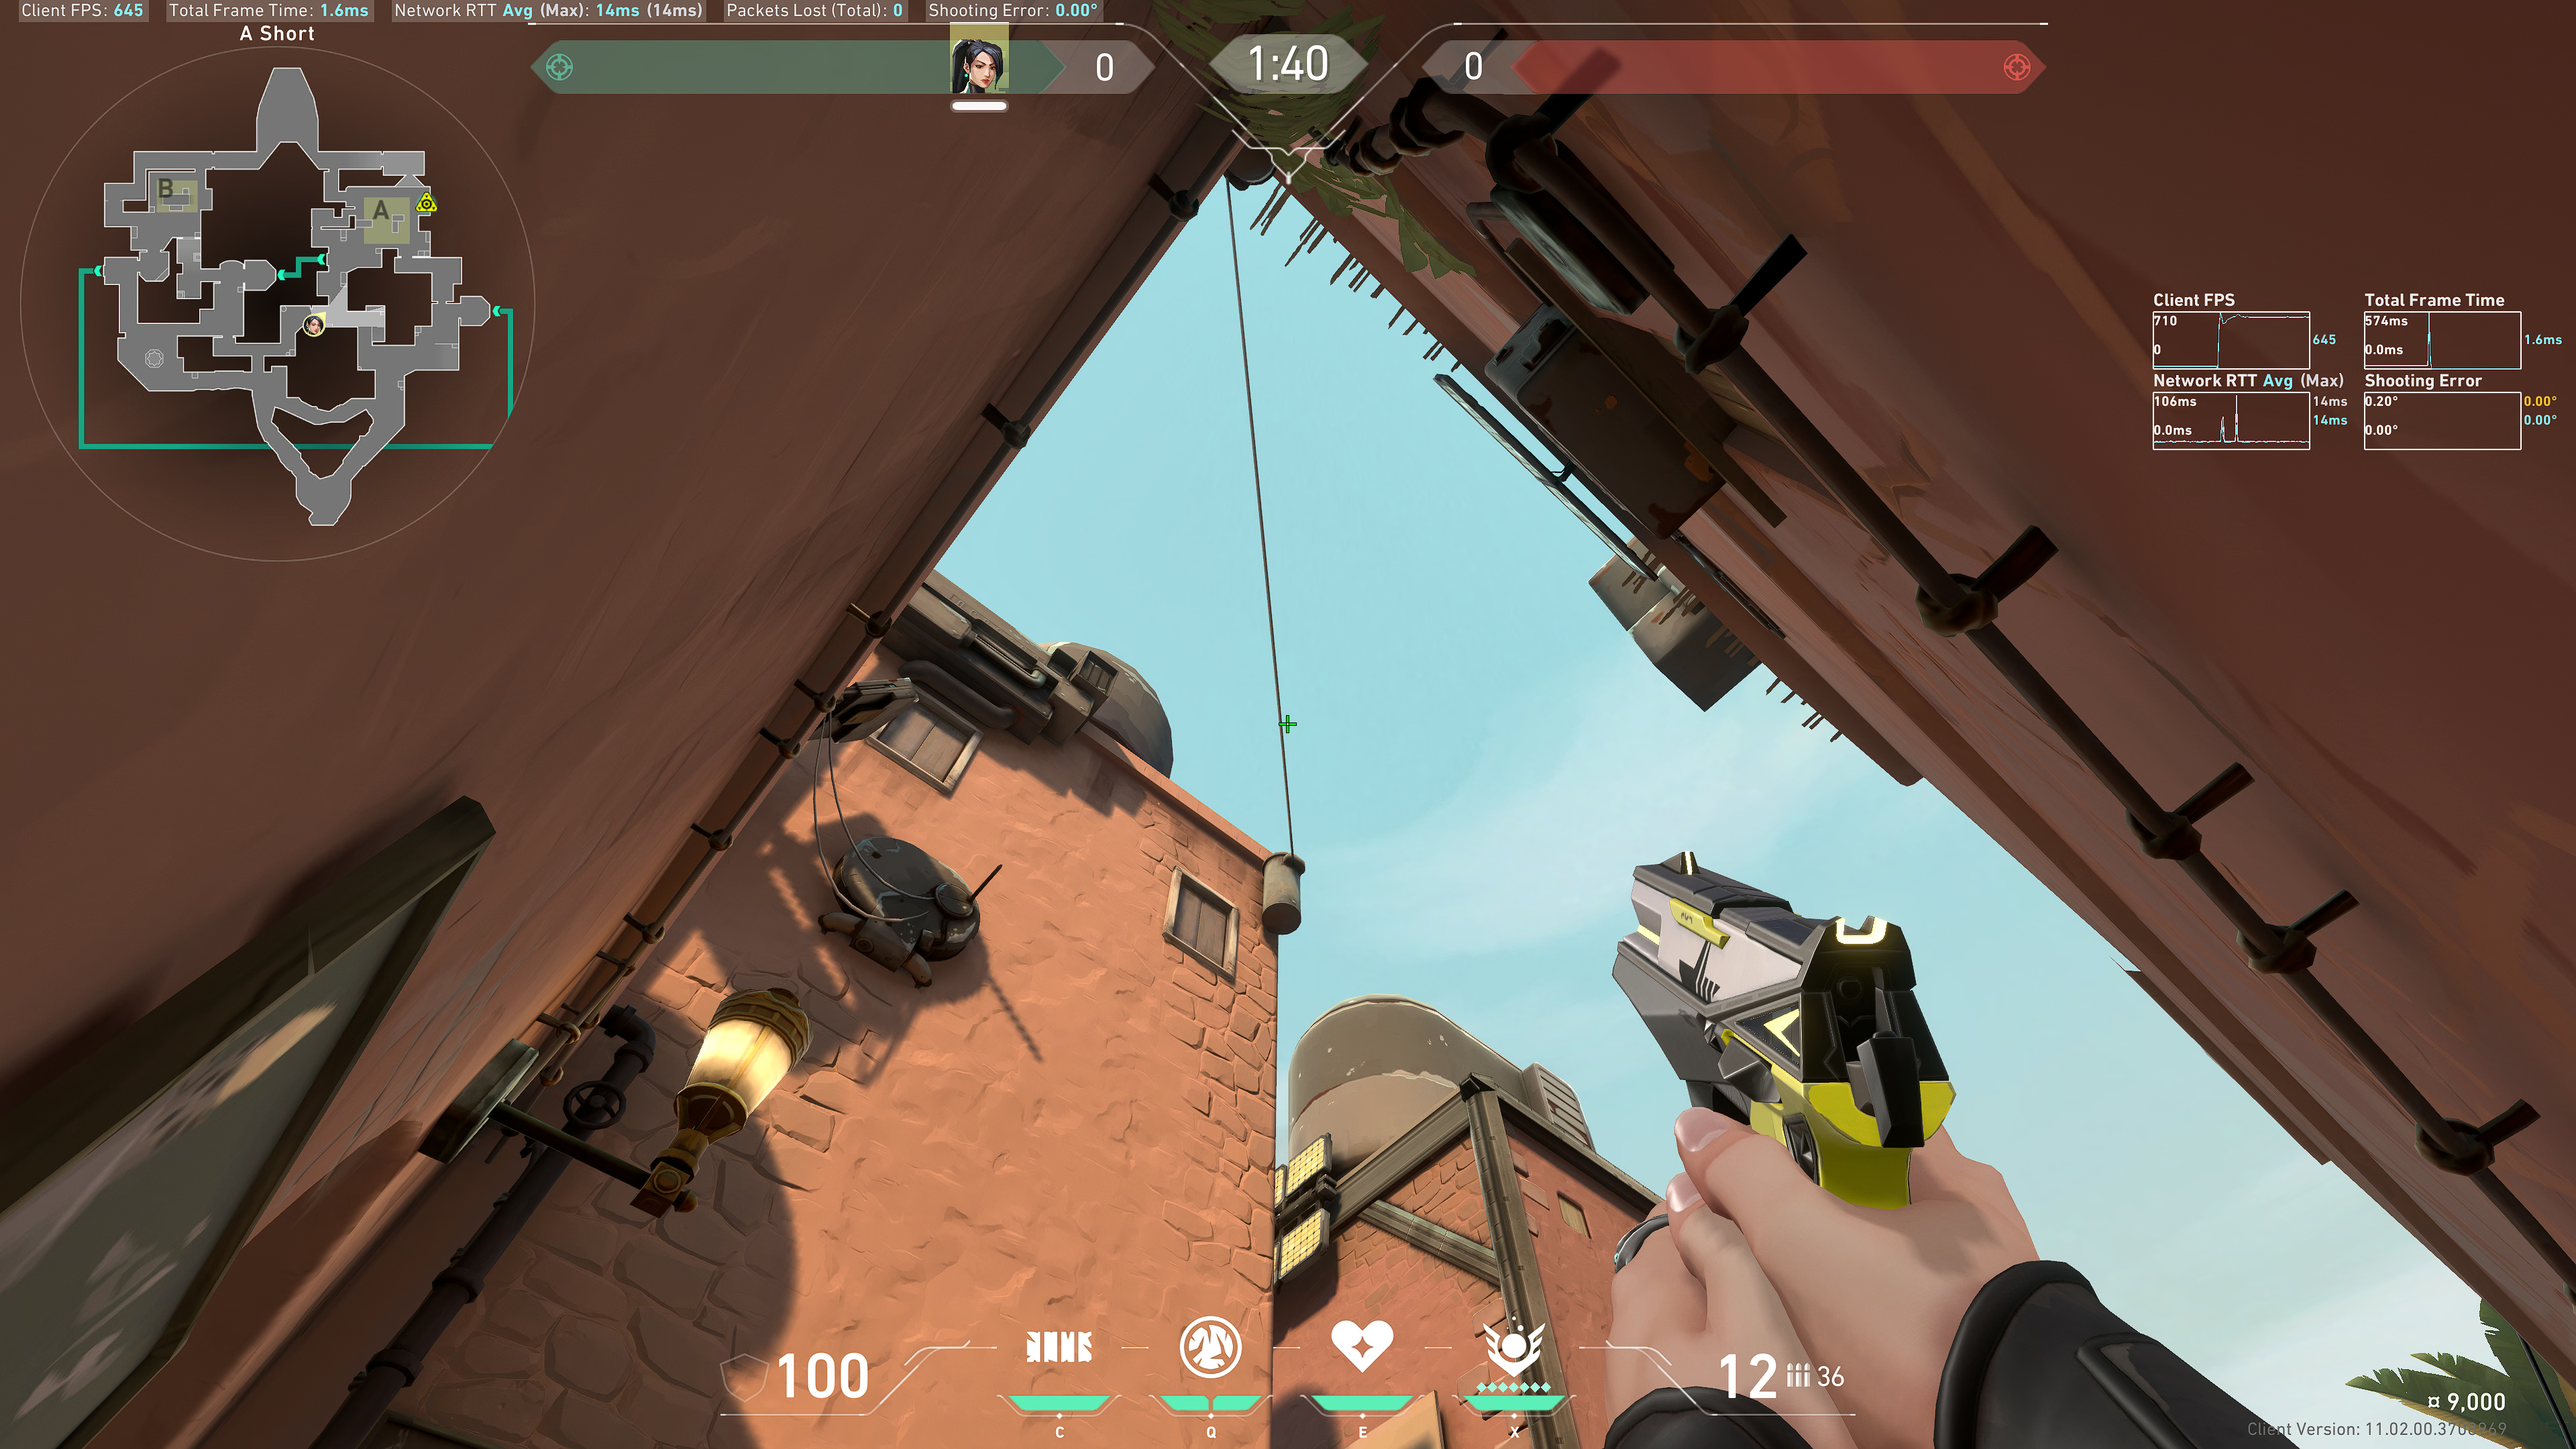
Example result:
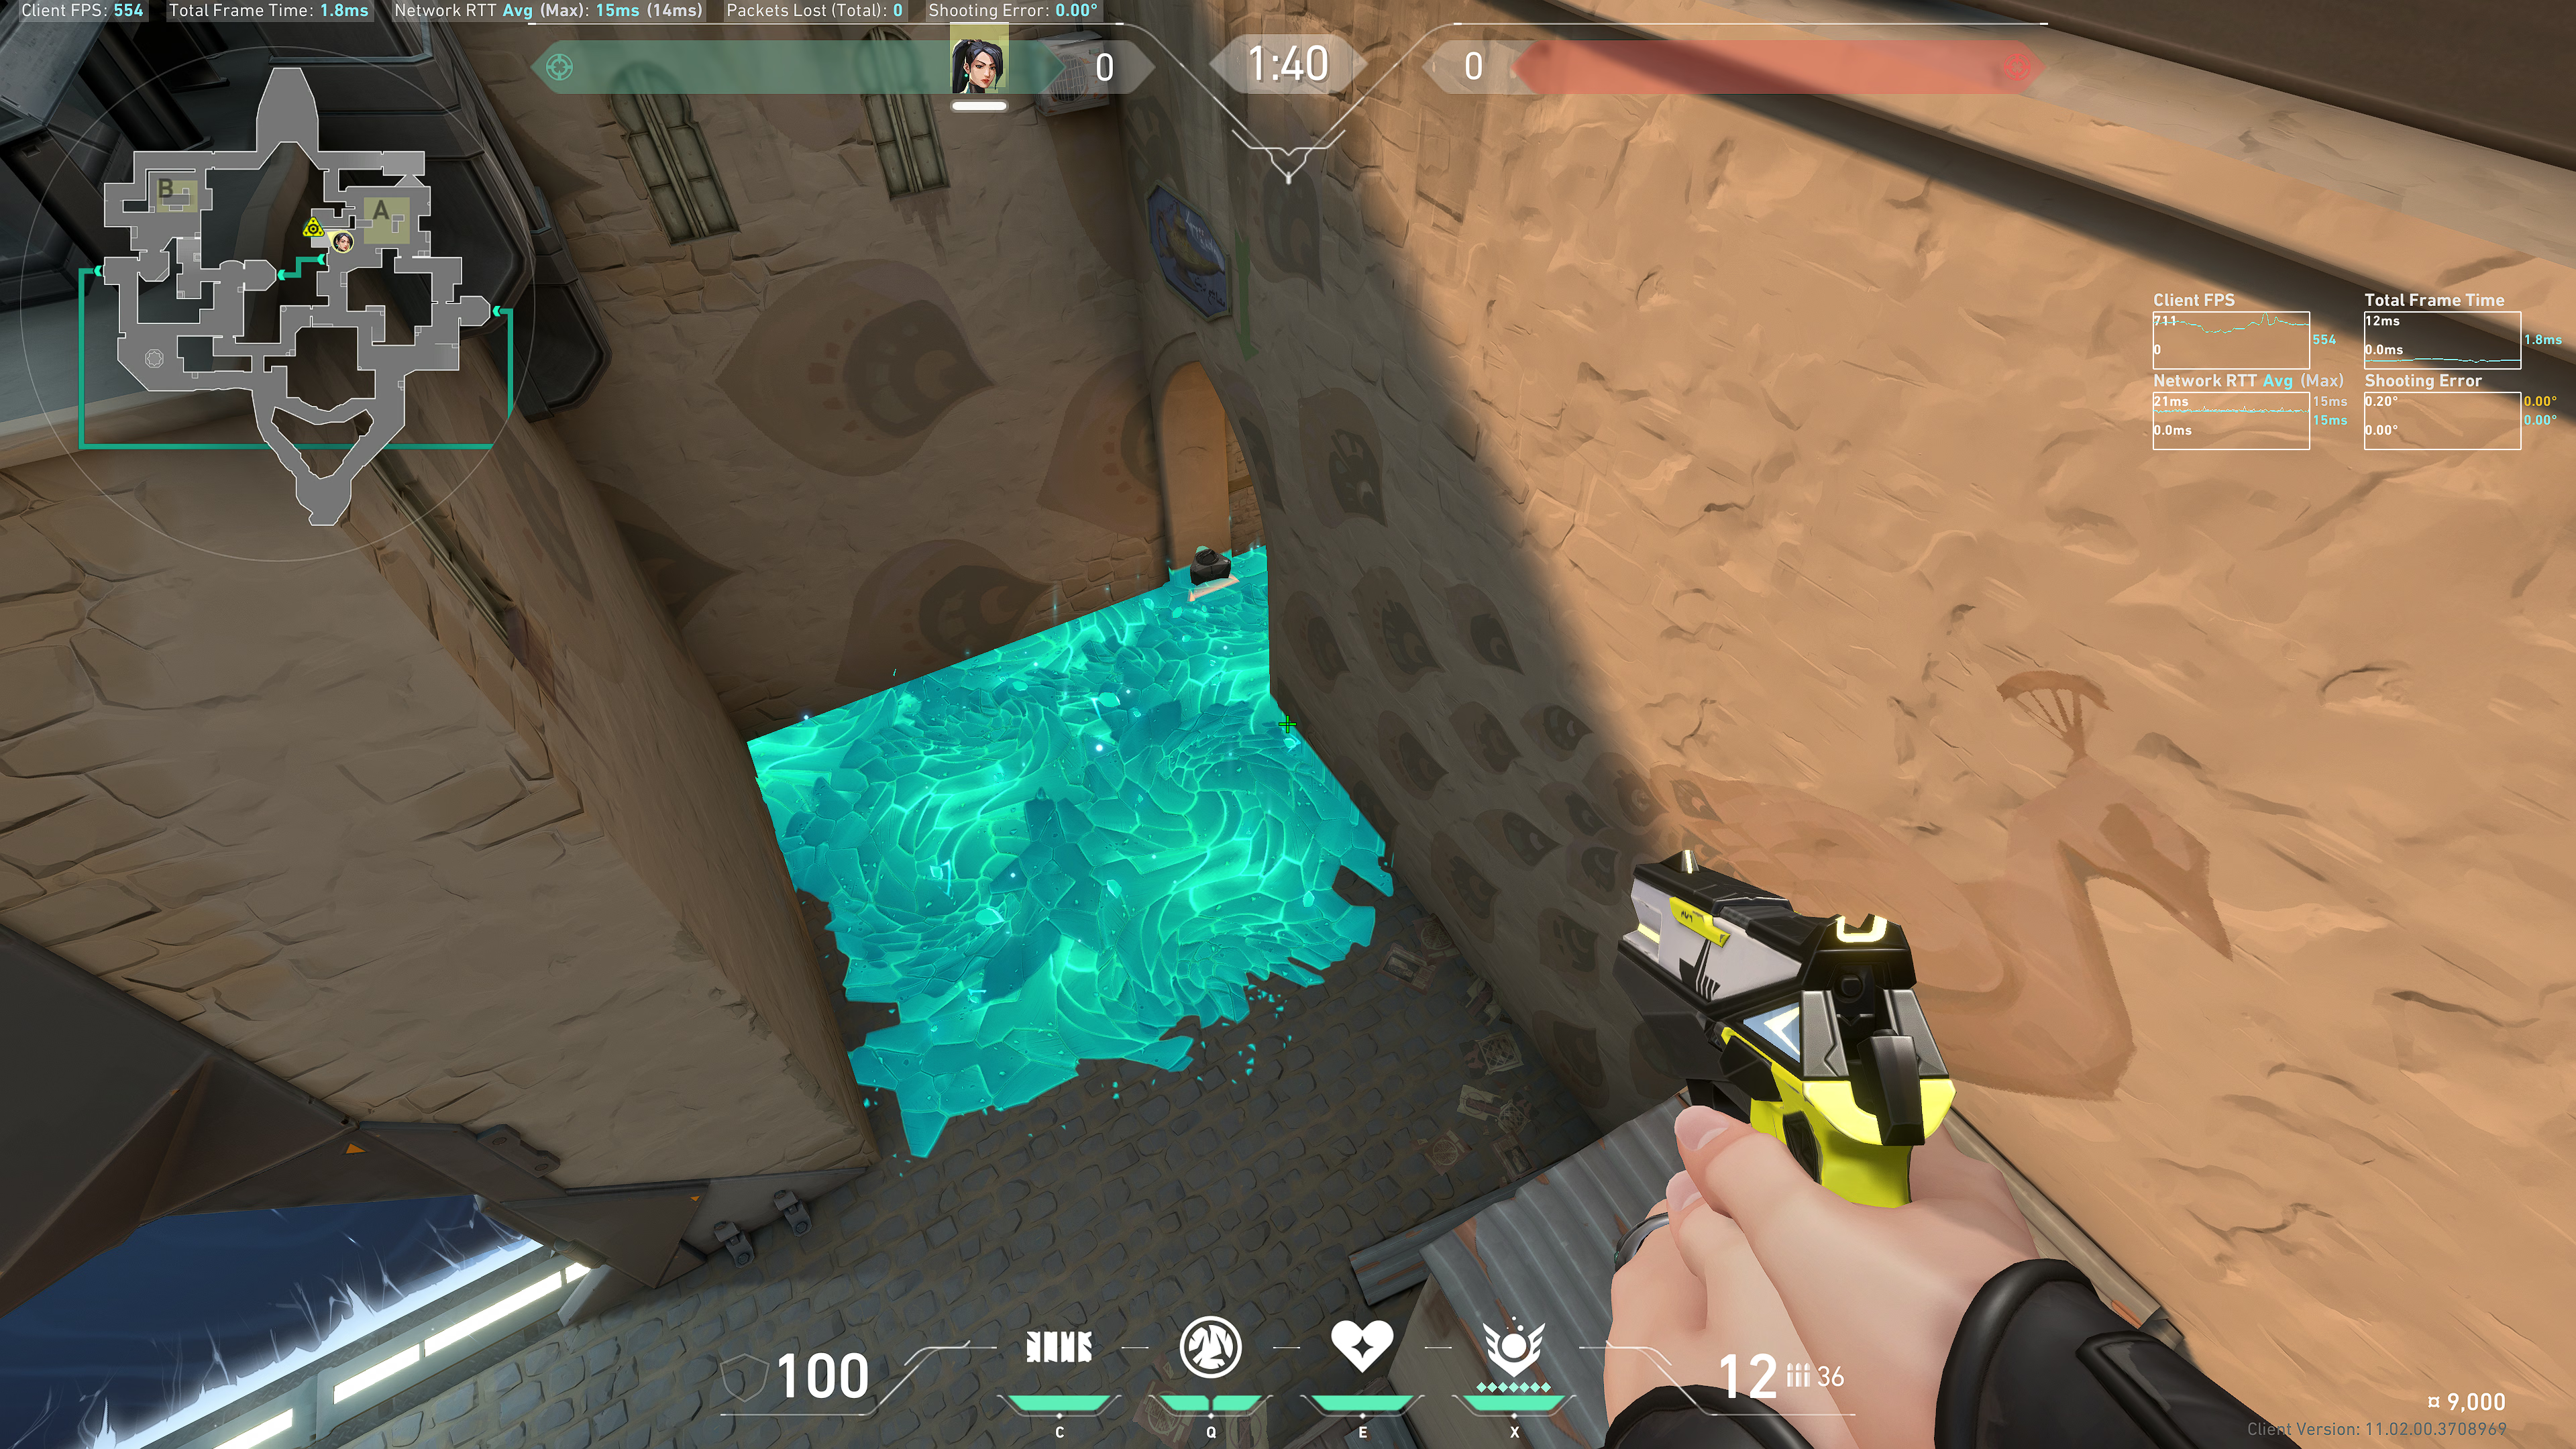
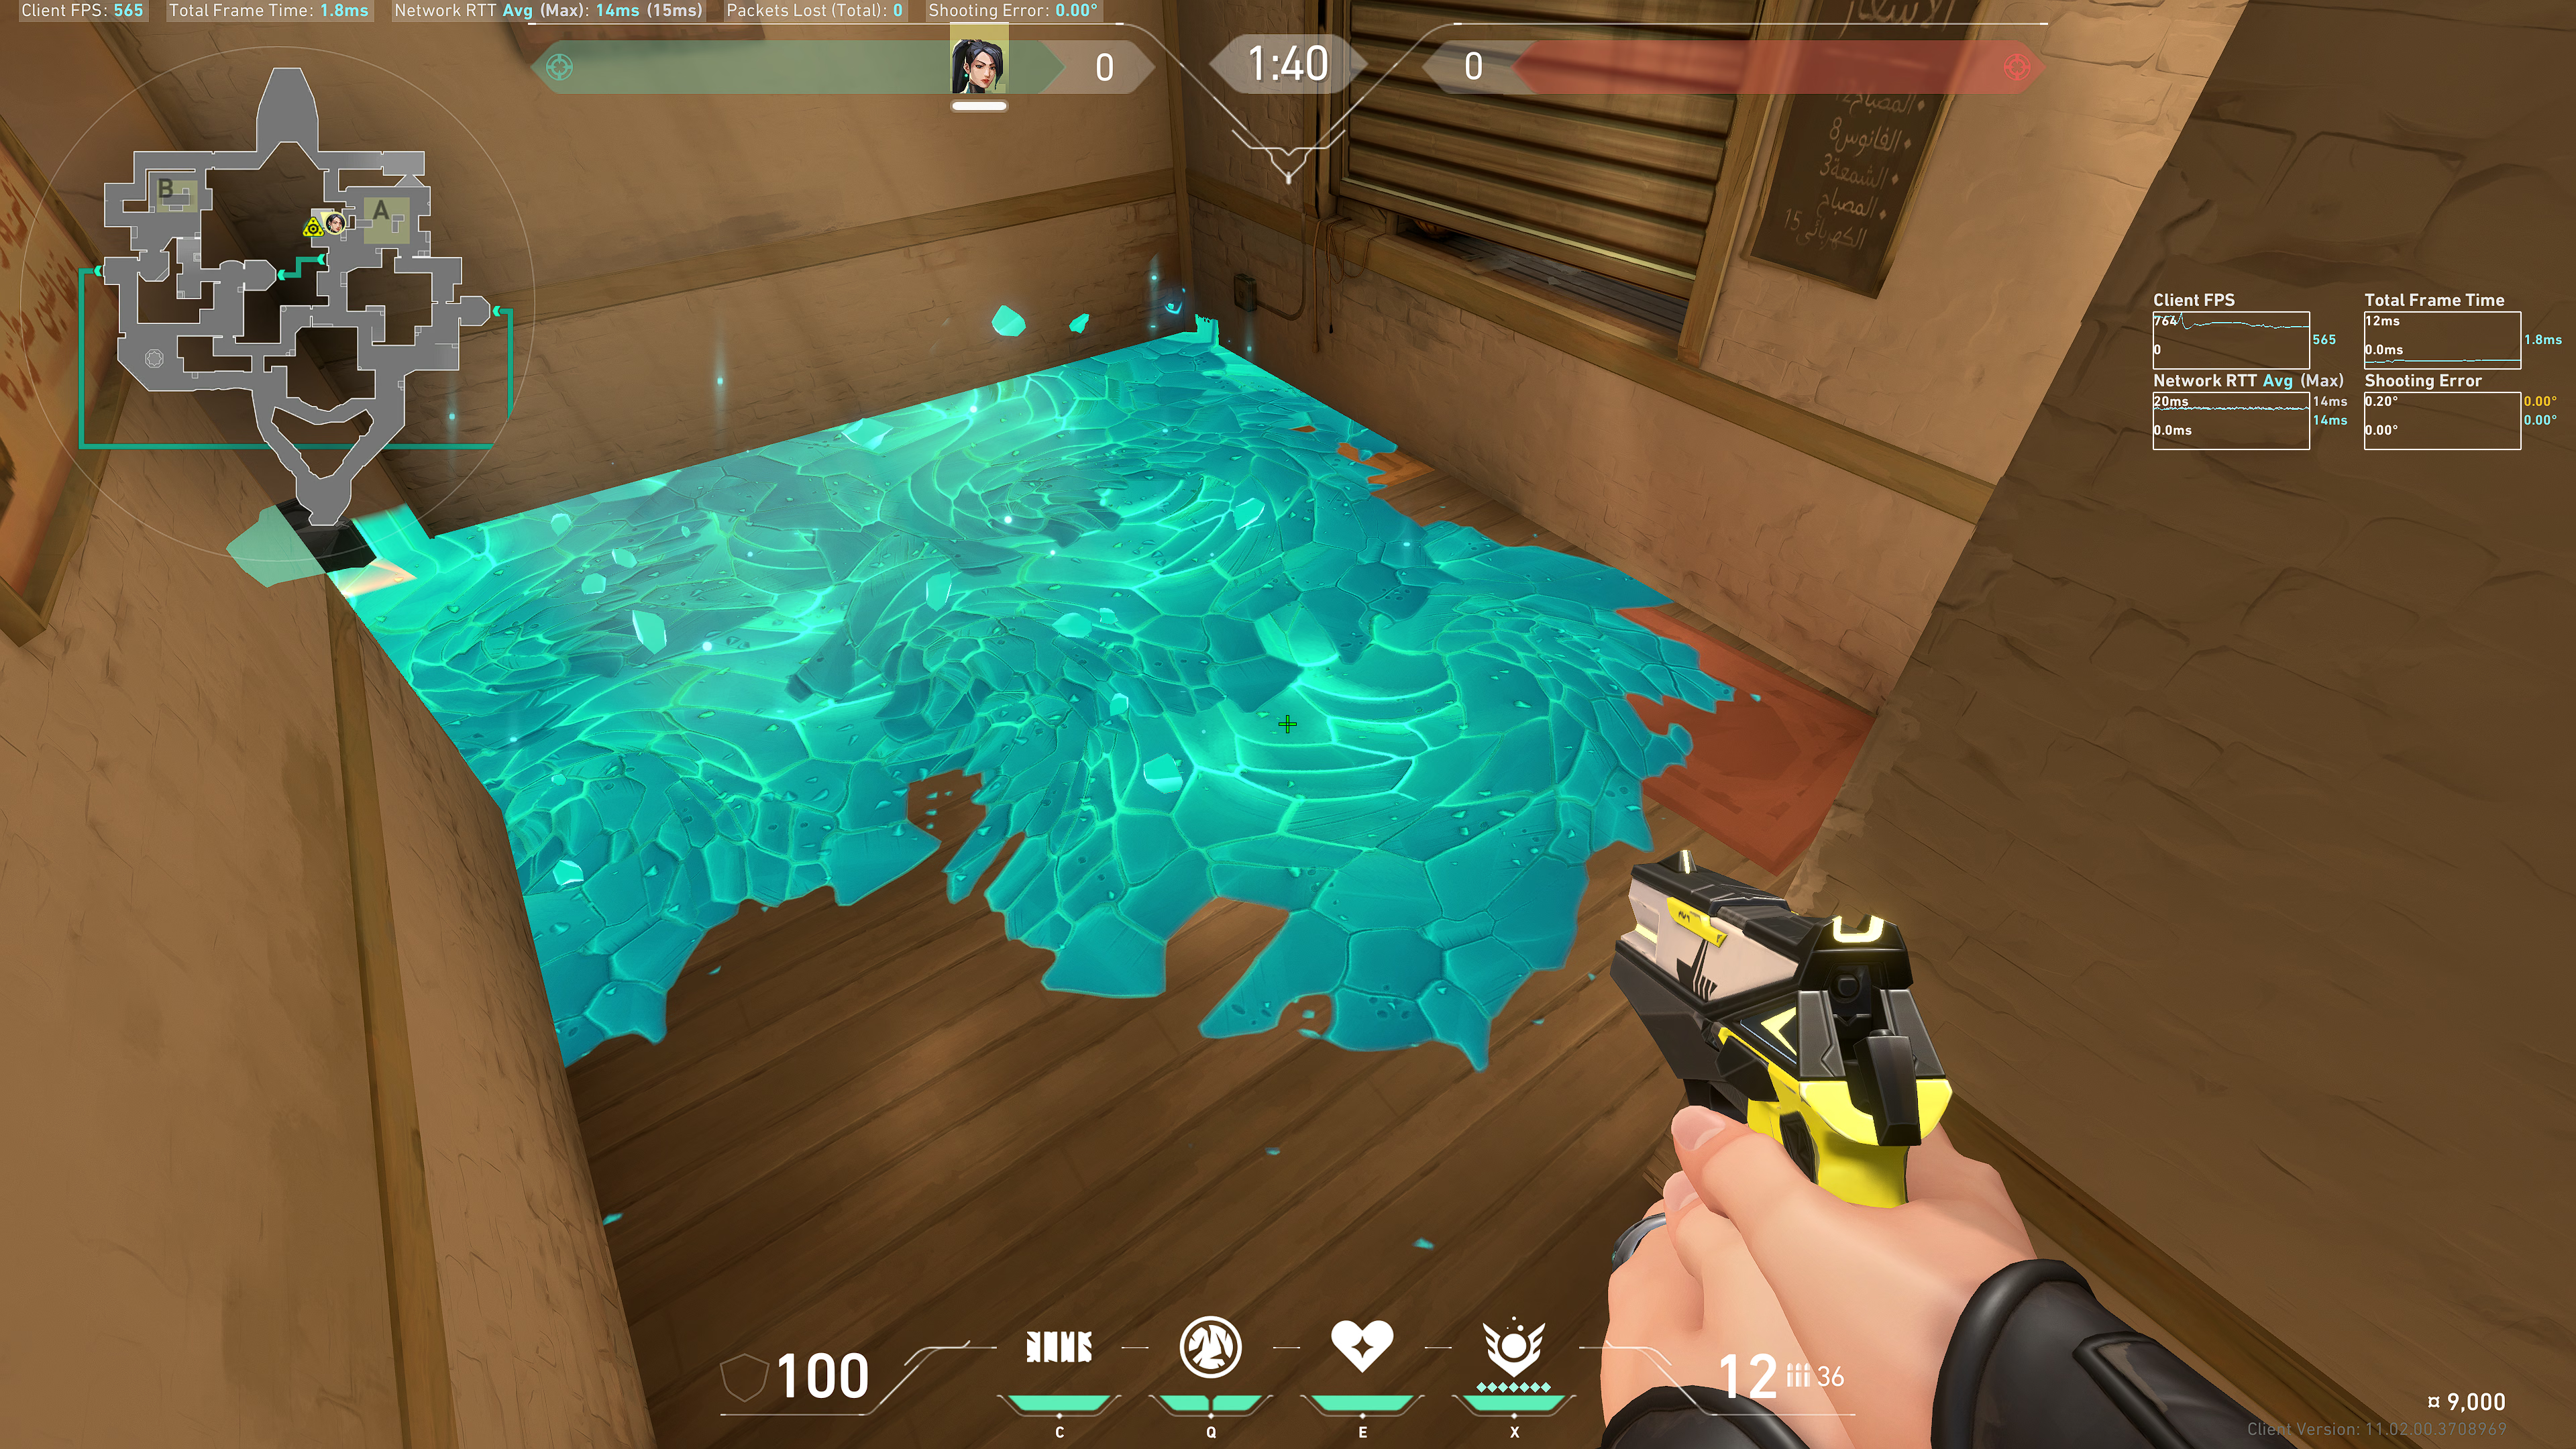
Heaven
Take note of this shadow:
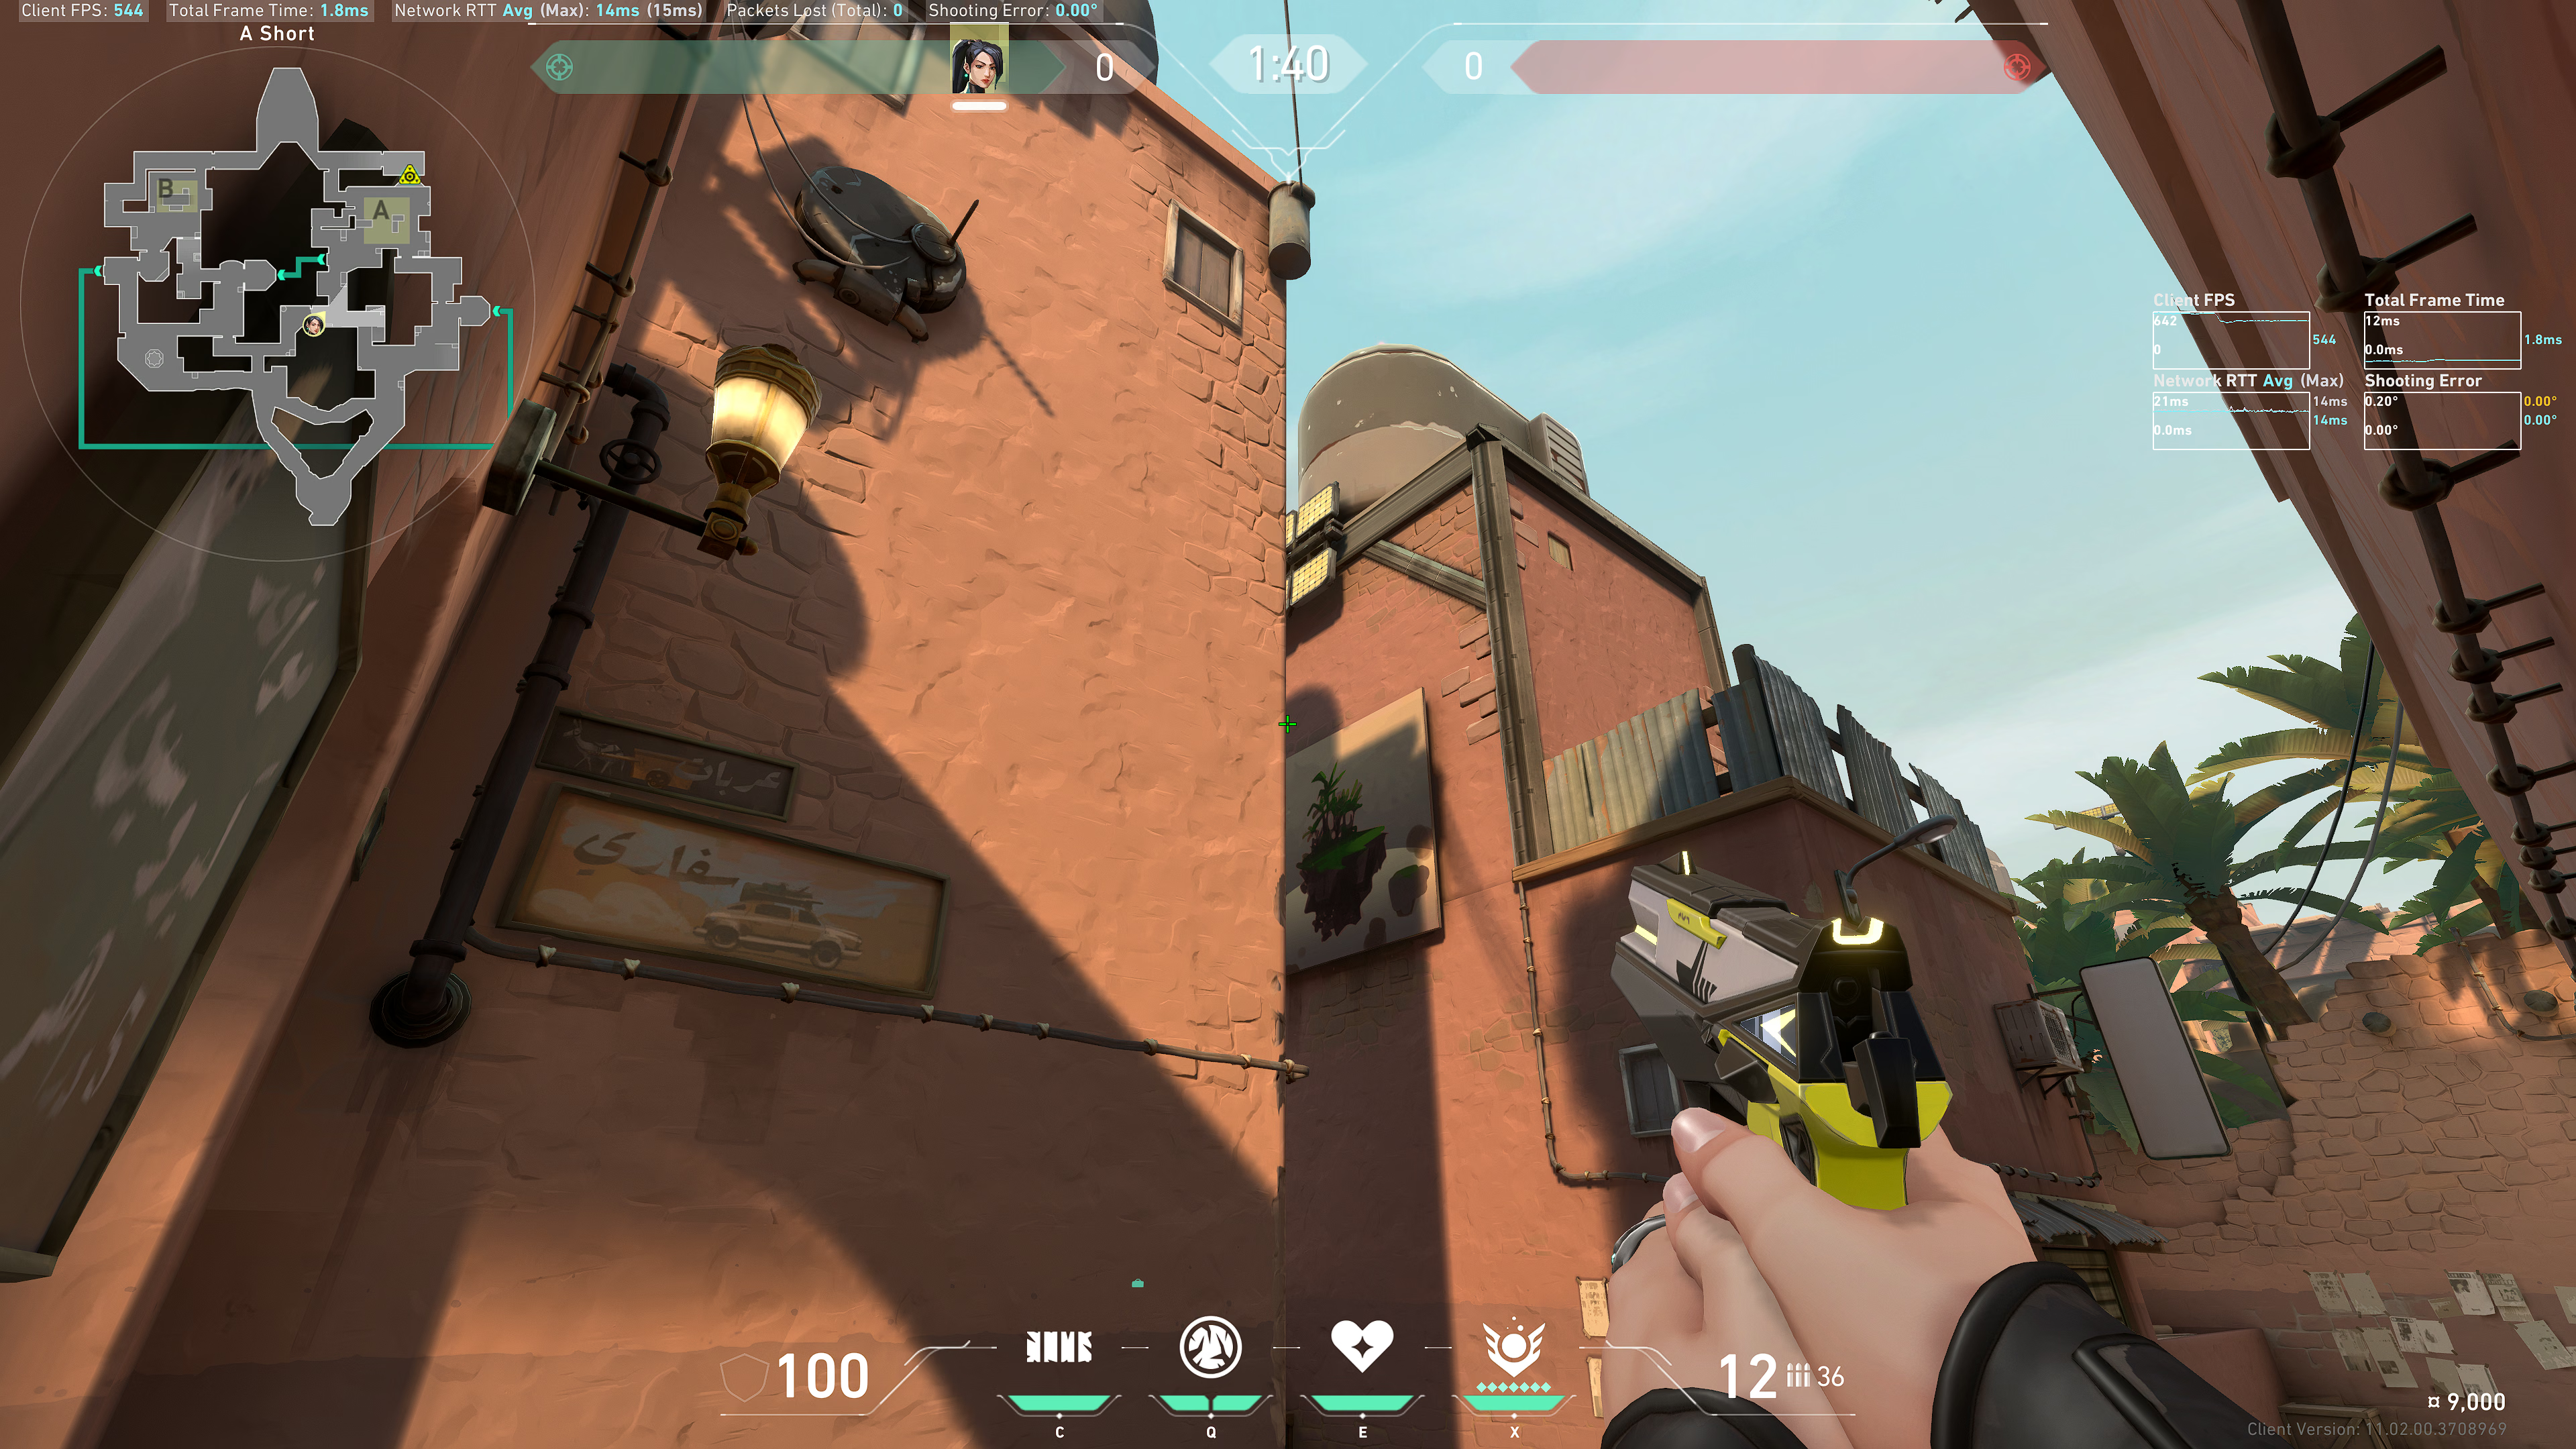
The separator bar between the Heal and Rez icons; line up the left side of this bar along the building in front of you and the shadow, while keeping your crosshair above the building in front of you:
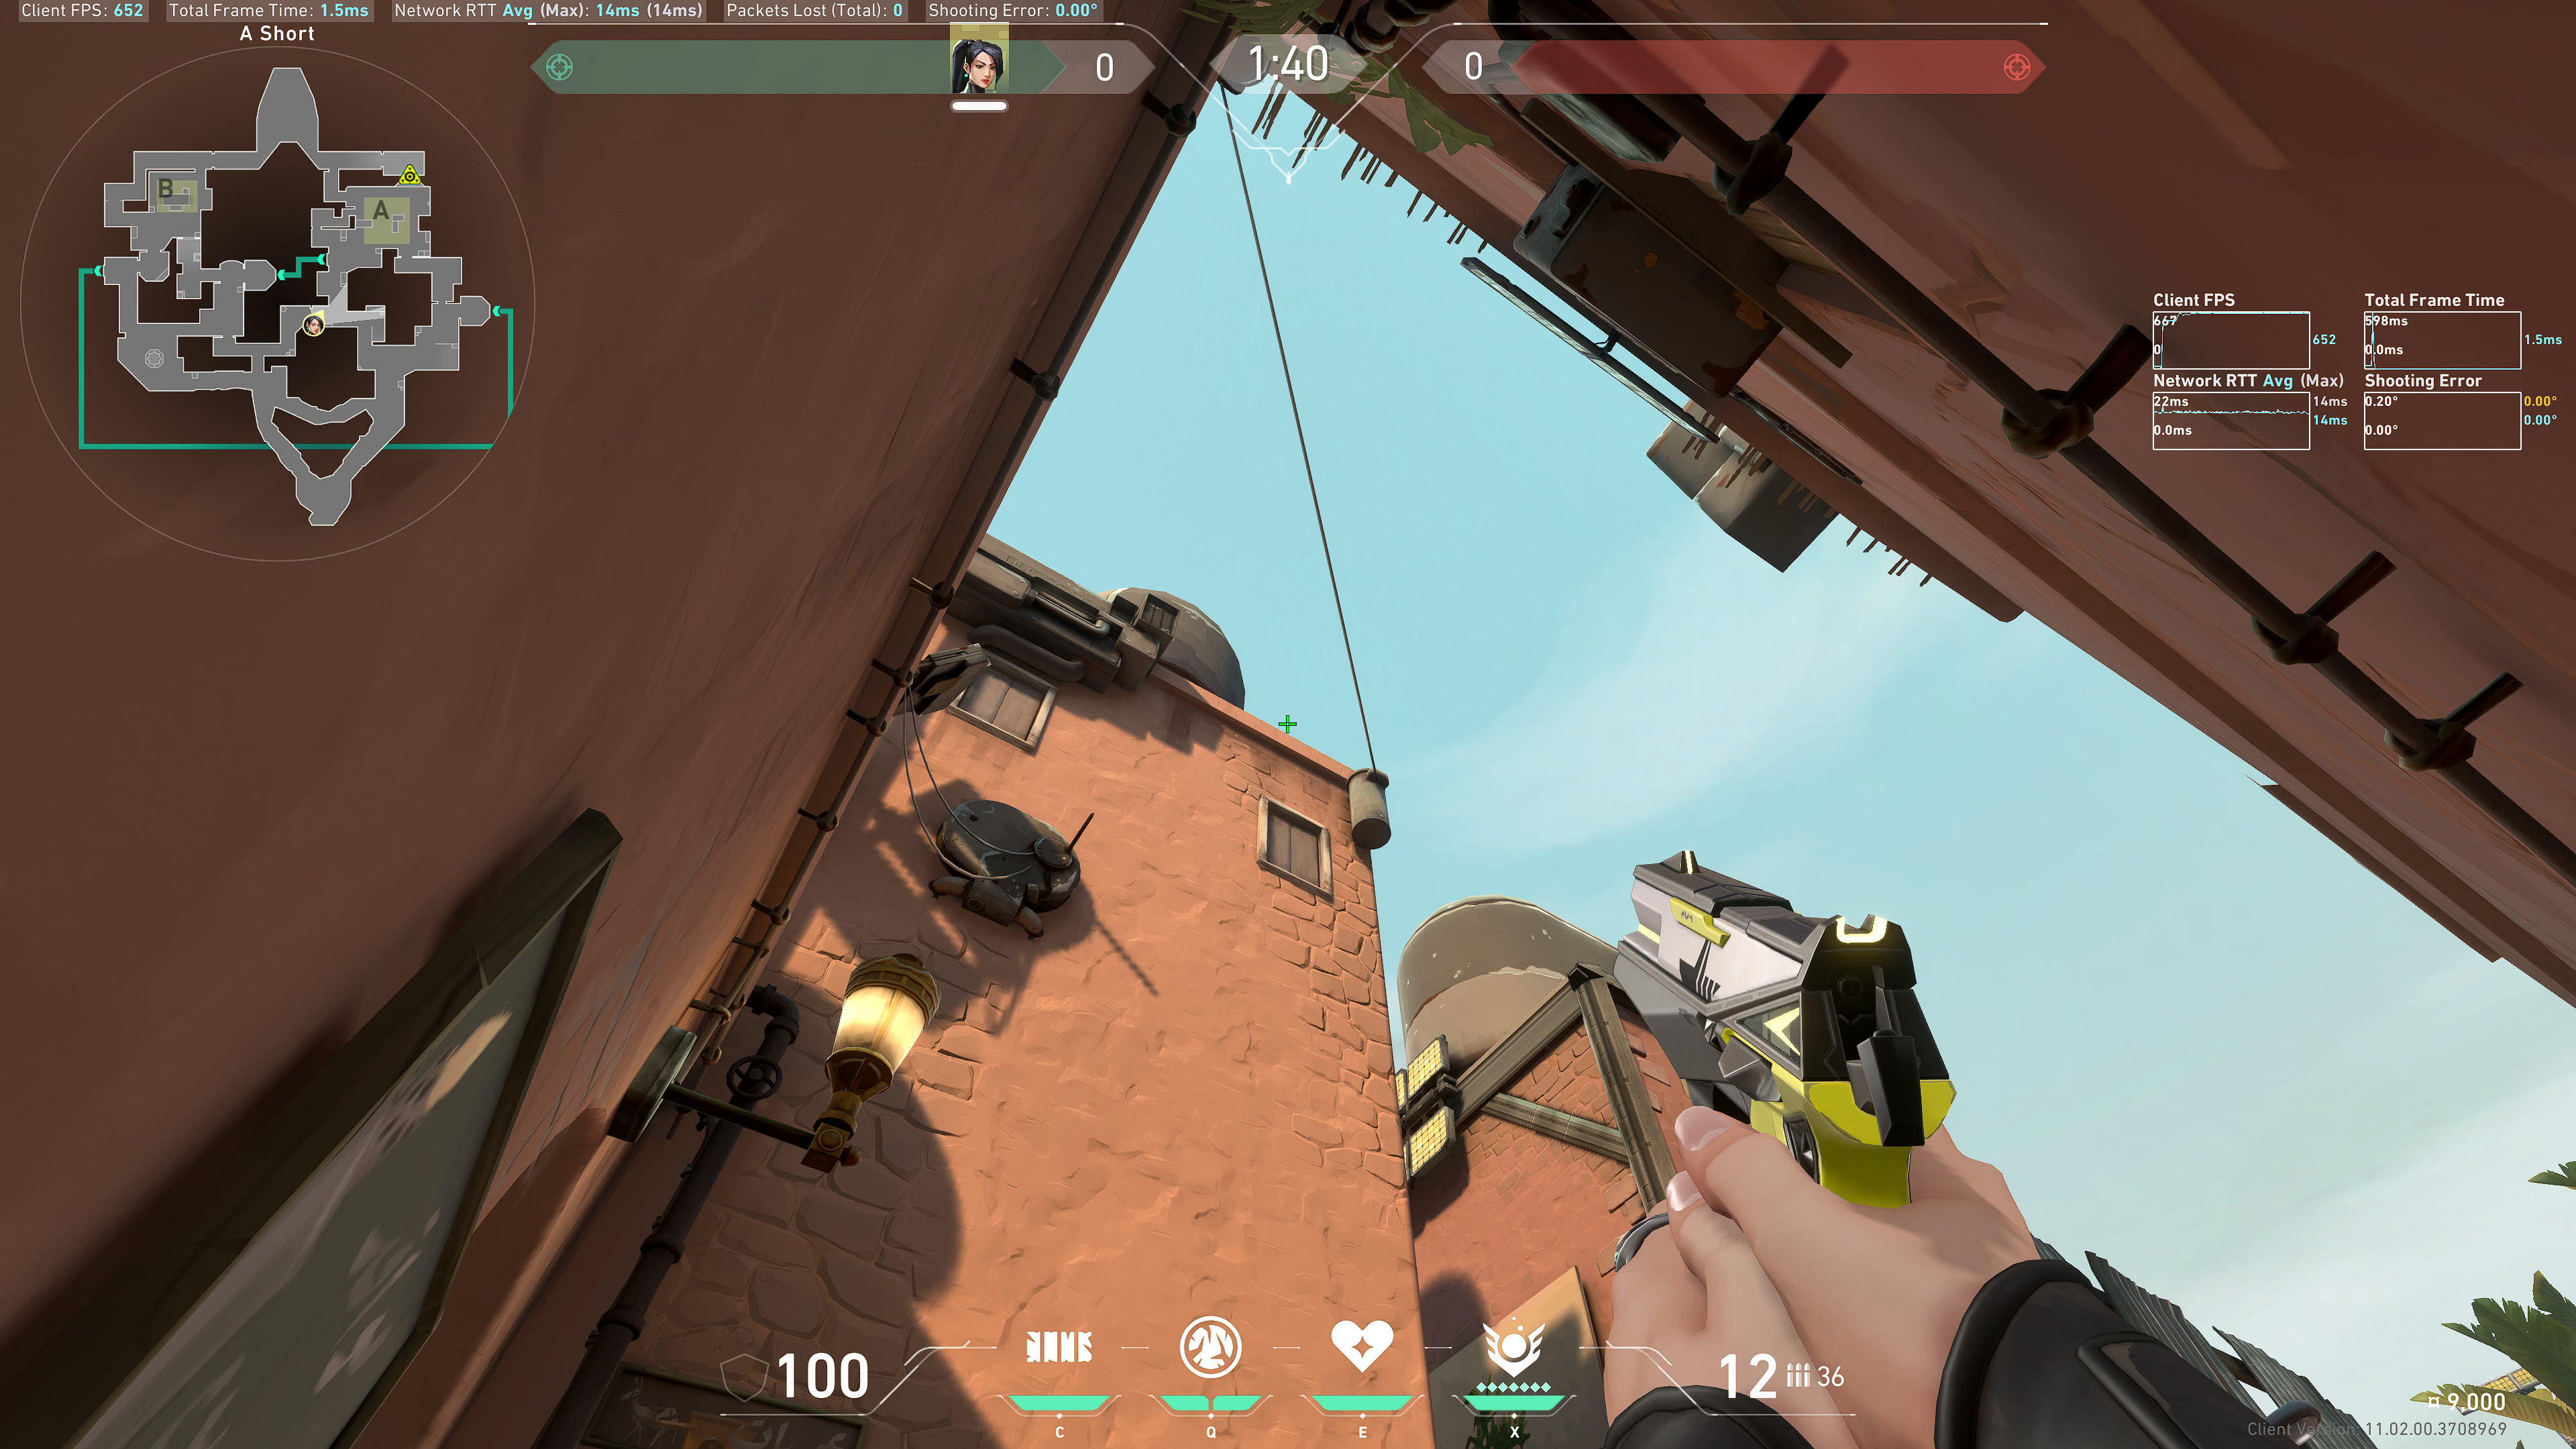
Note: do not put your crosshair onto the rim of the building in front of you, else the Ice Orb will bounce back at you.
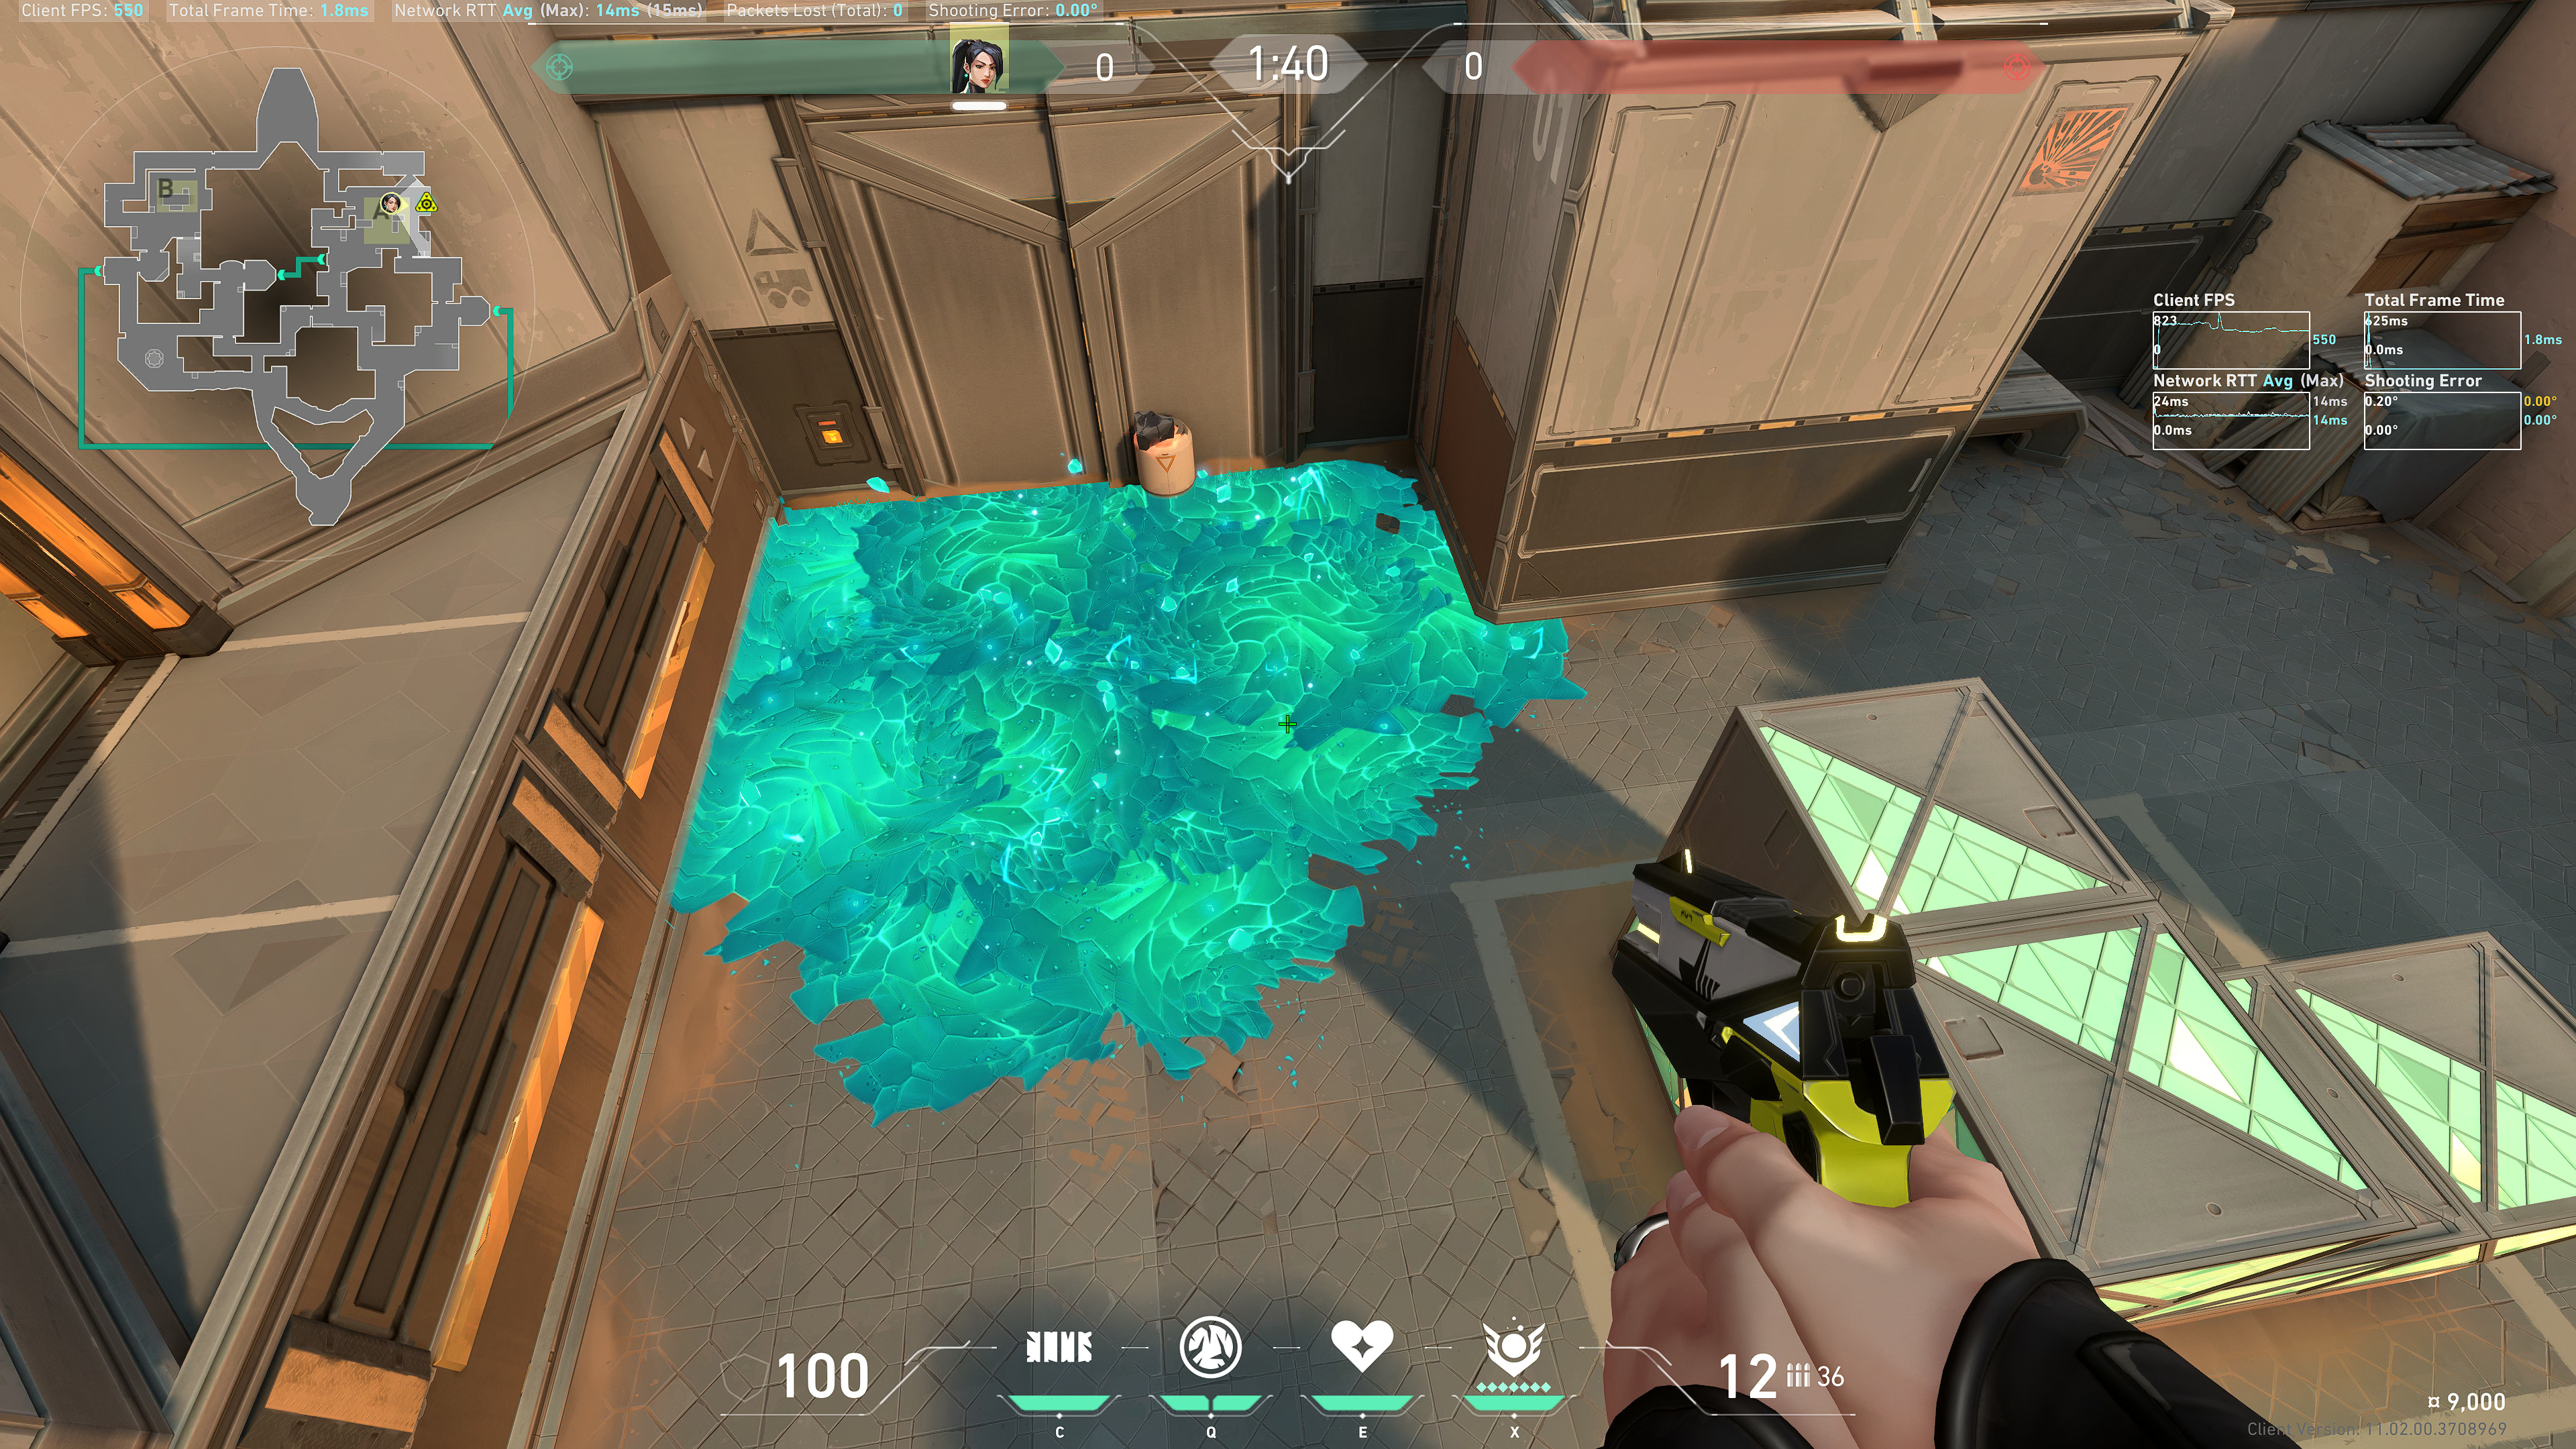
Result:
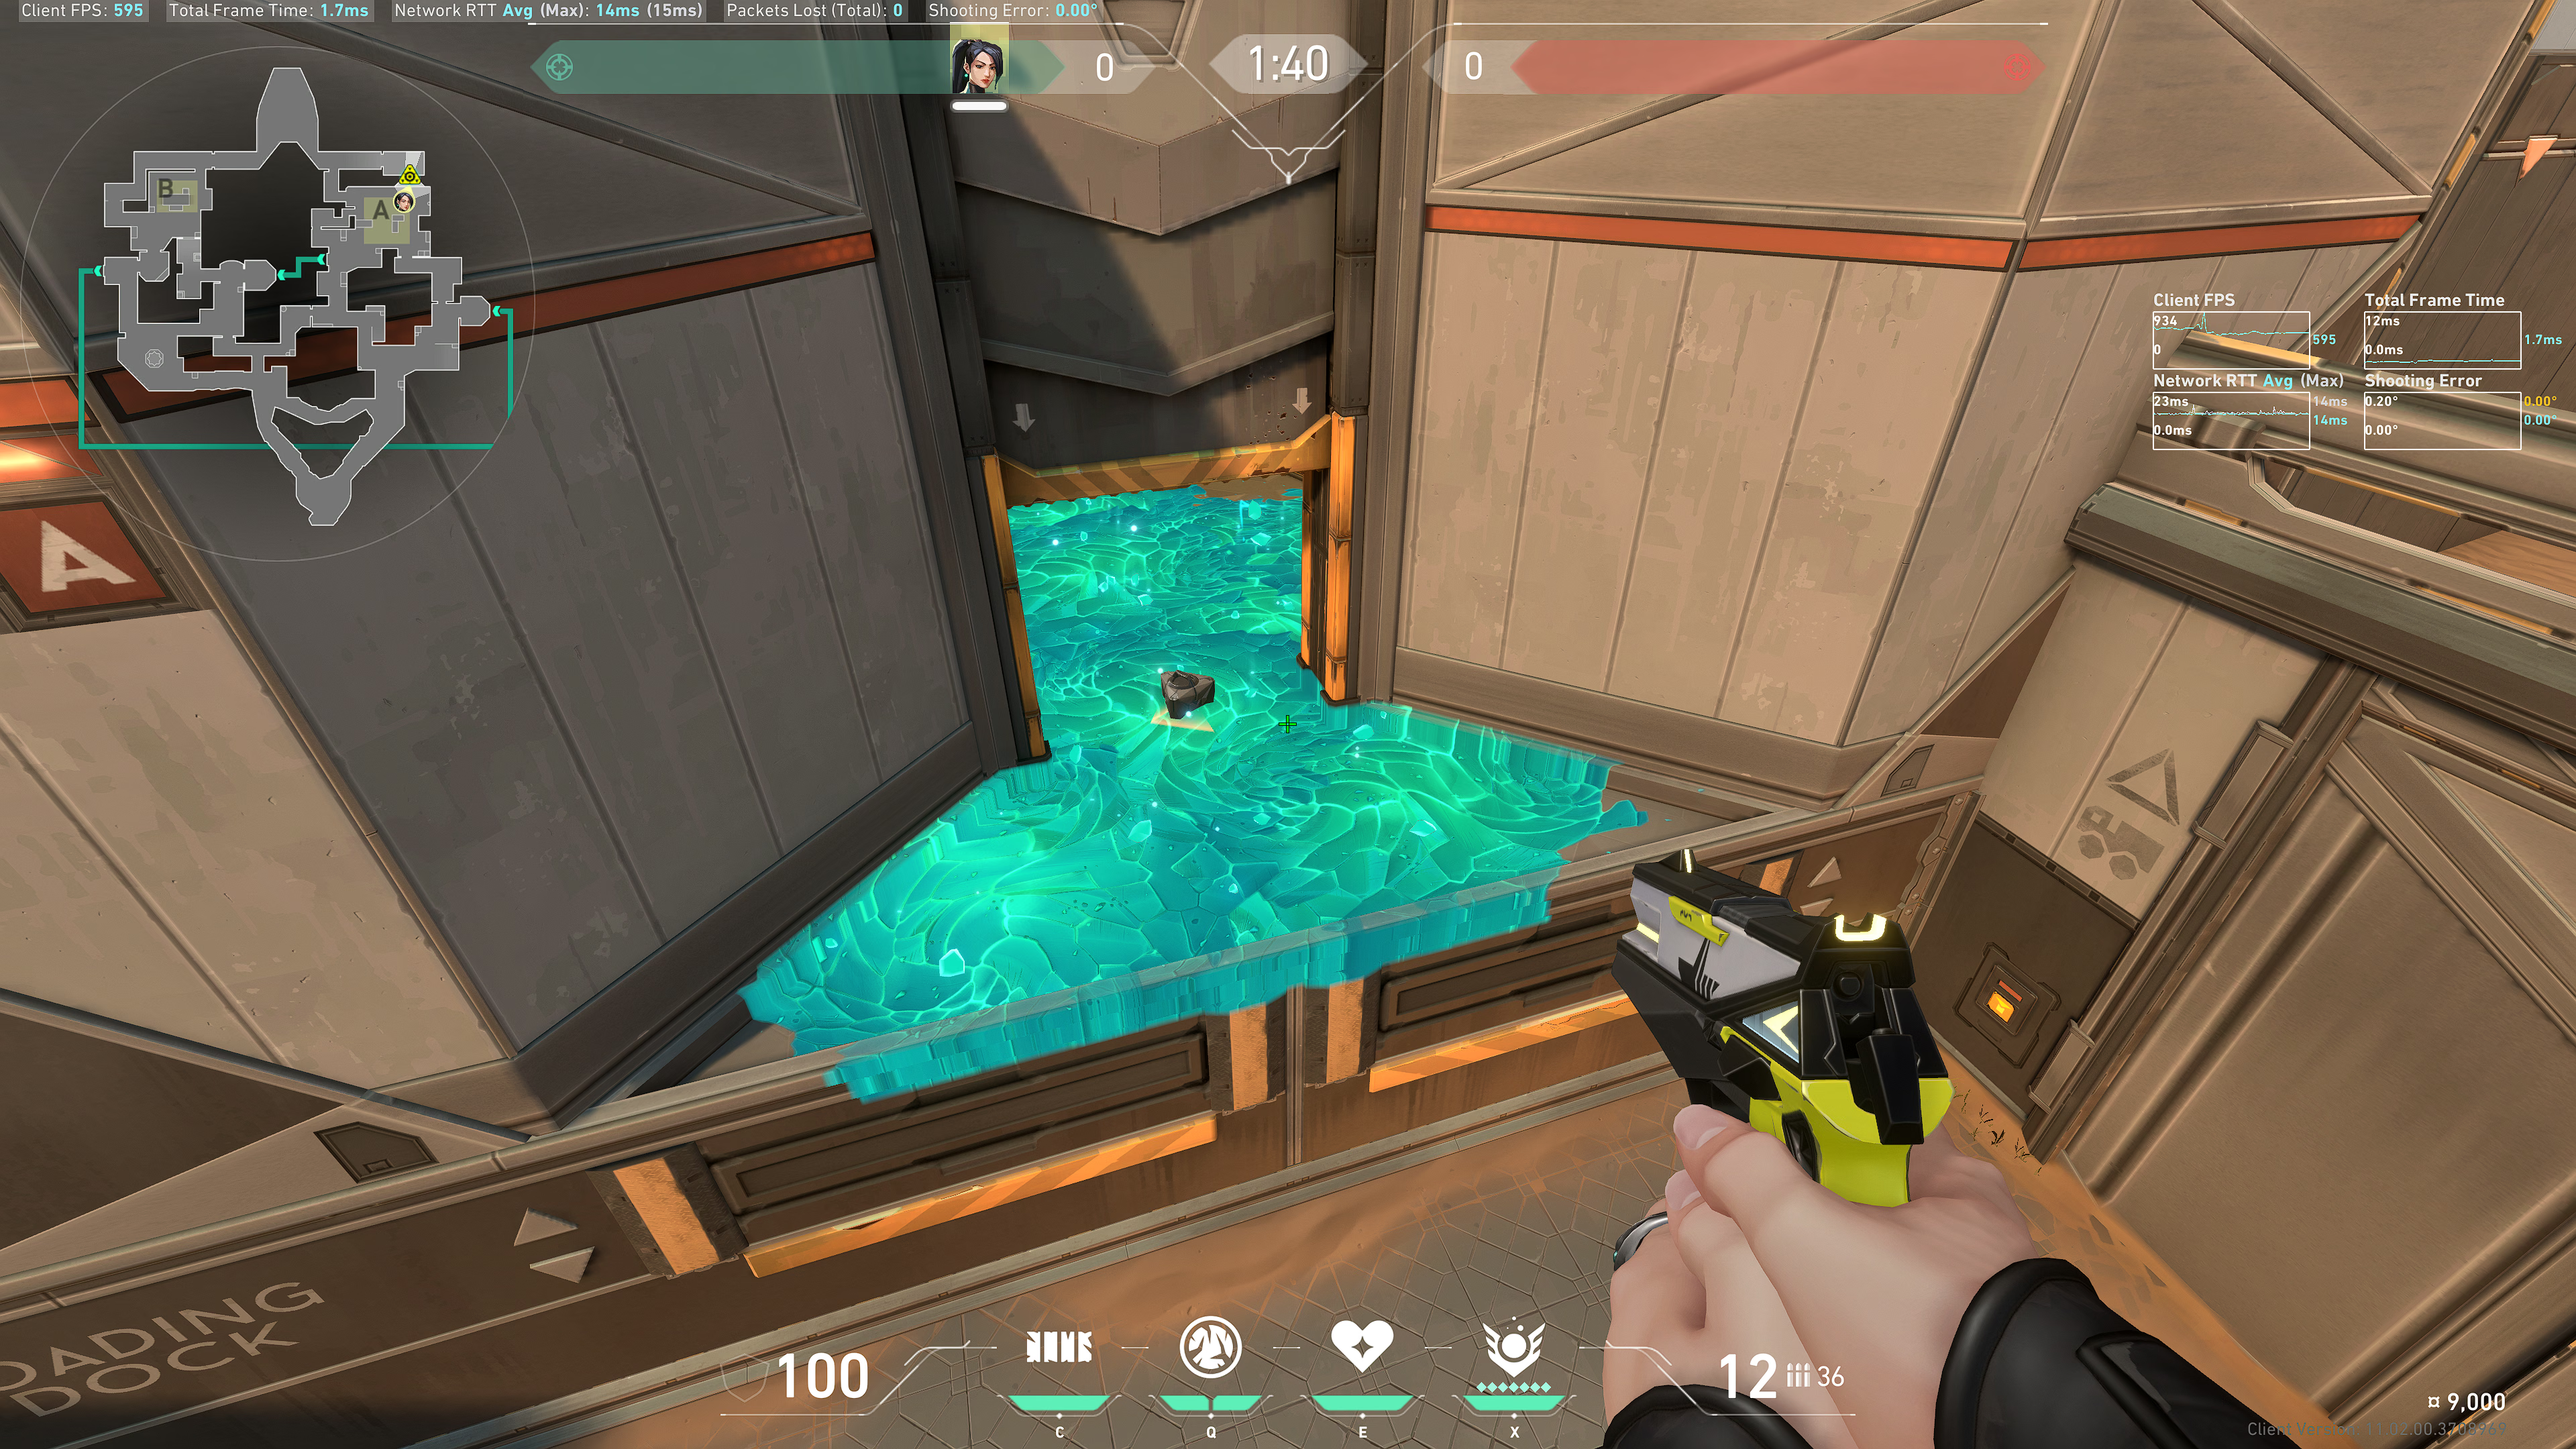
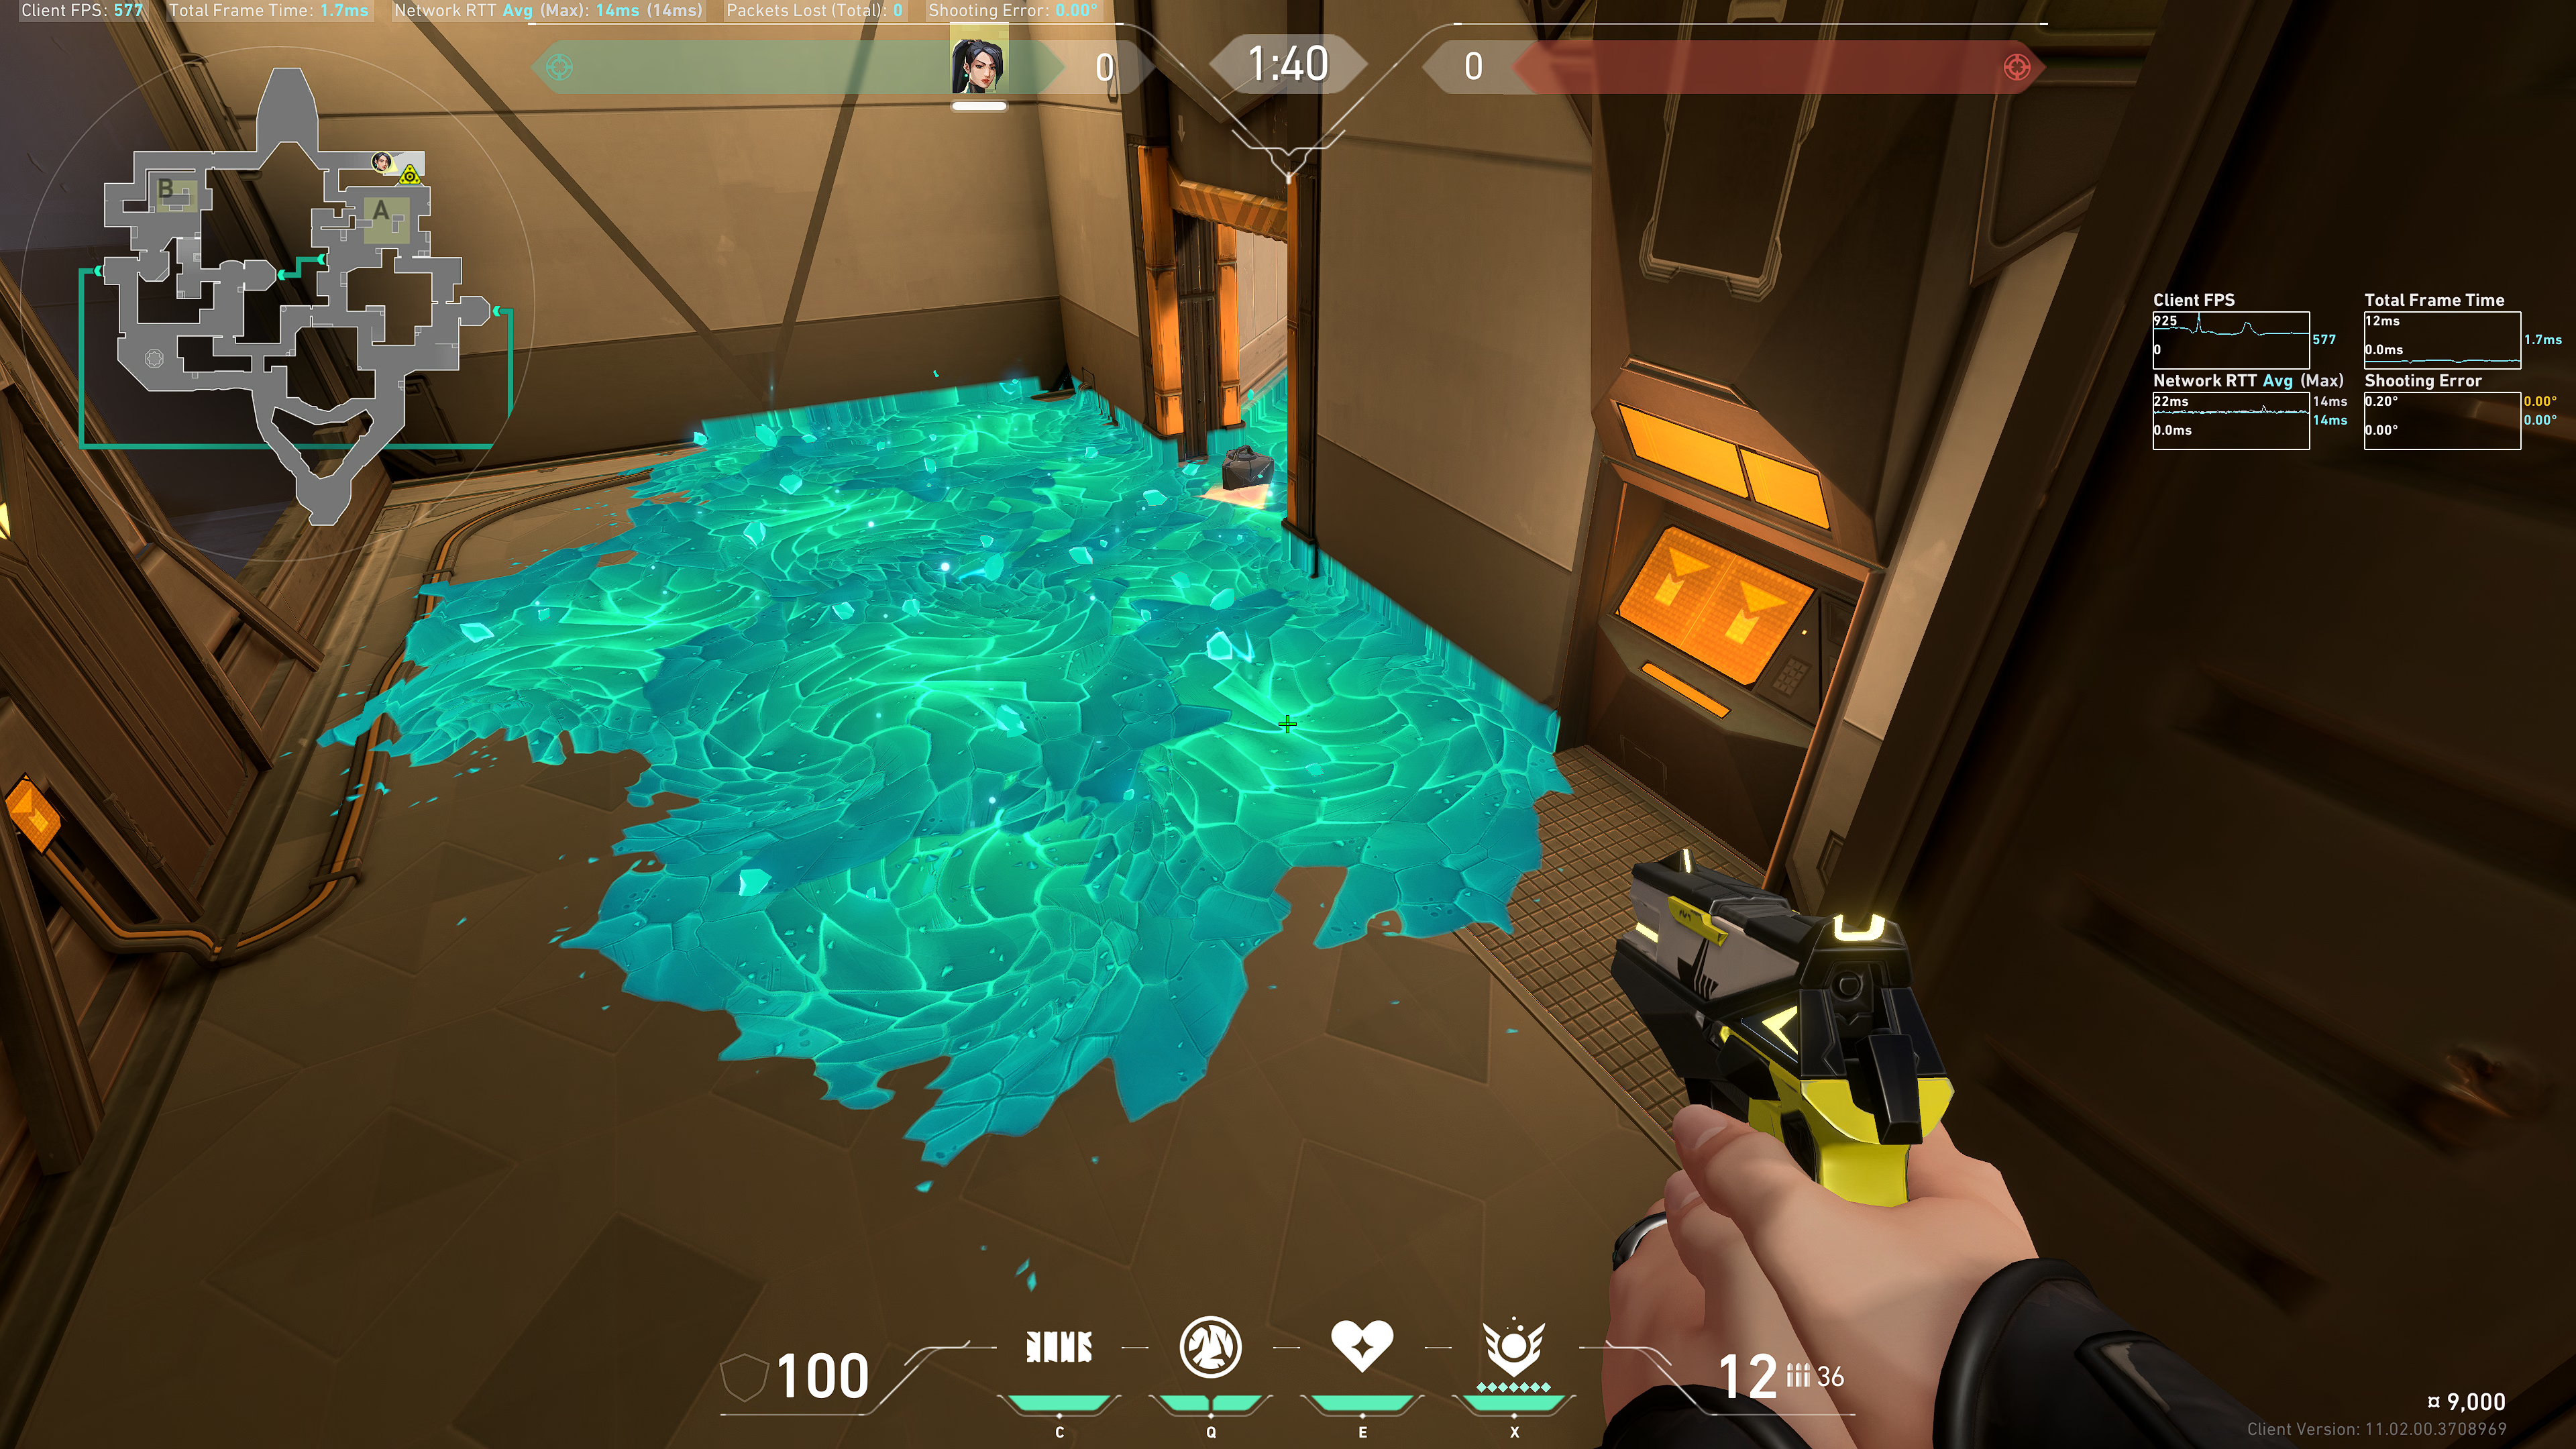
Back site truck
Take note of these electric panels:
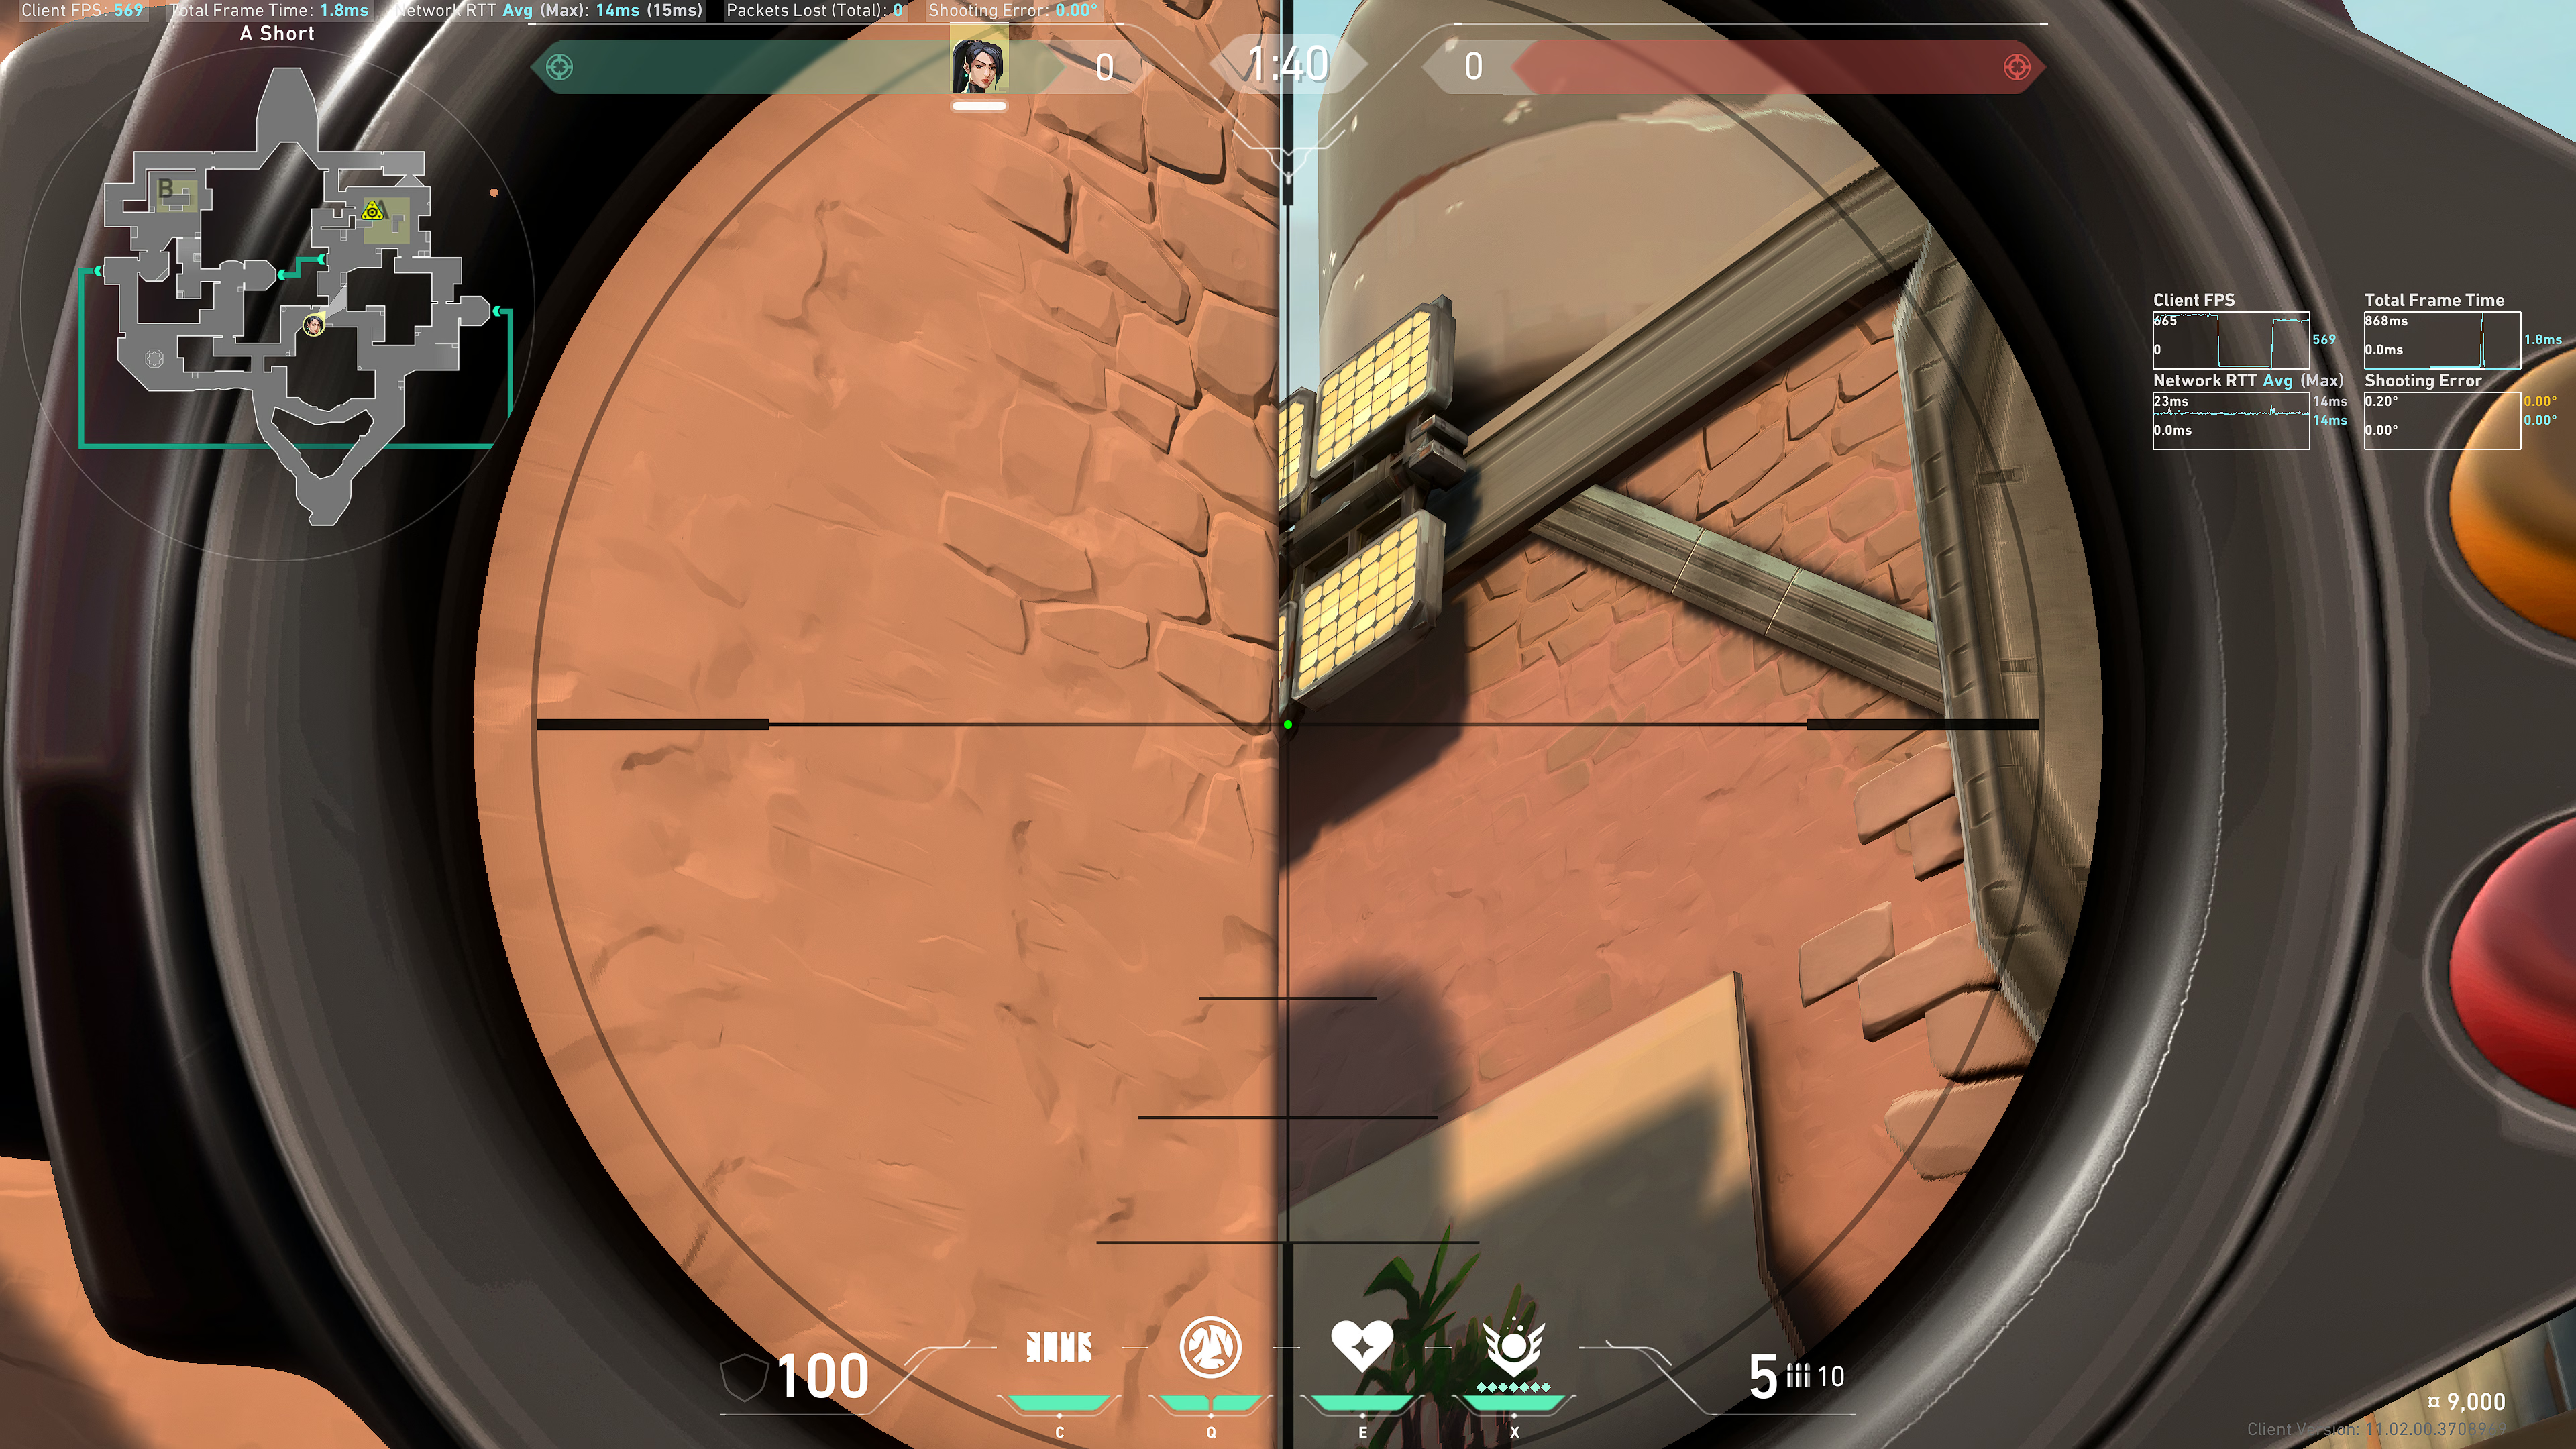
Put the Rez letter on top of the bottom of those panels:
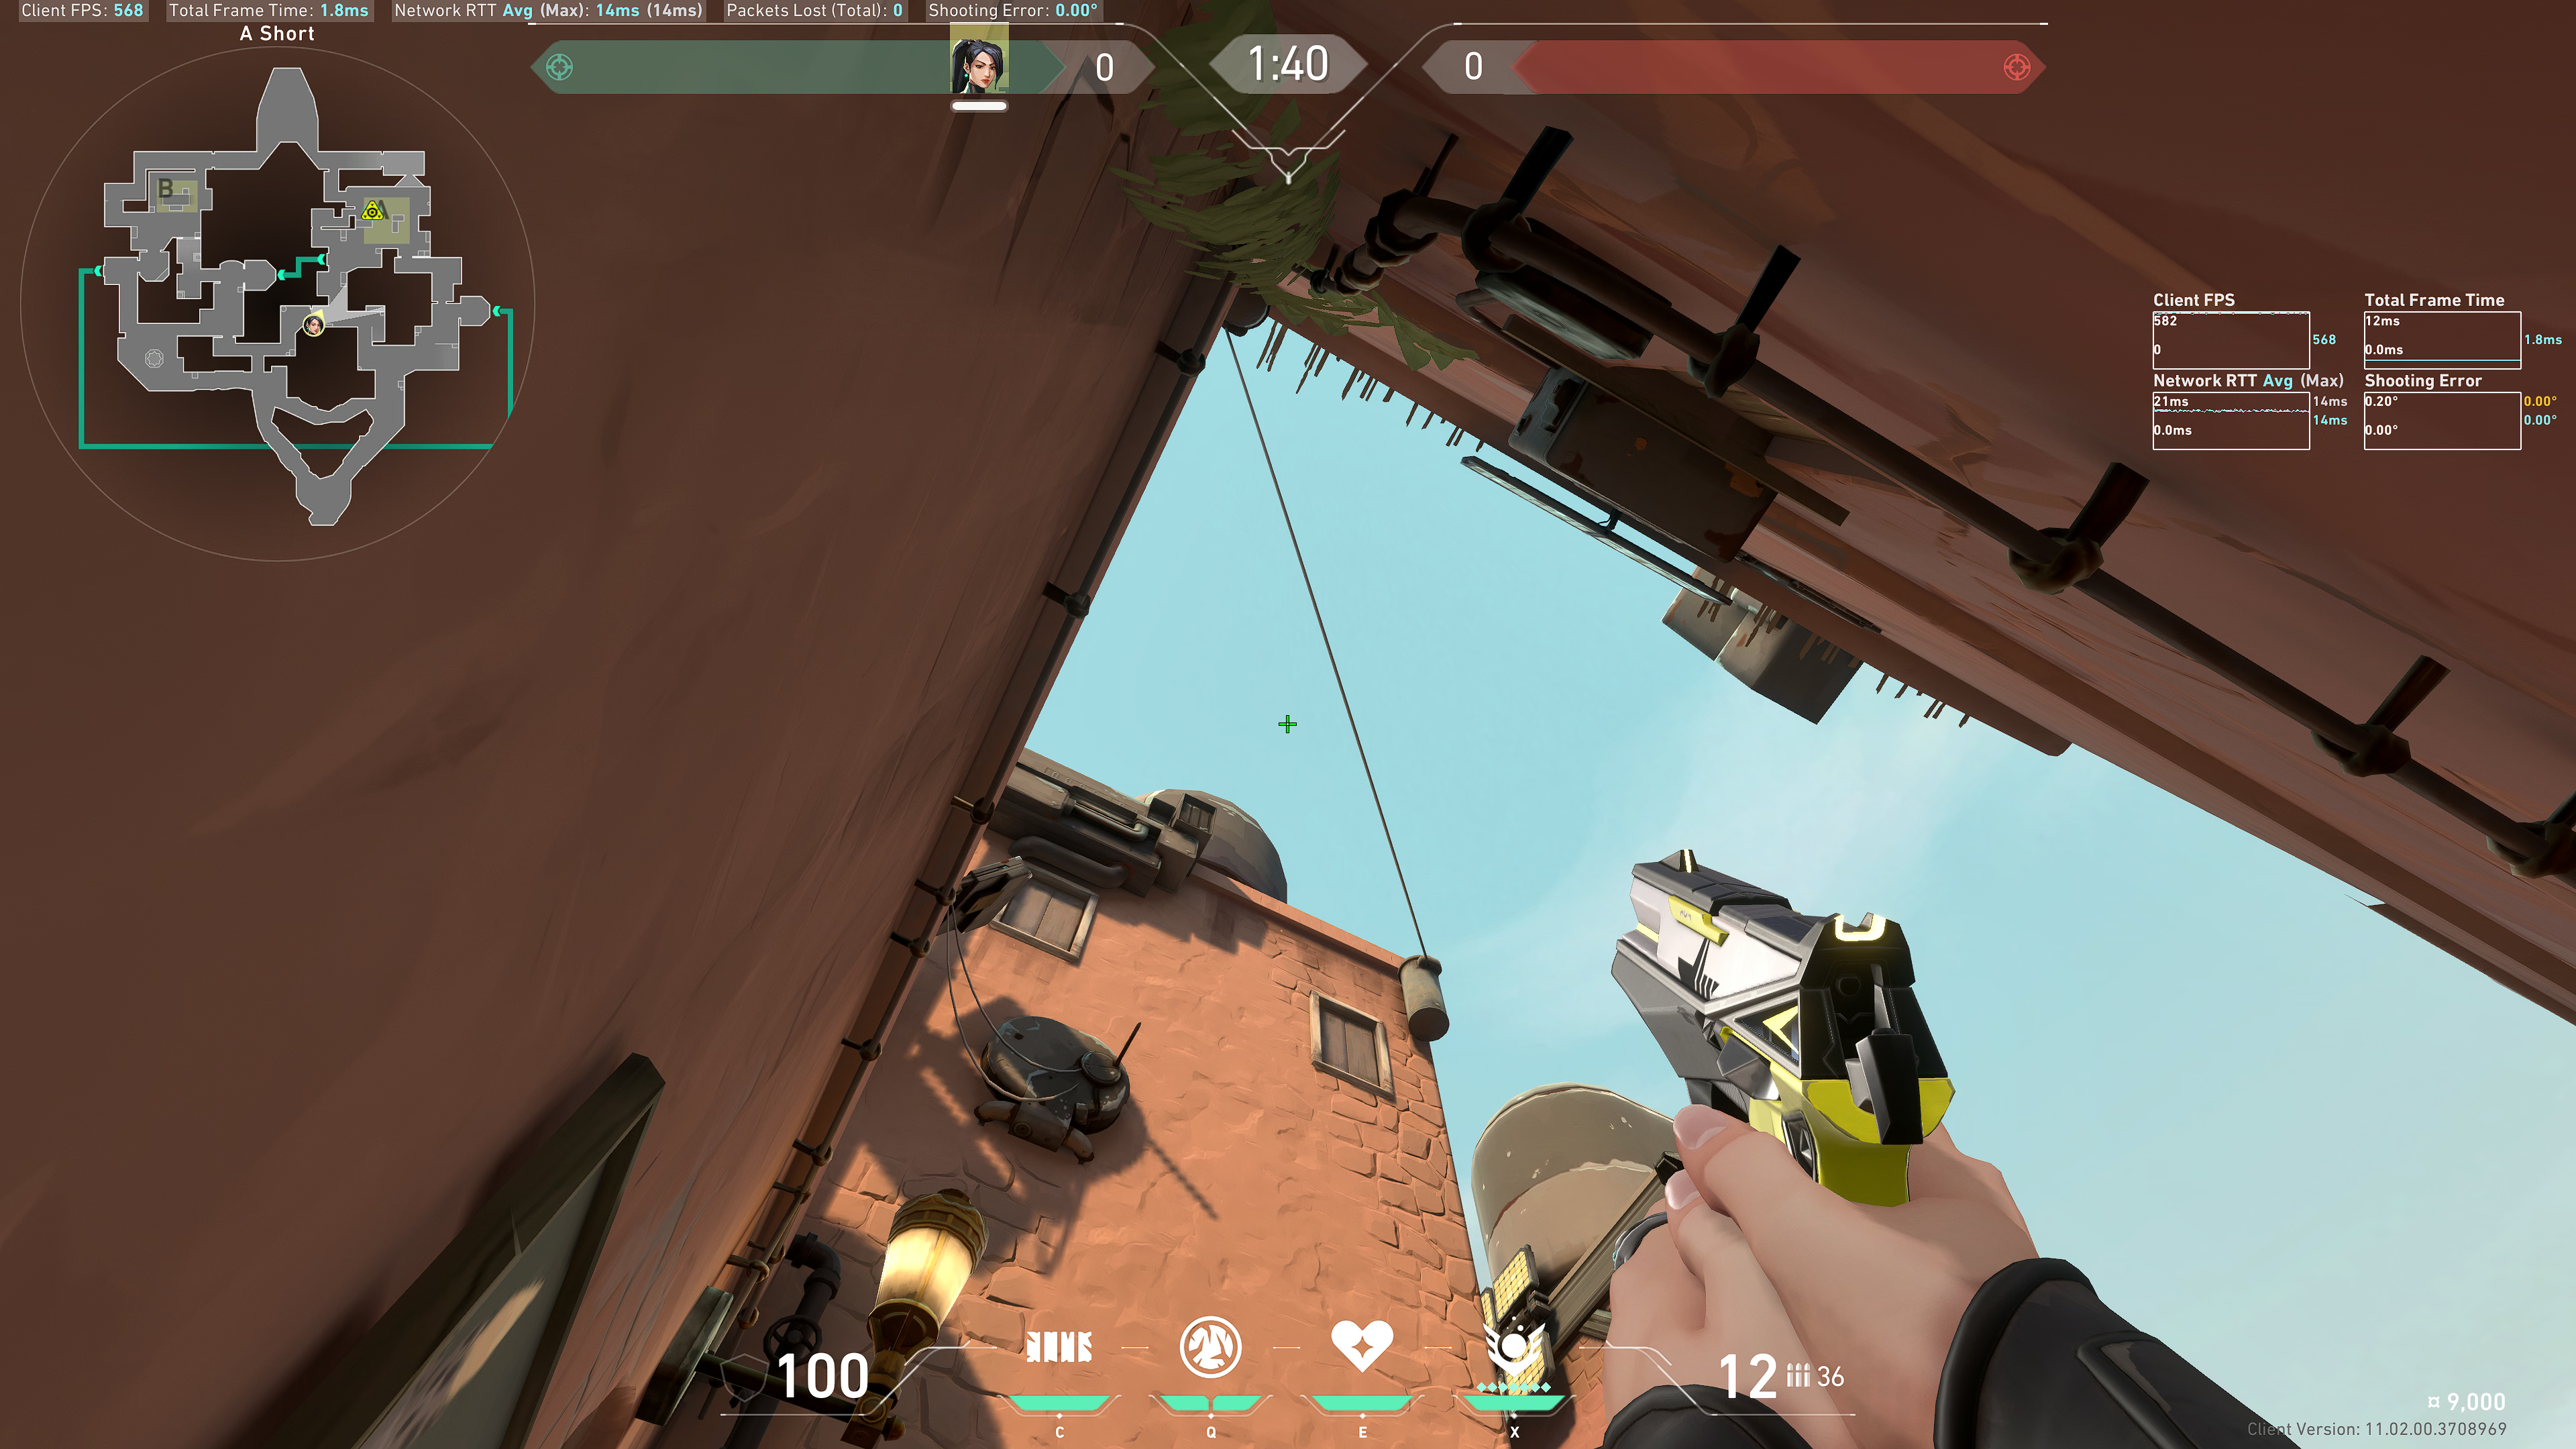
Result:
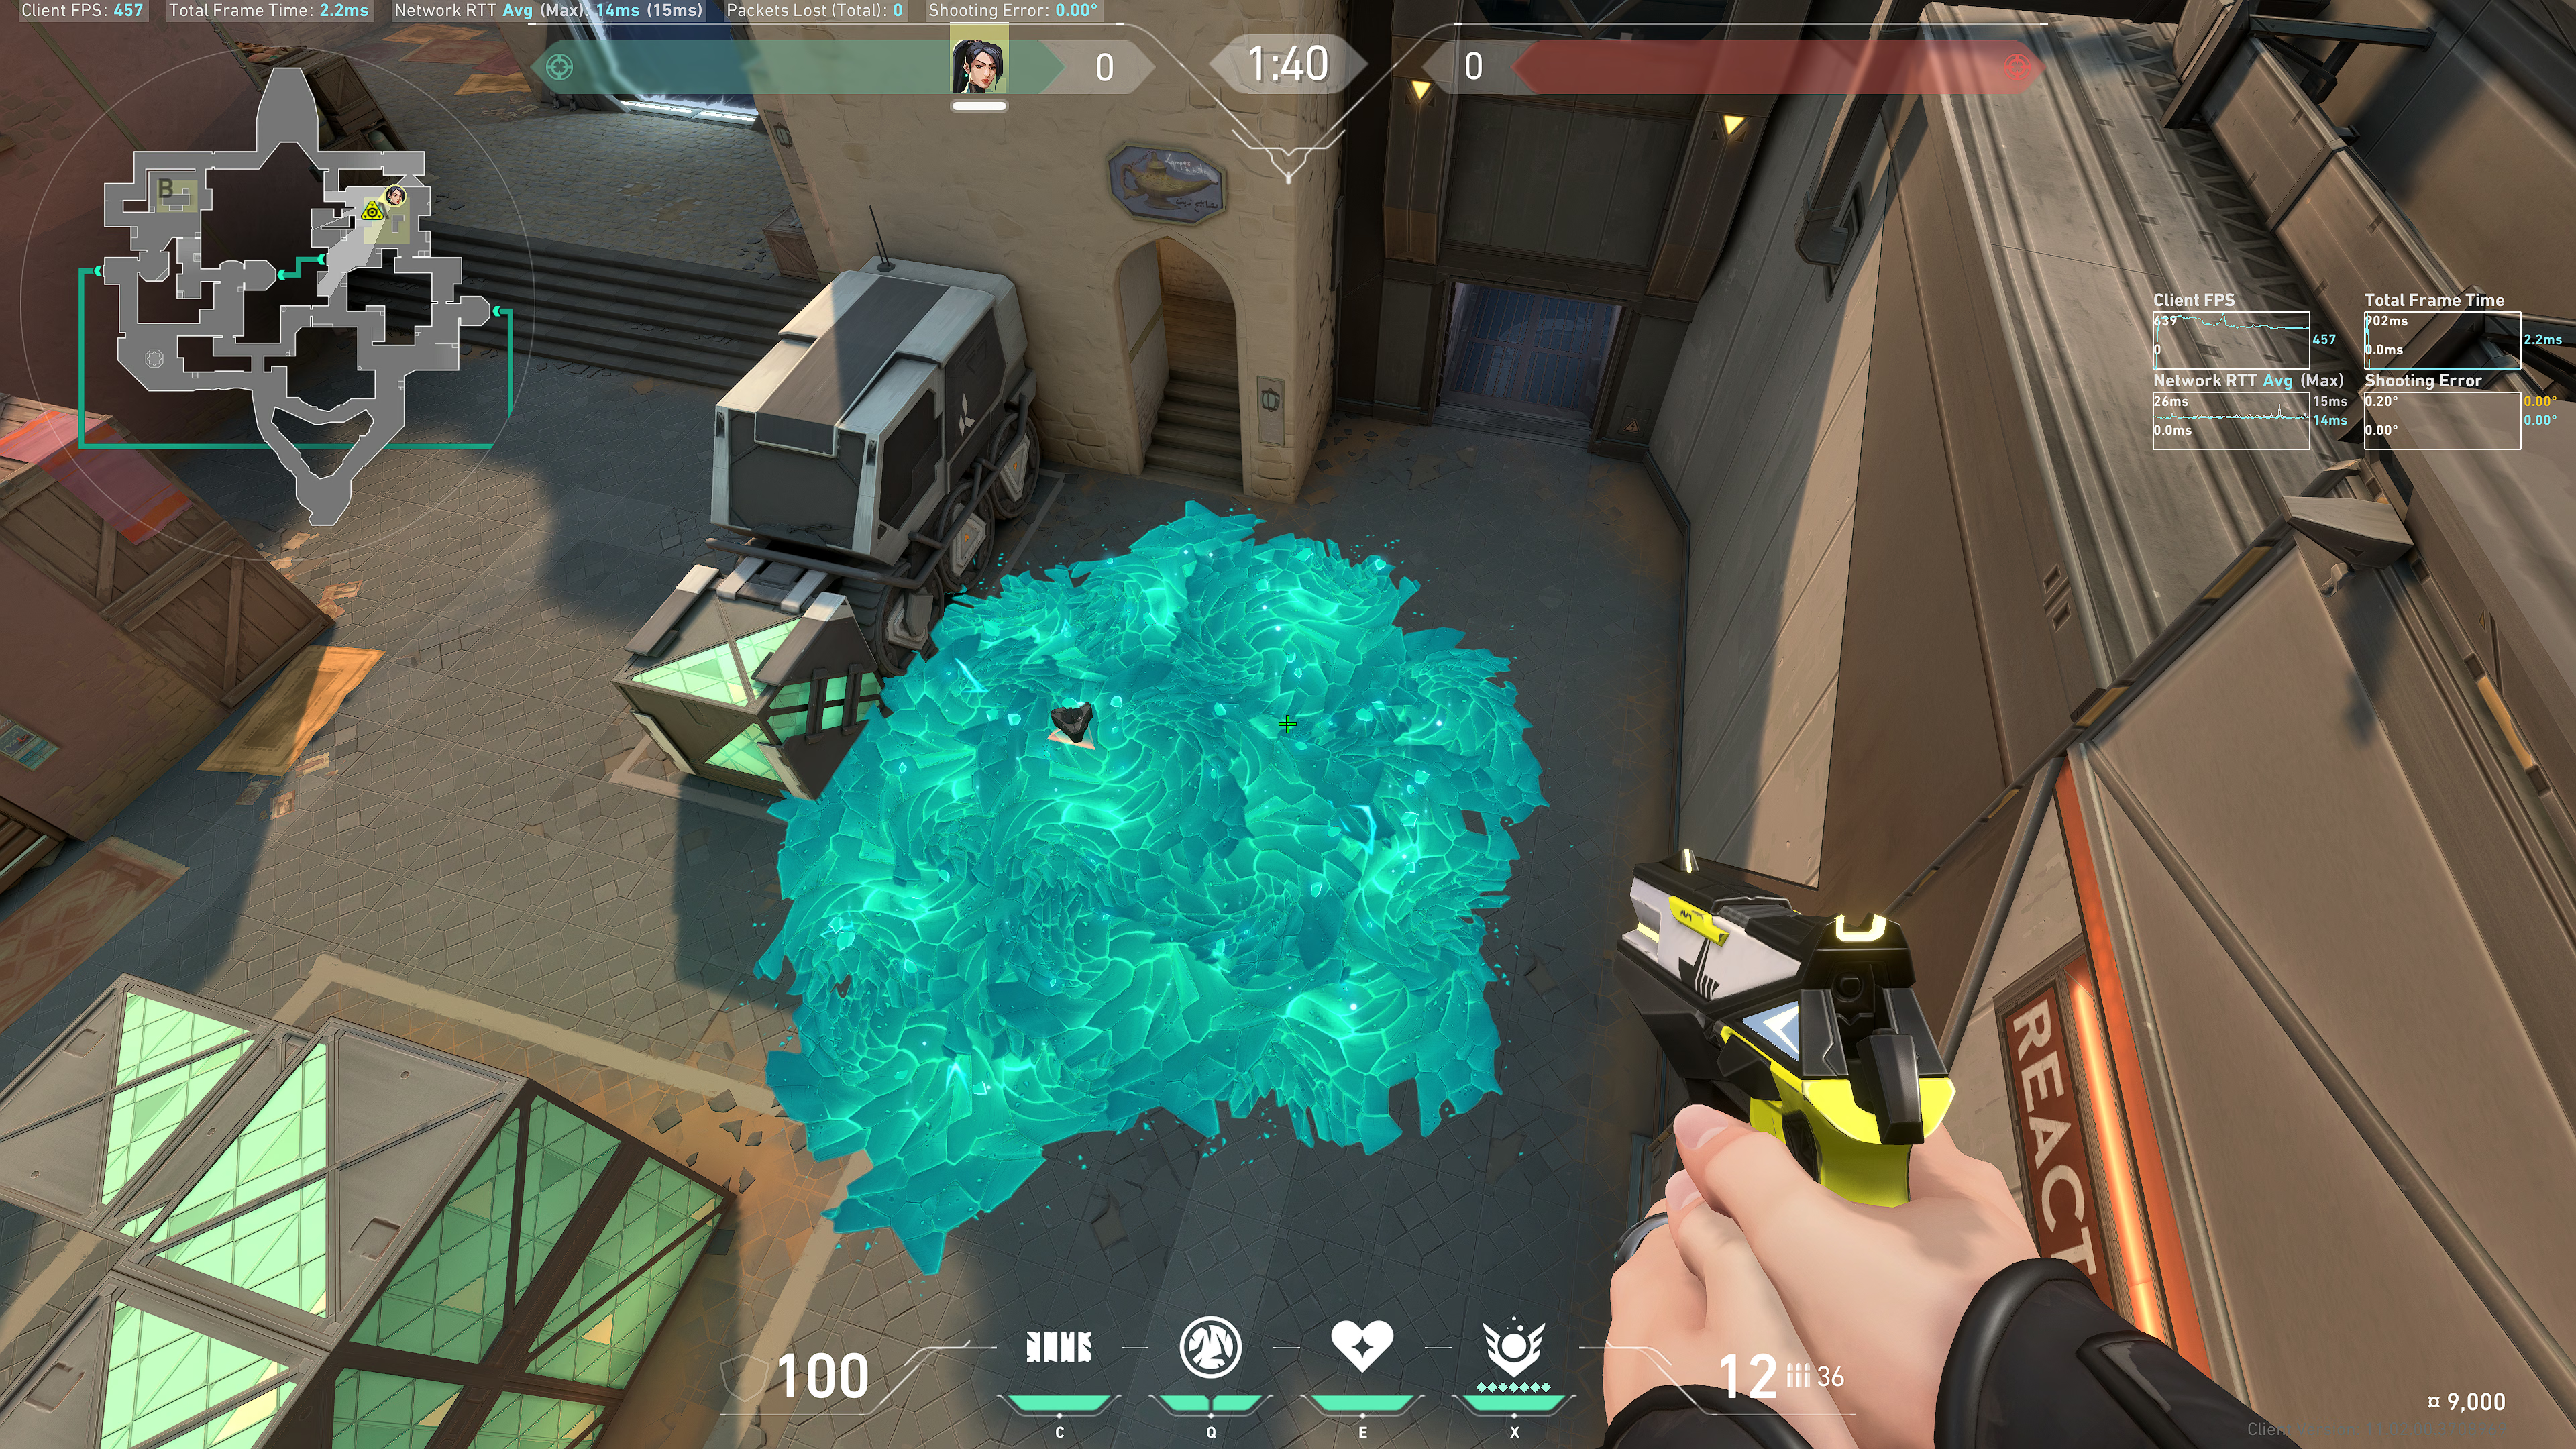
Back site boxes
Notice the bottom right of this shadow for the electric panels:
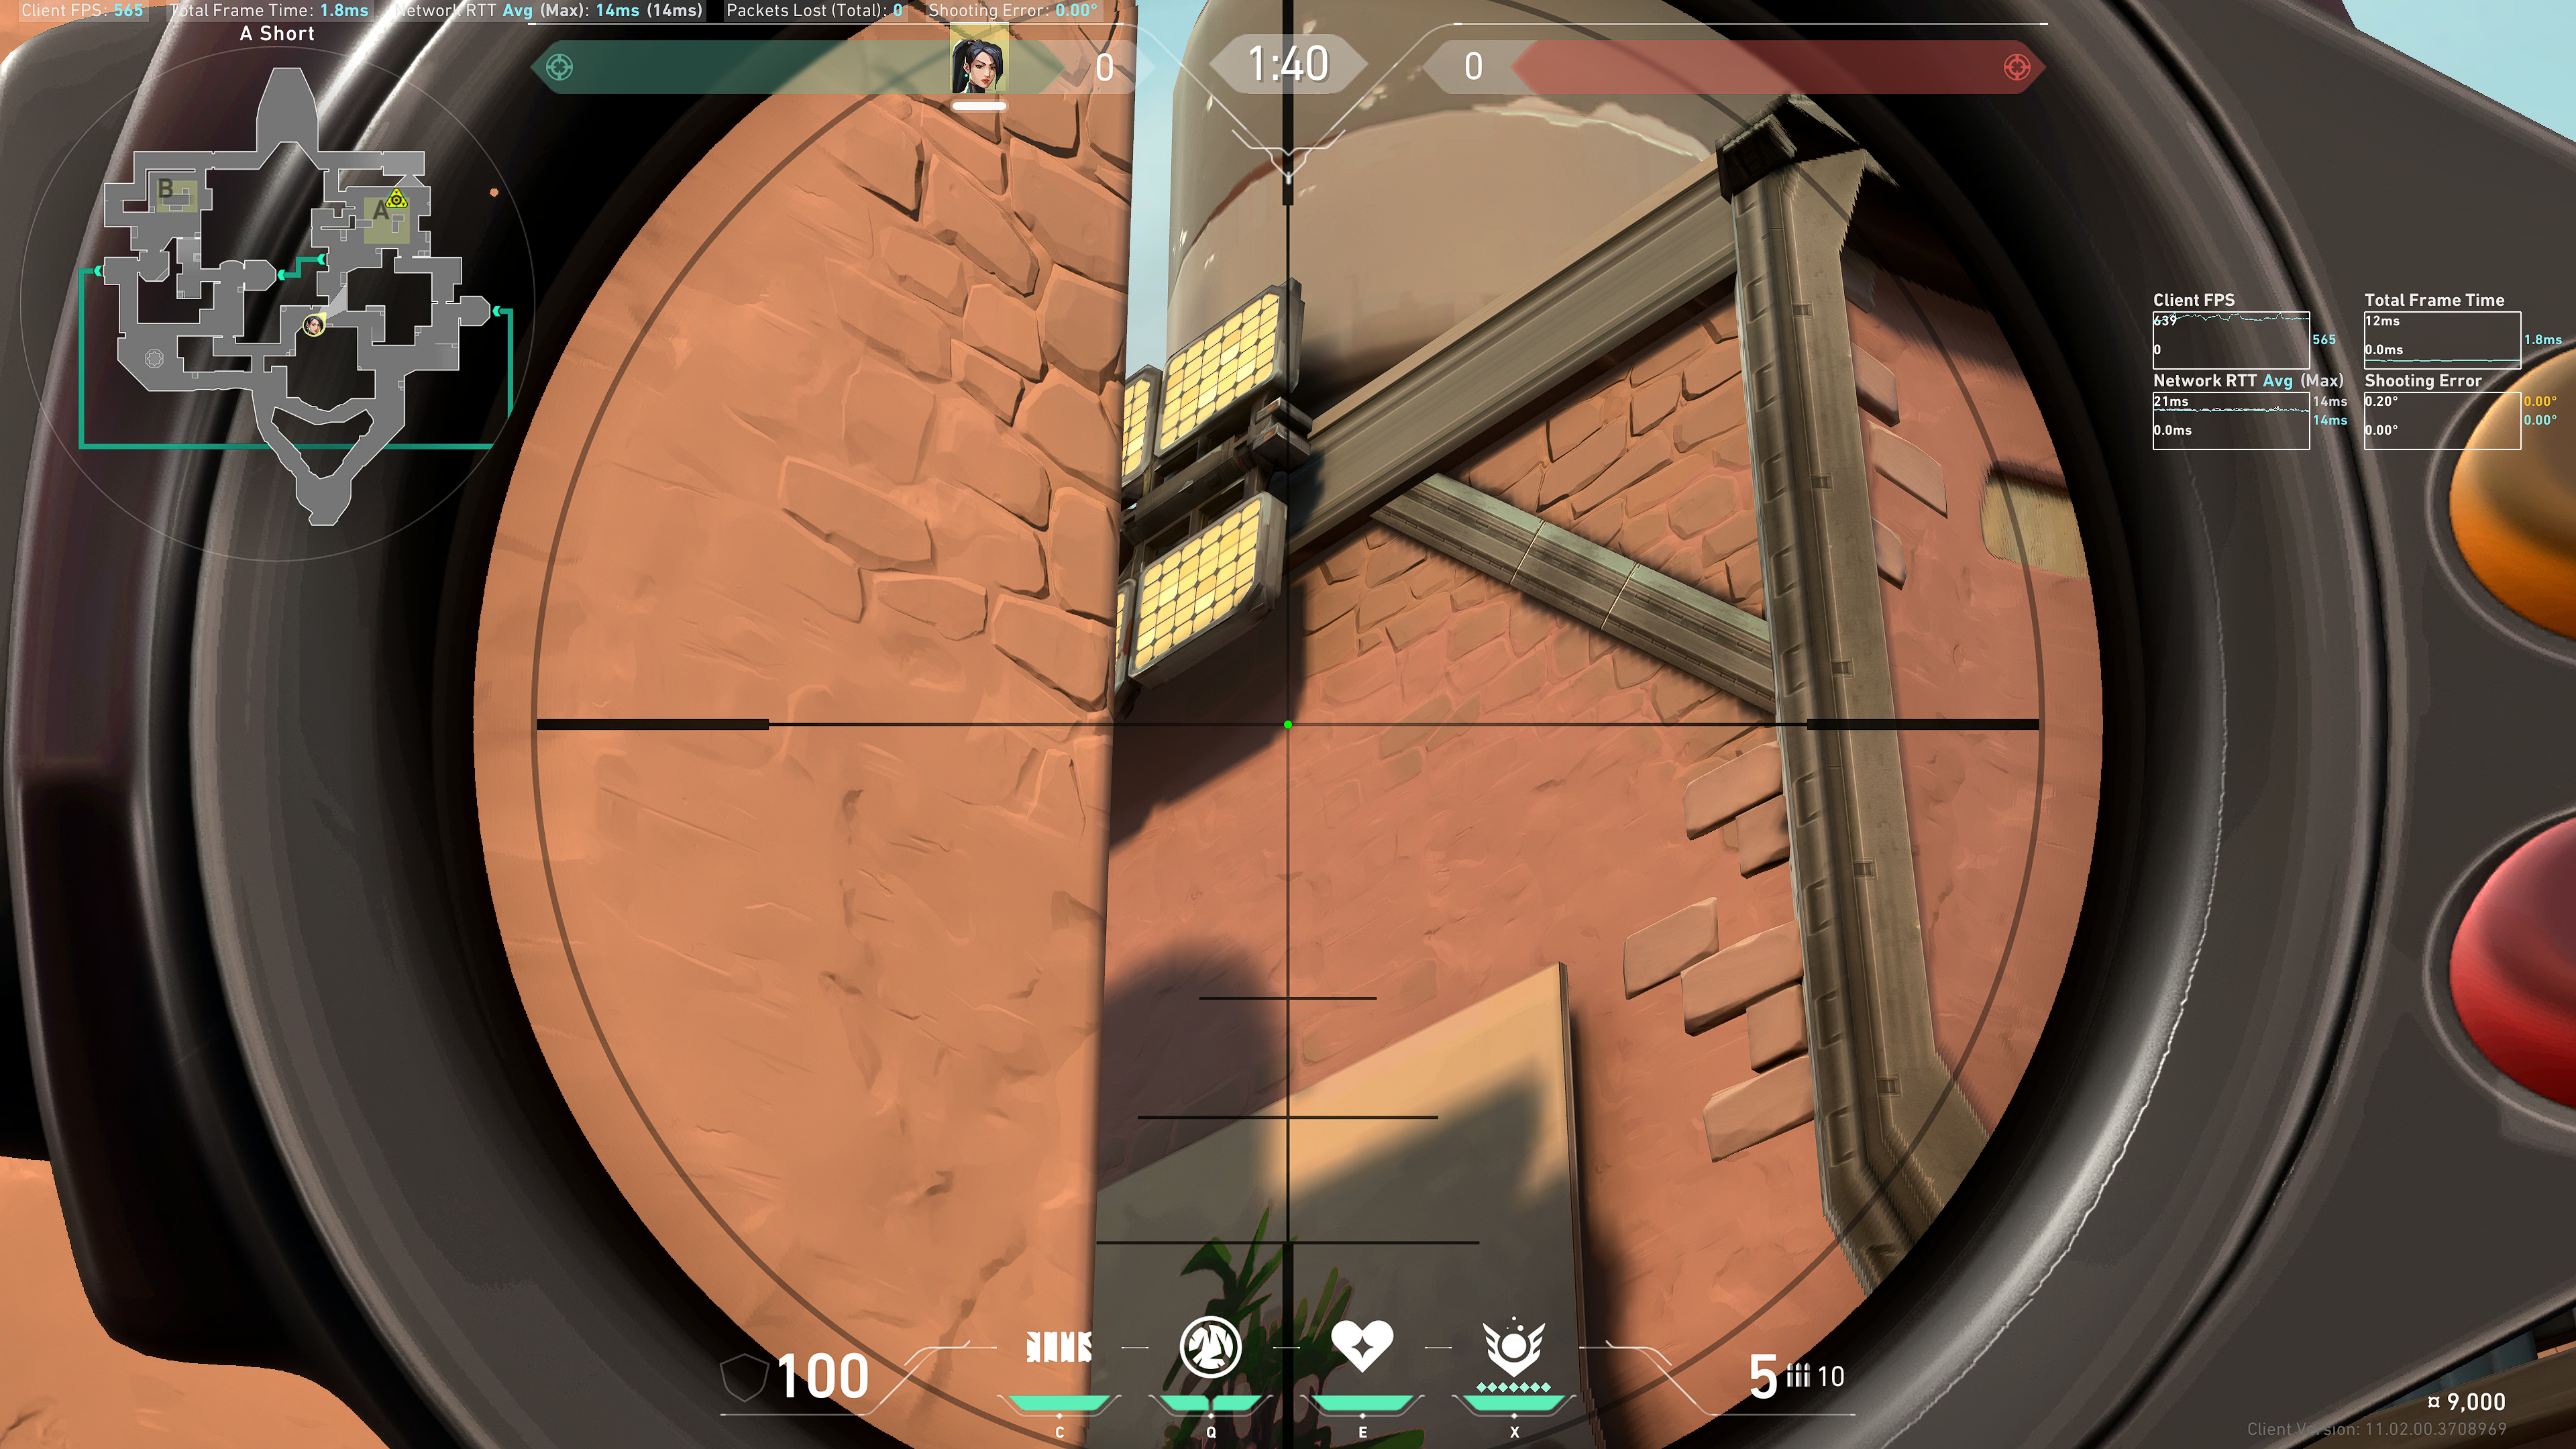
The separator bar between the Heart and Rez icons; put the right side of this bar into the bottom right part of that shadow:
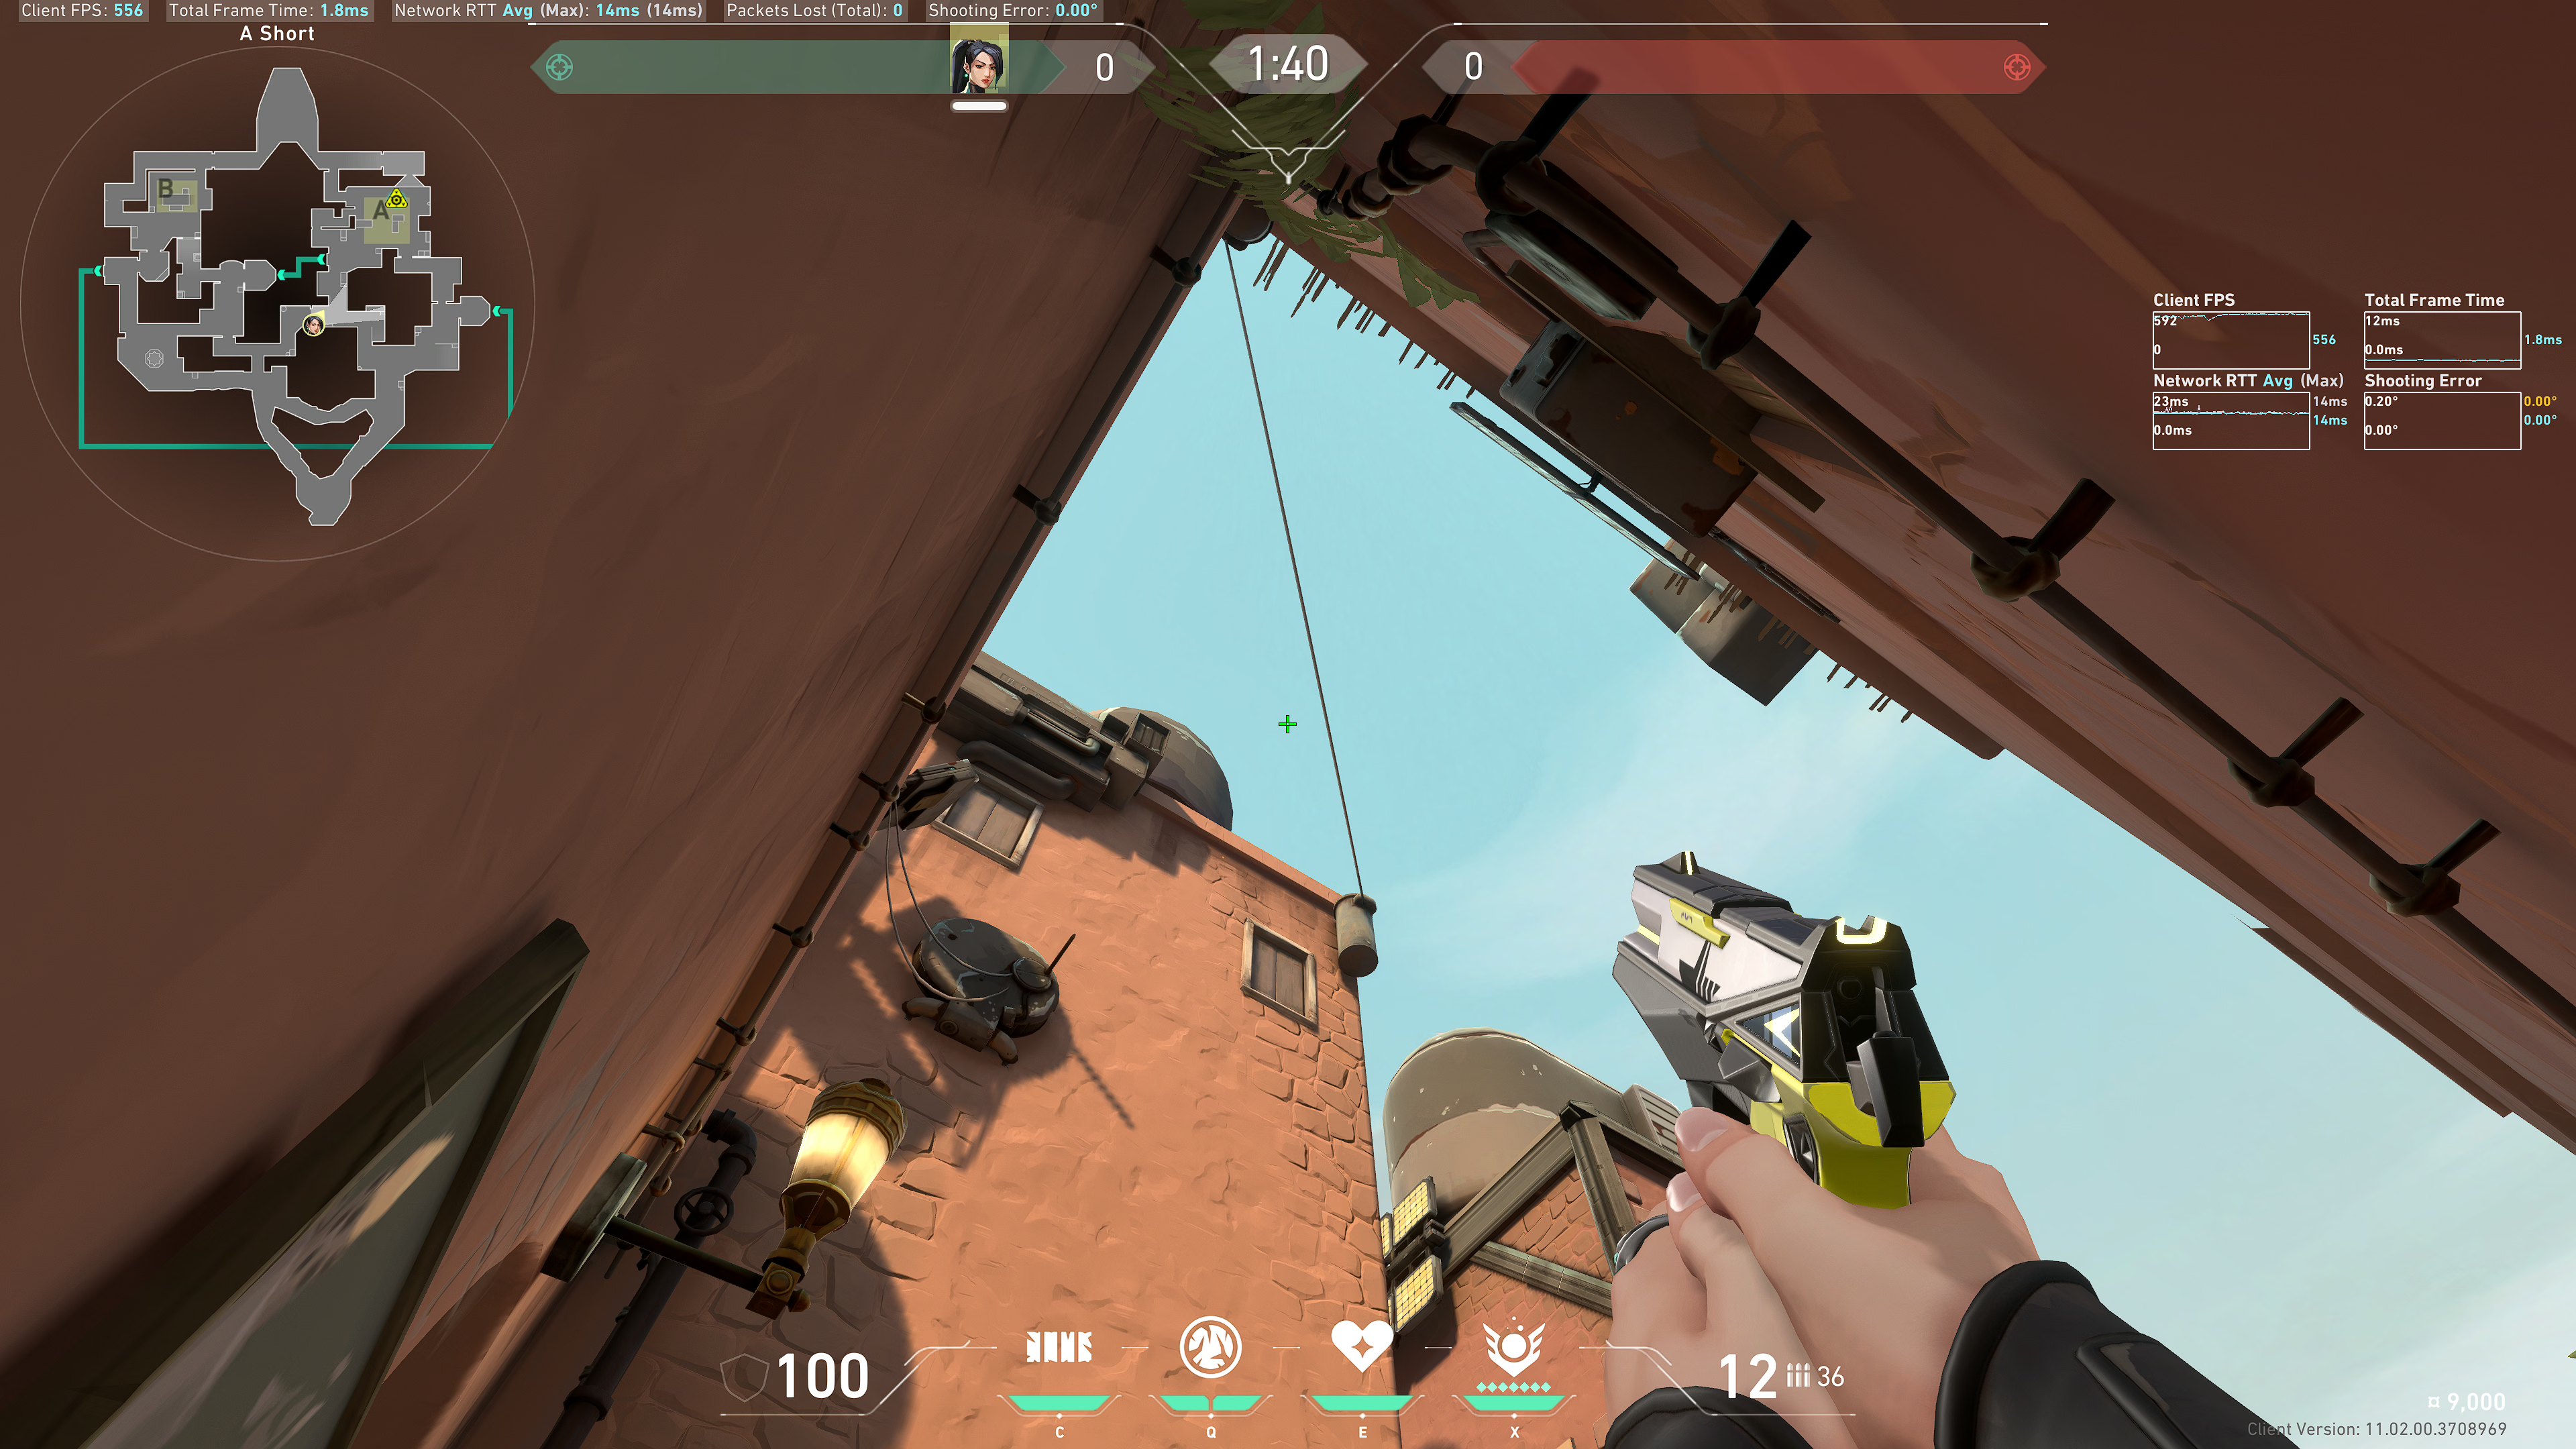
Result:
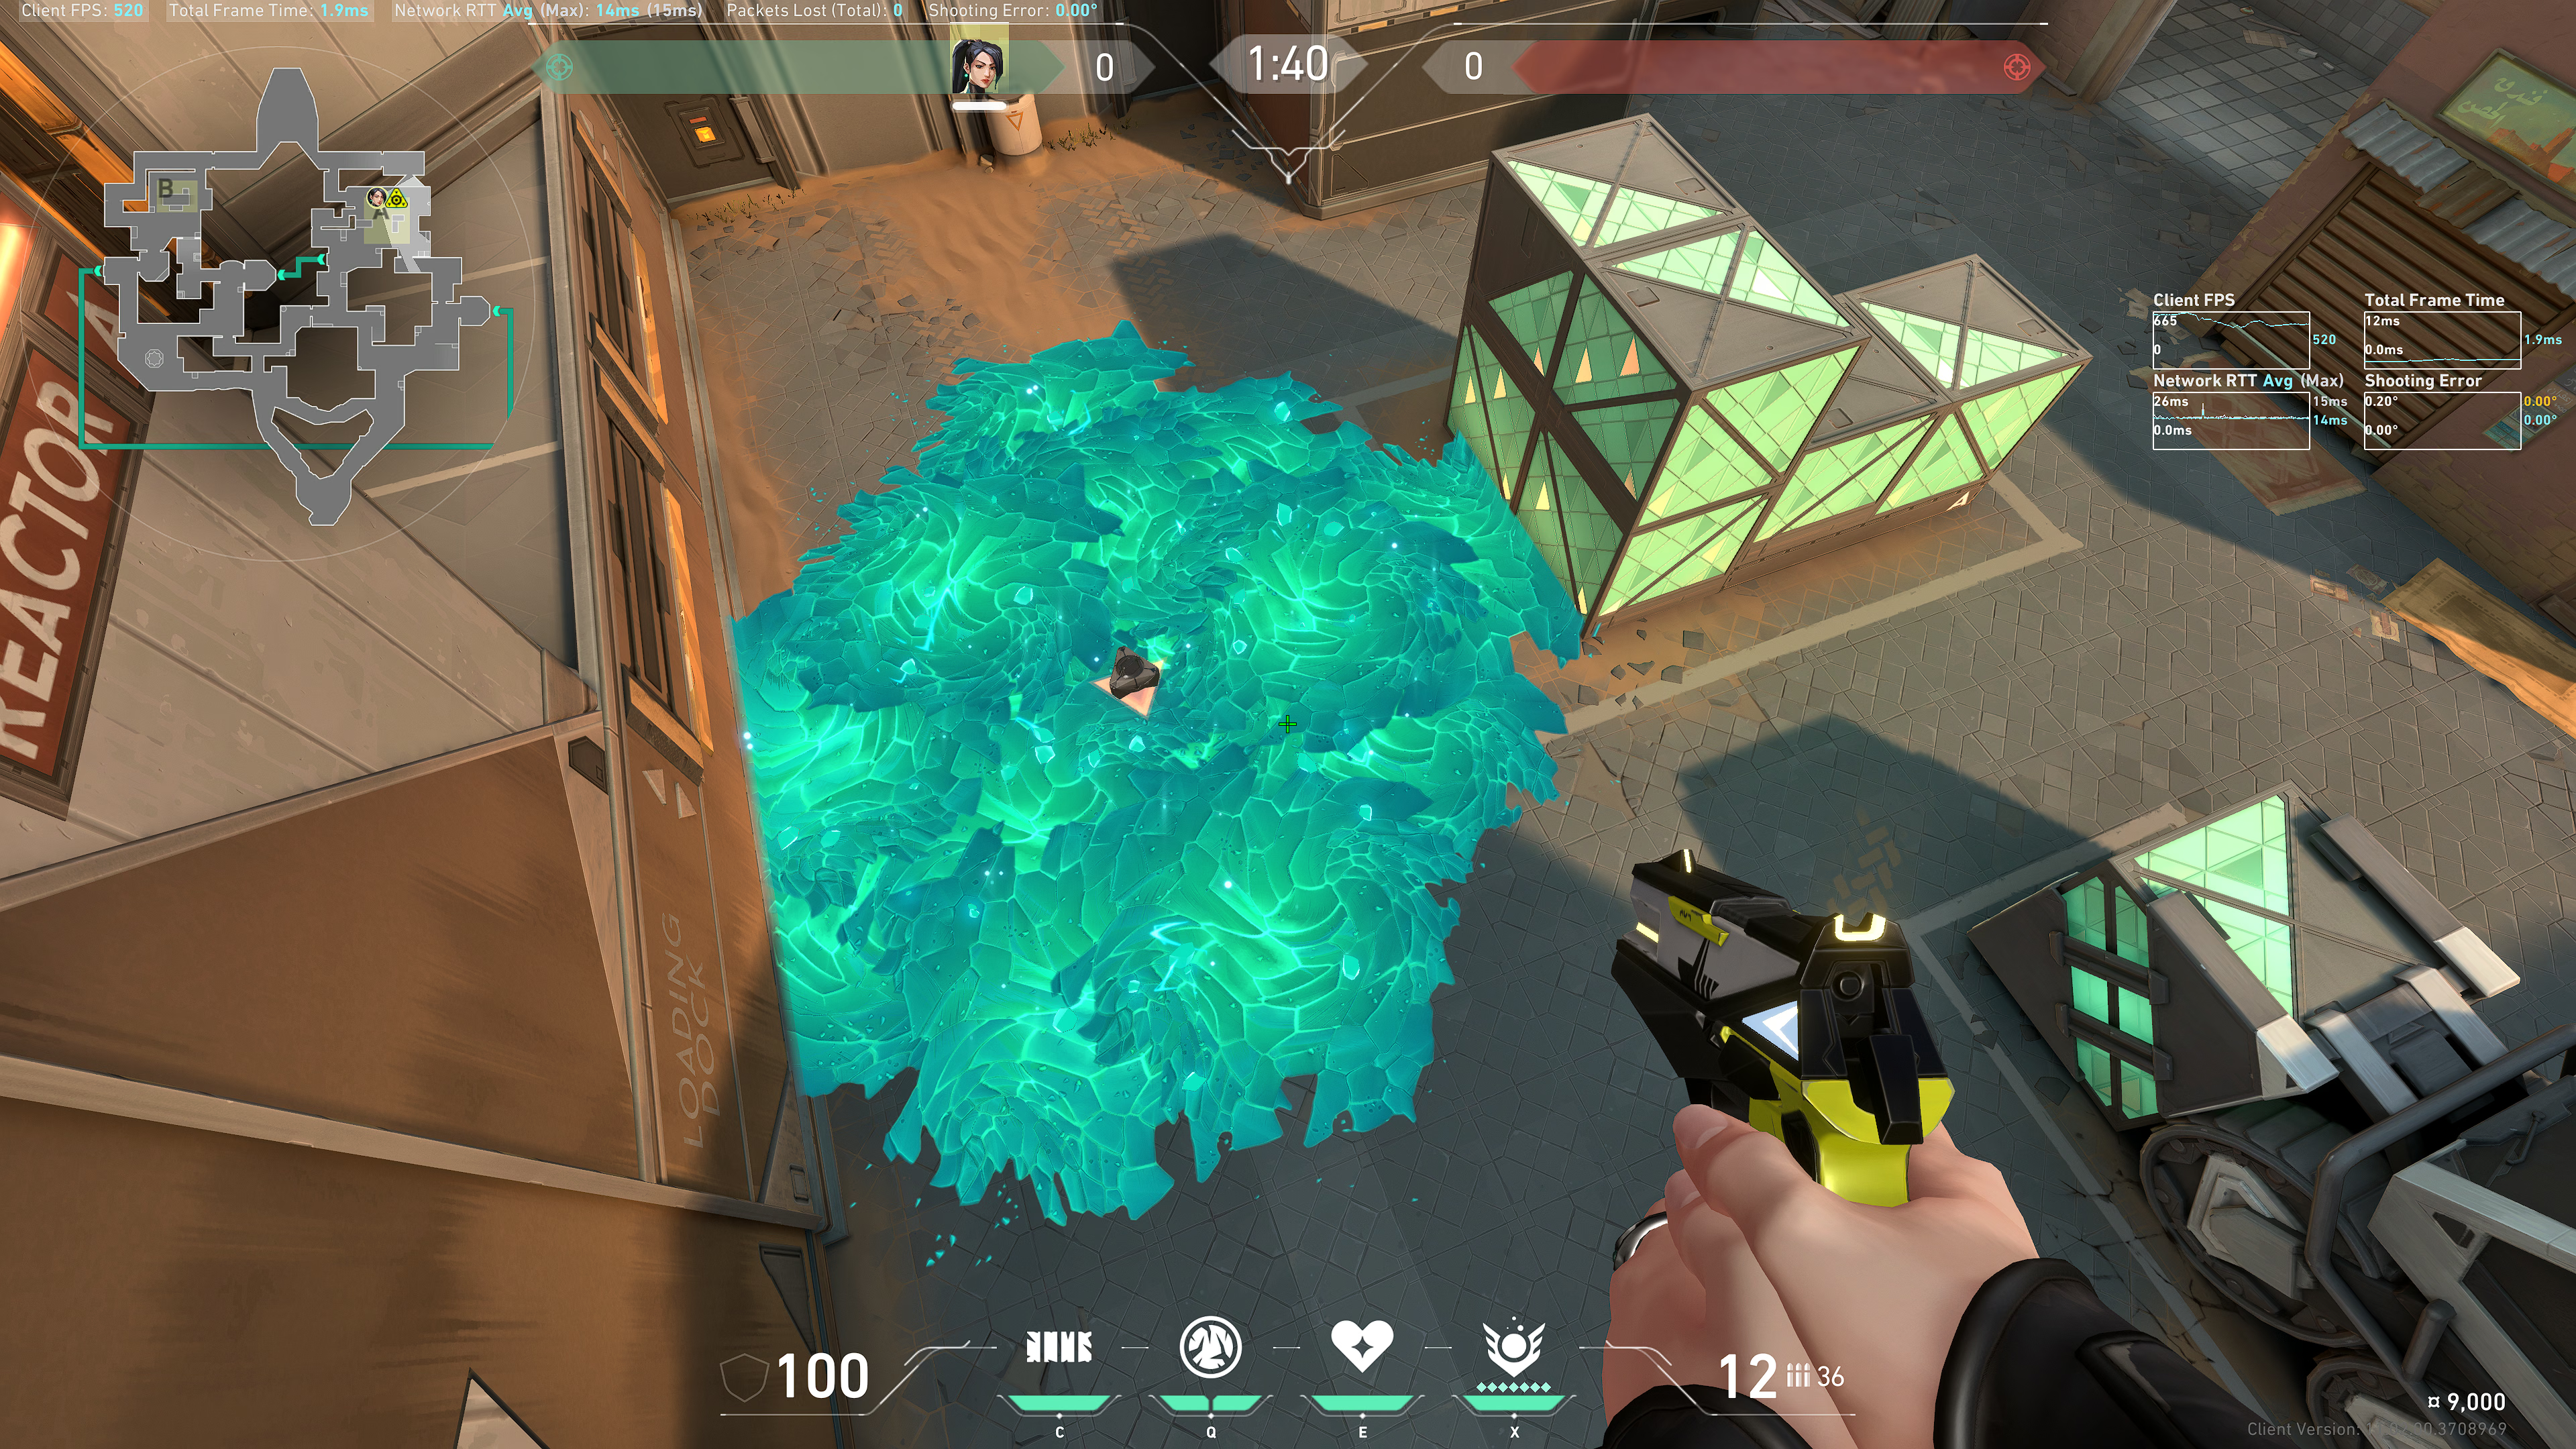
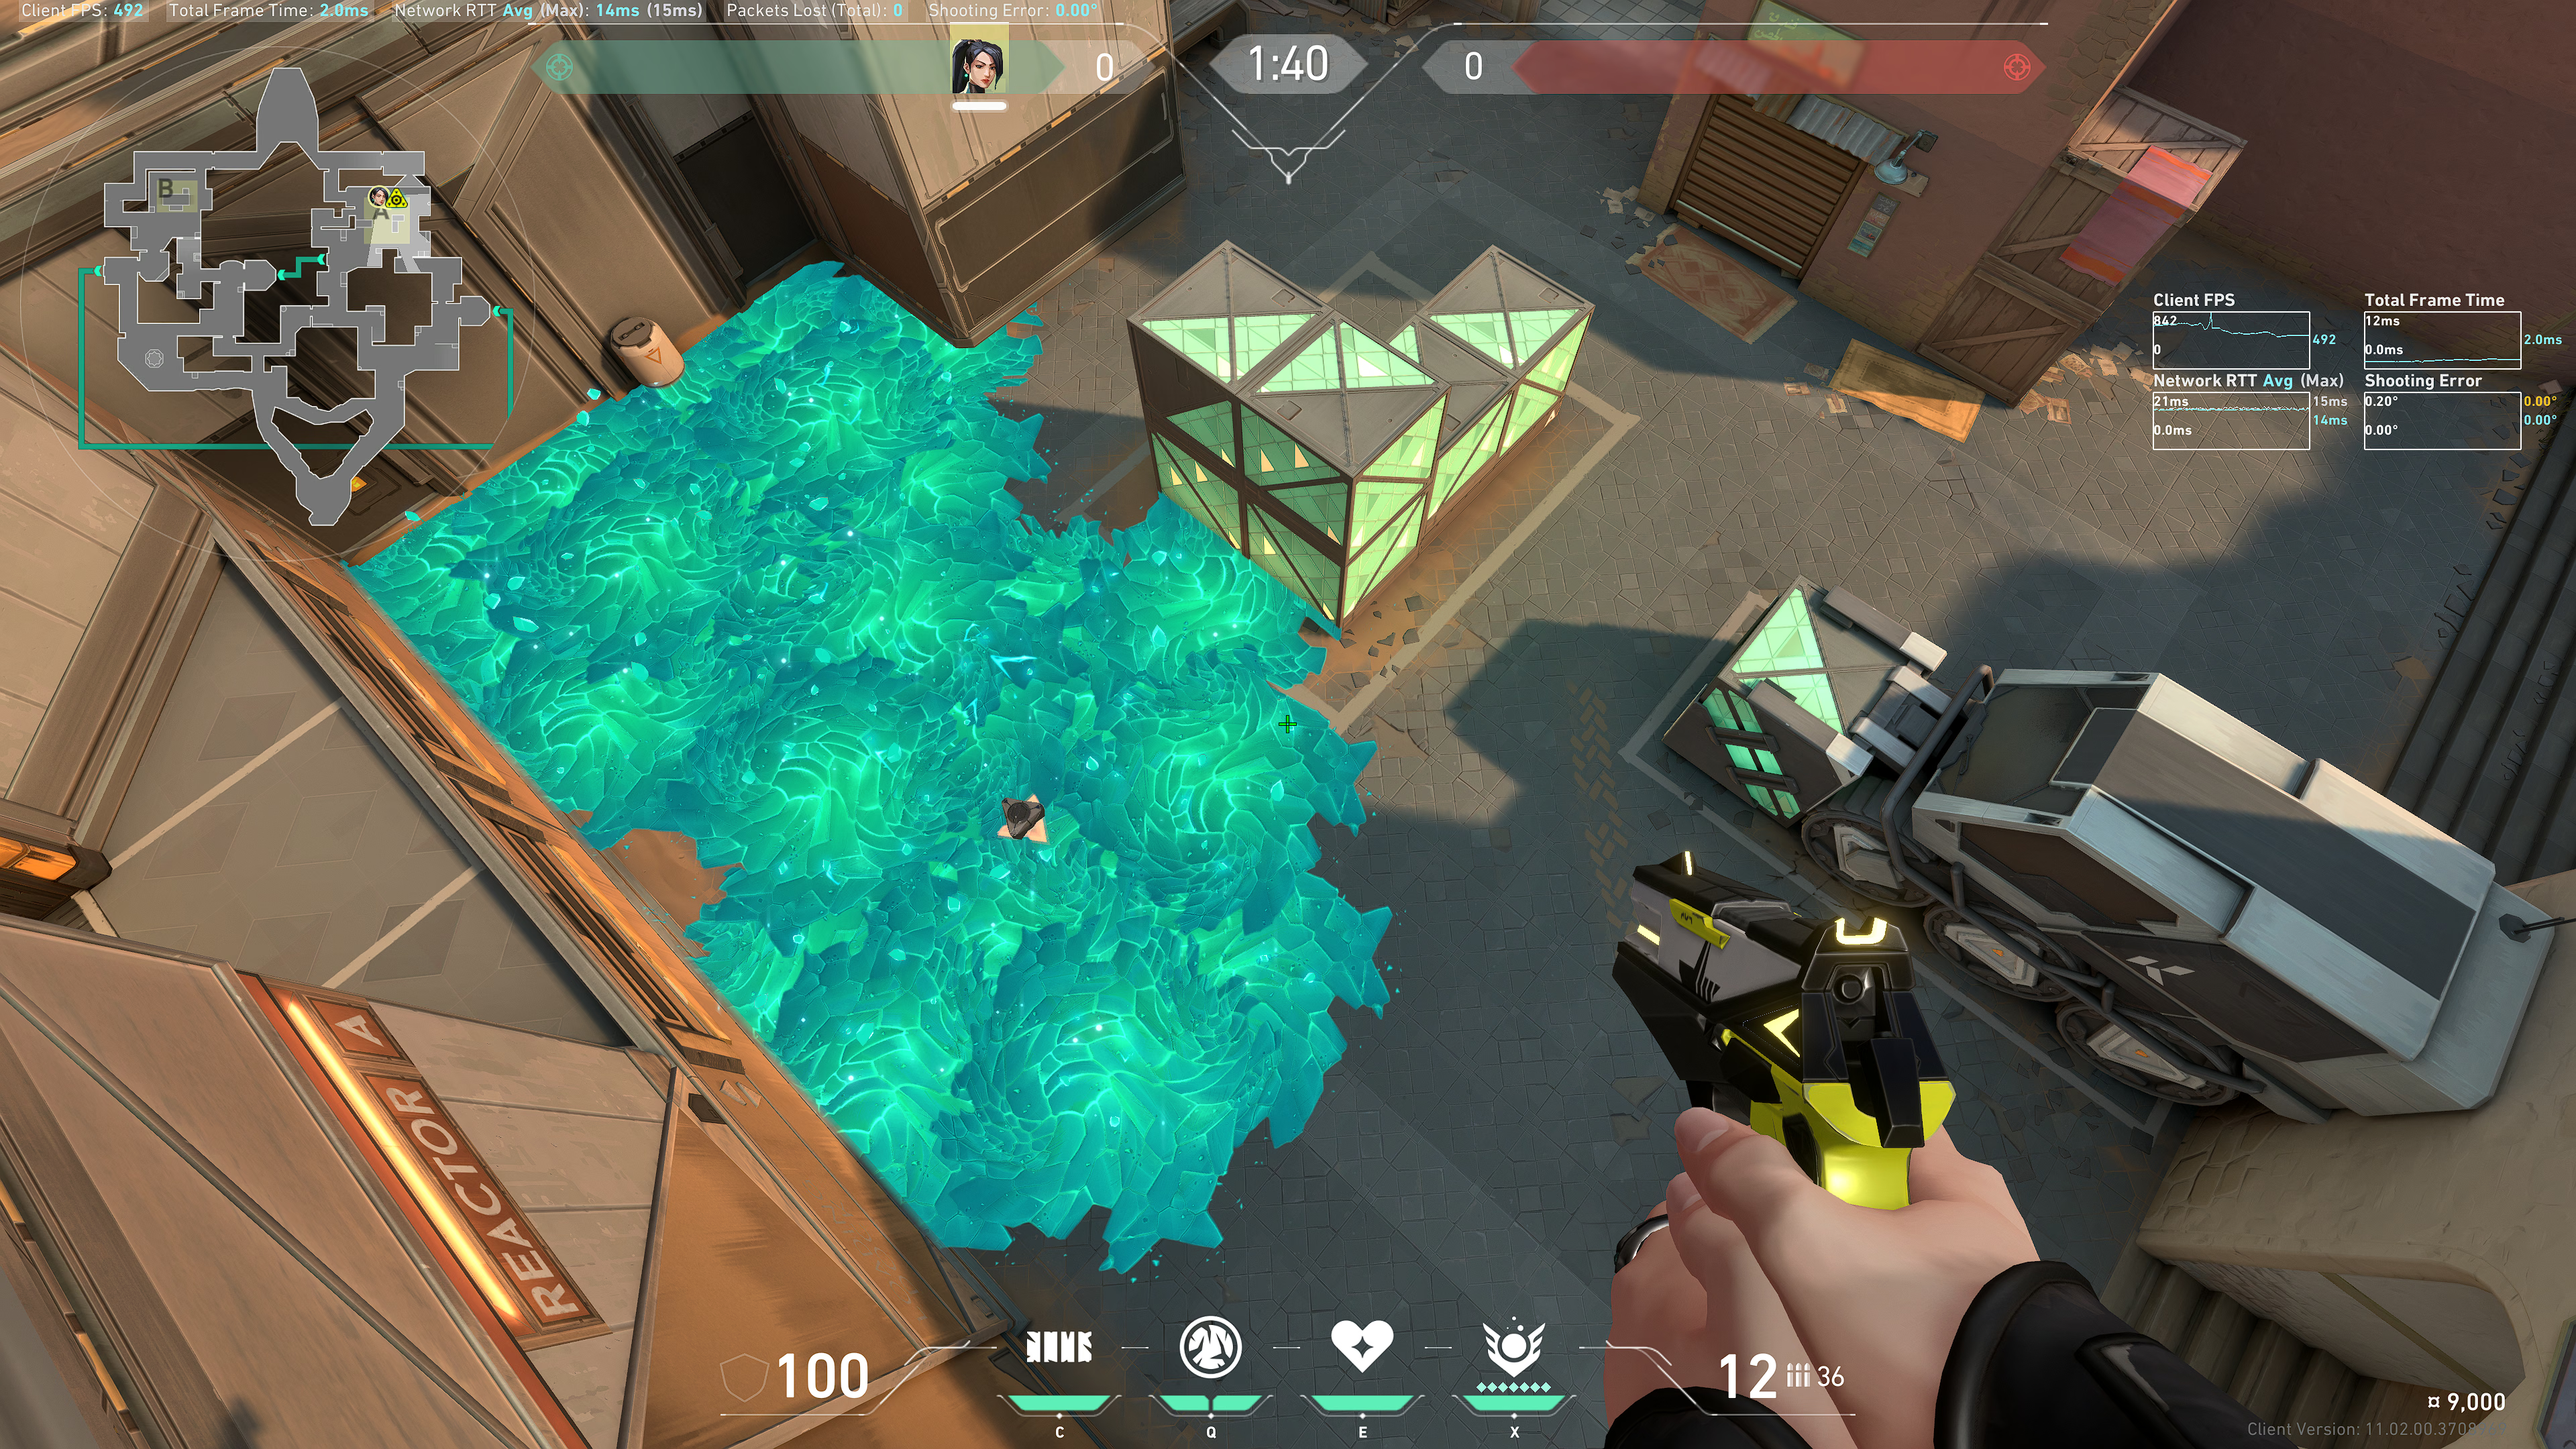
Combined results with Back Site Truck:
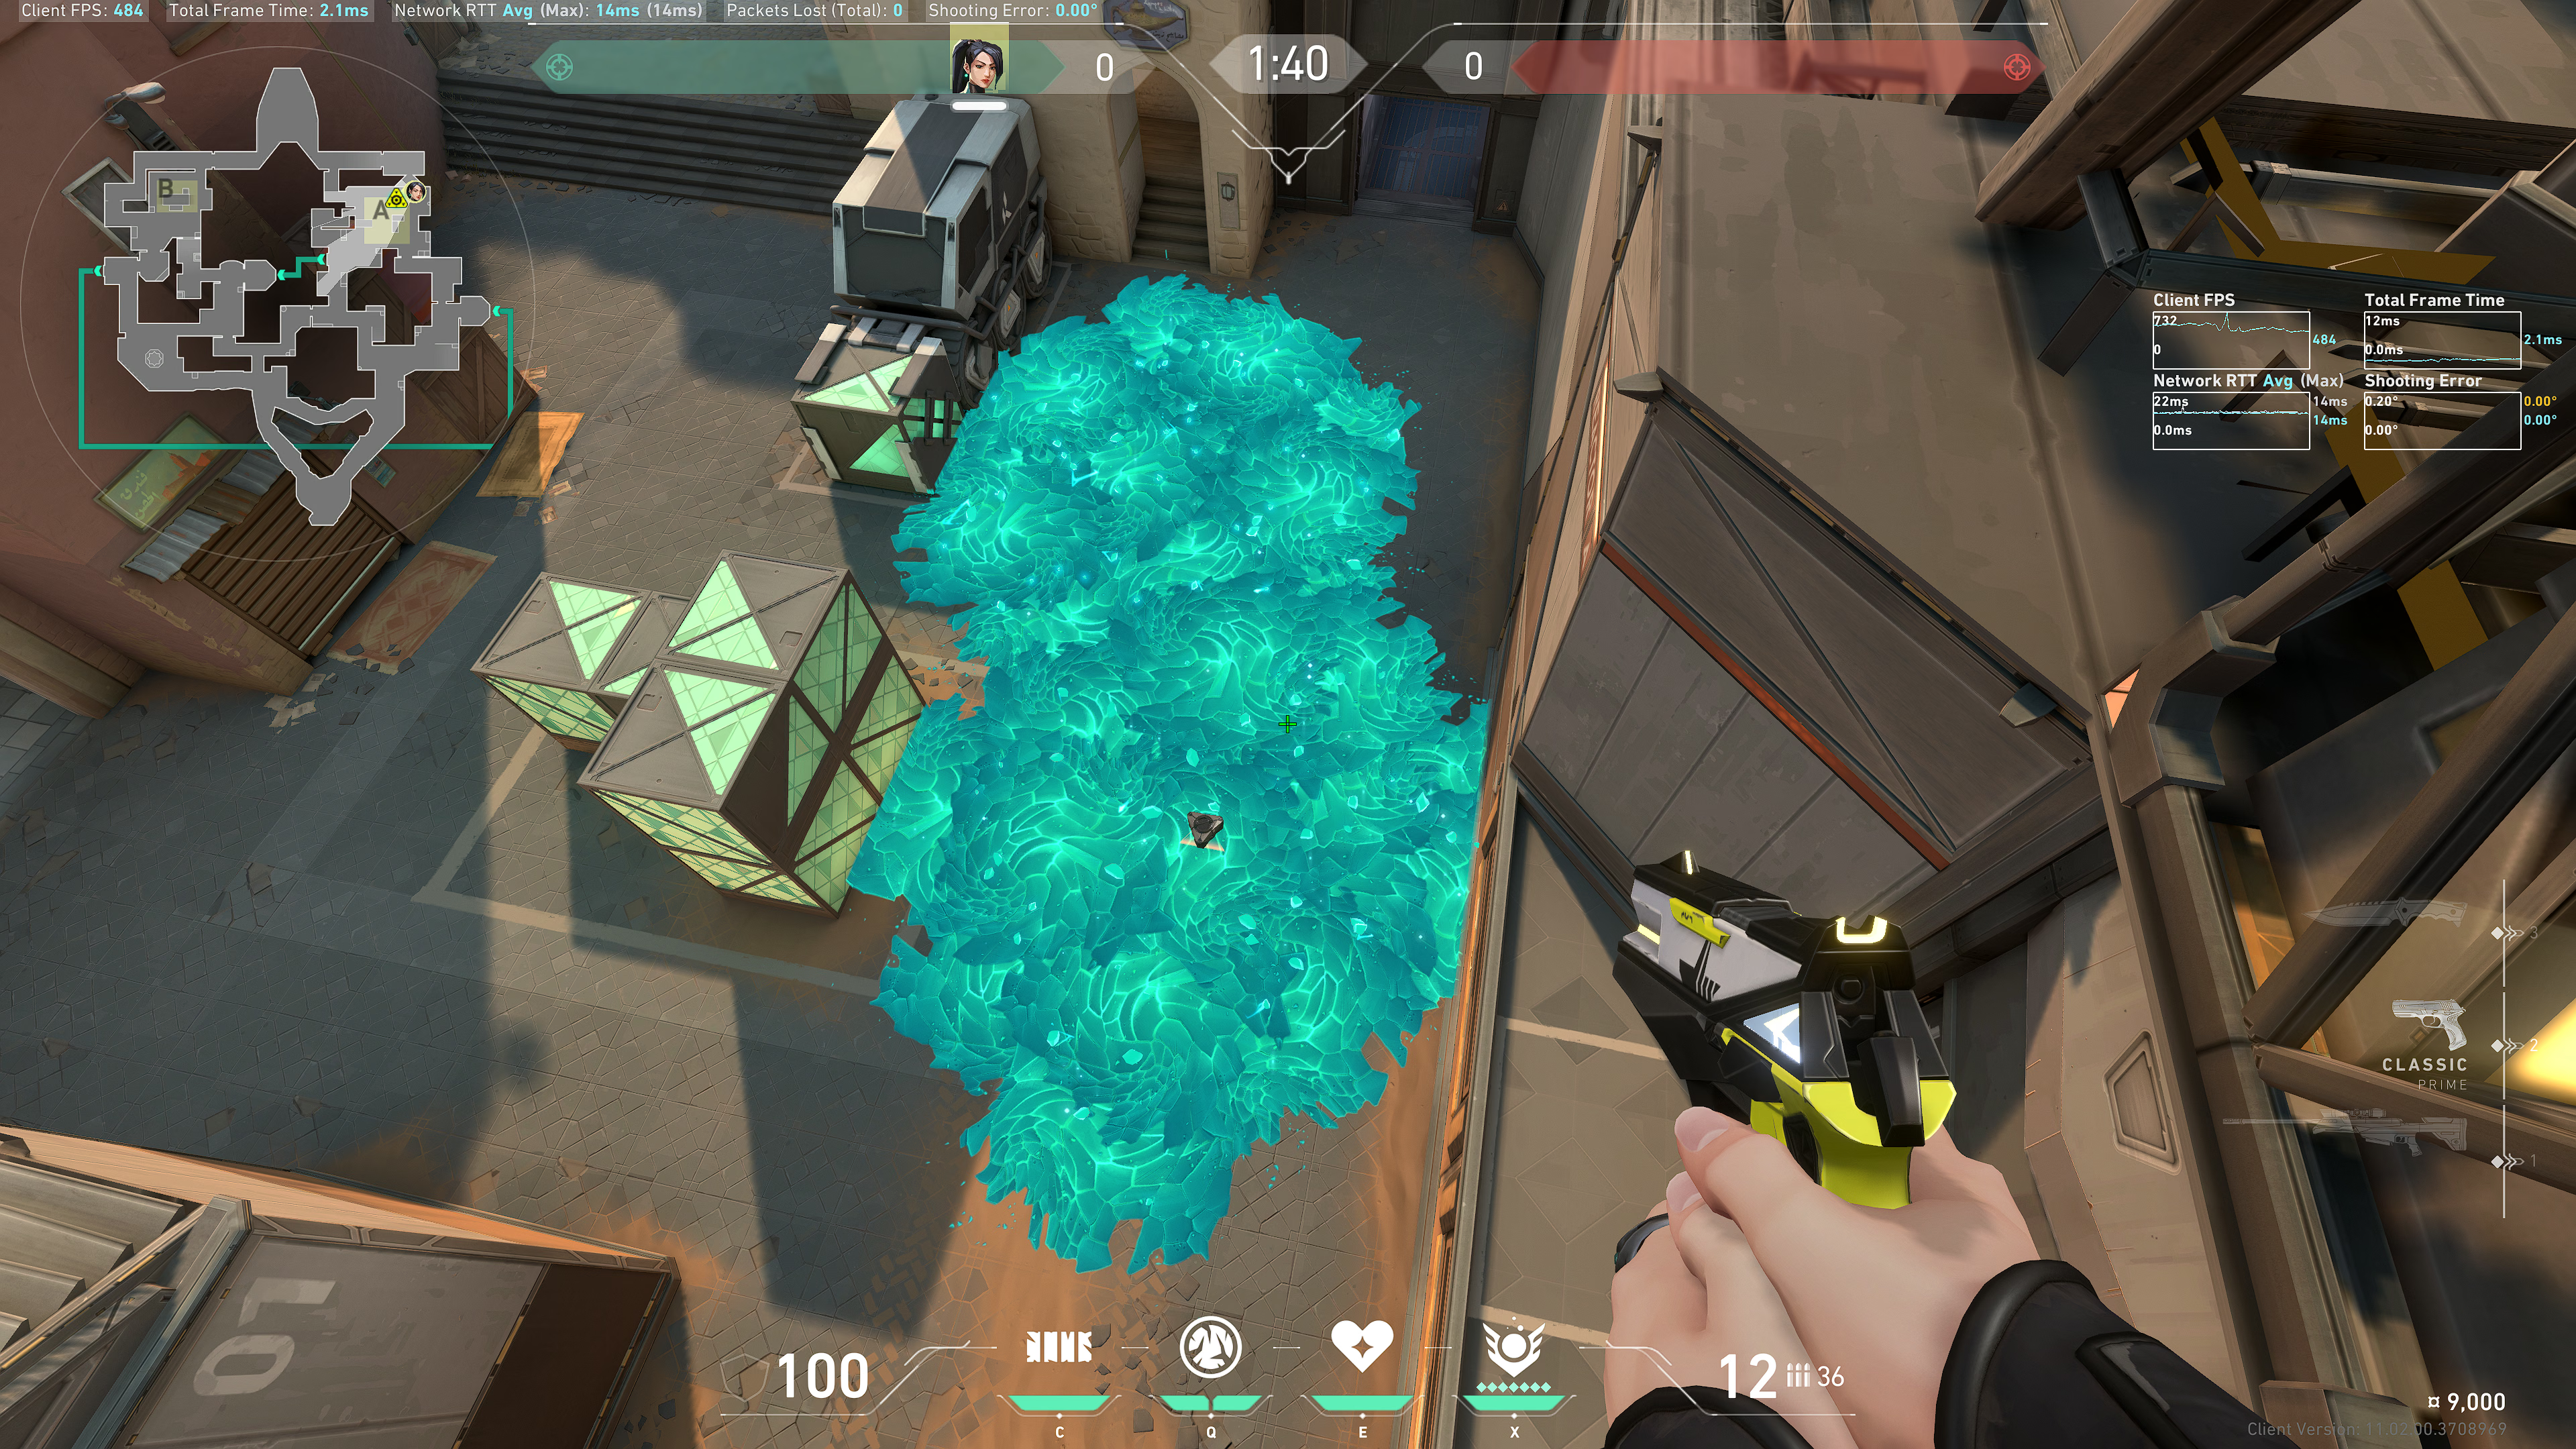
Back site hell
Note this shadow for the electric panels:
The separator bar between the Ice Orb and Heart icons; put the left side of this bar into the bottom part of that shadow:
Result:
Combined results with Back Site Boxes:
B Site
From Link
Stand in this corner, on top of the wheelbarrow:
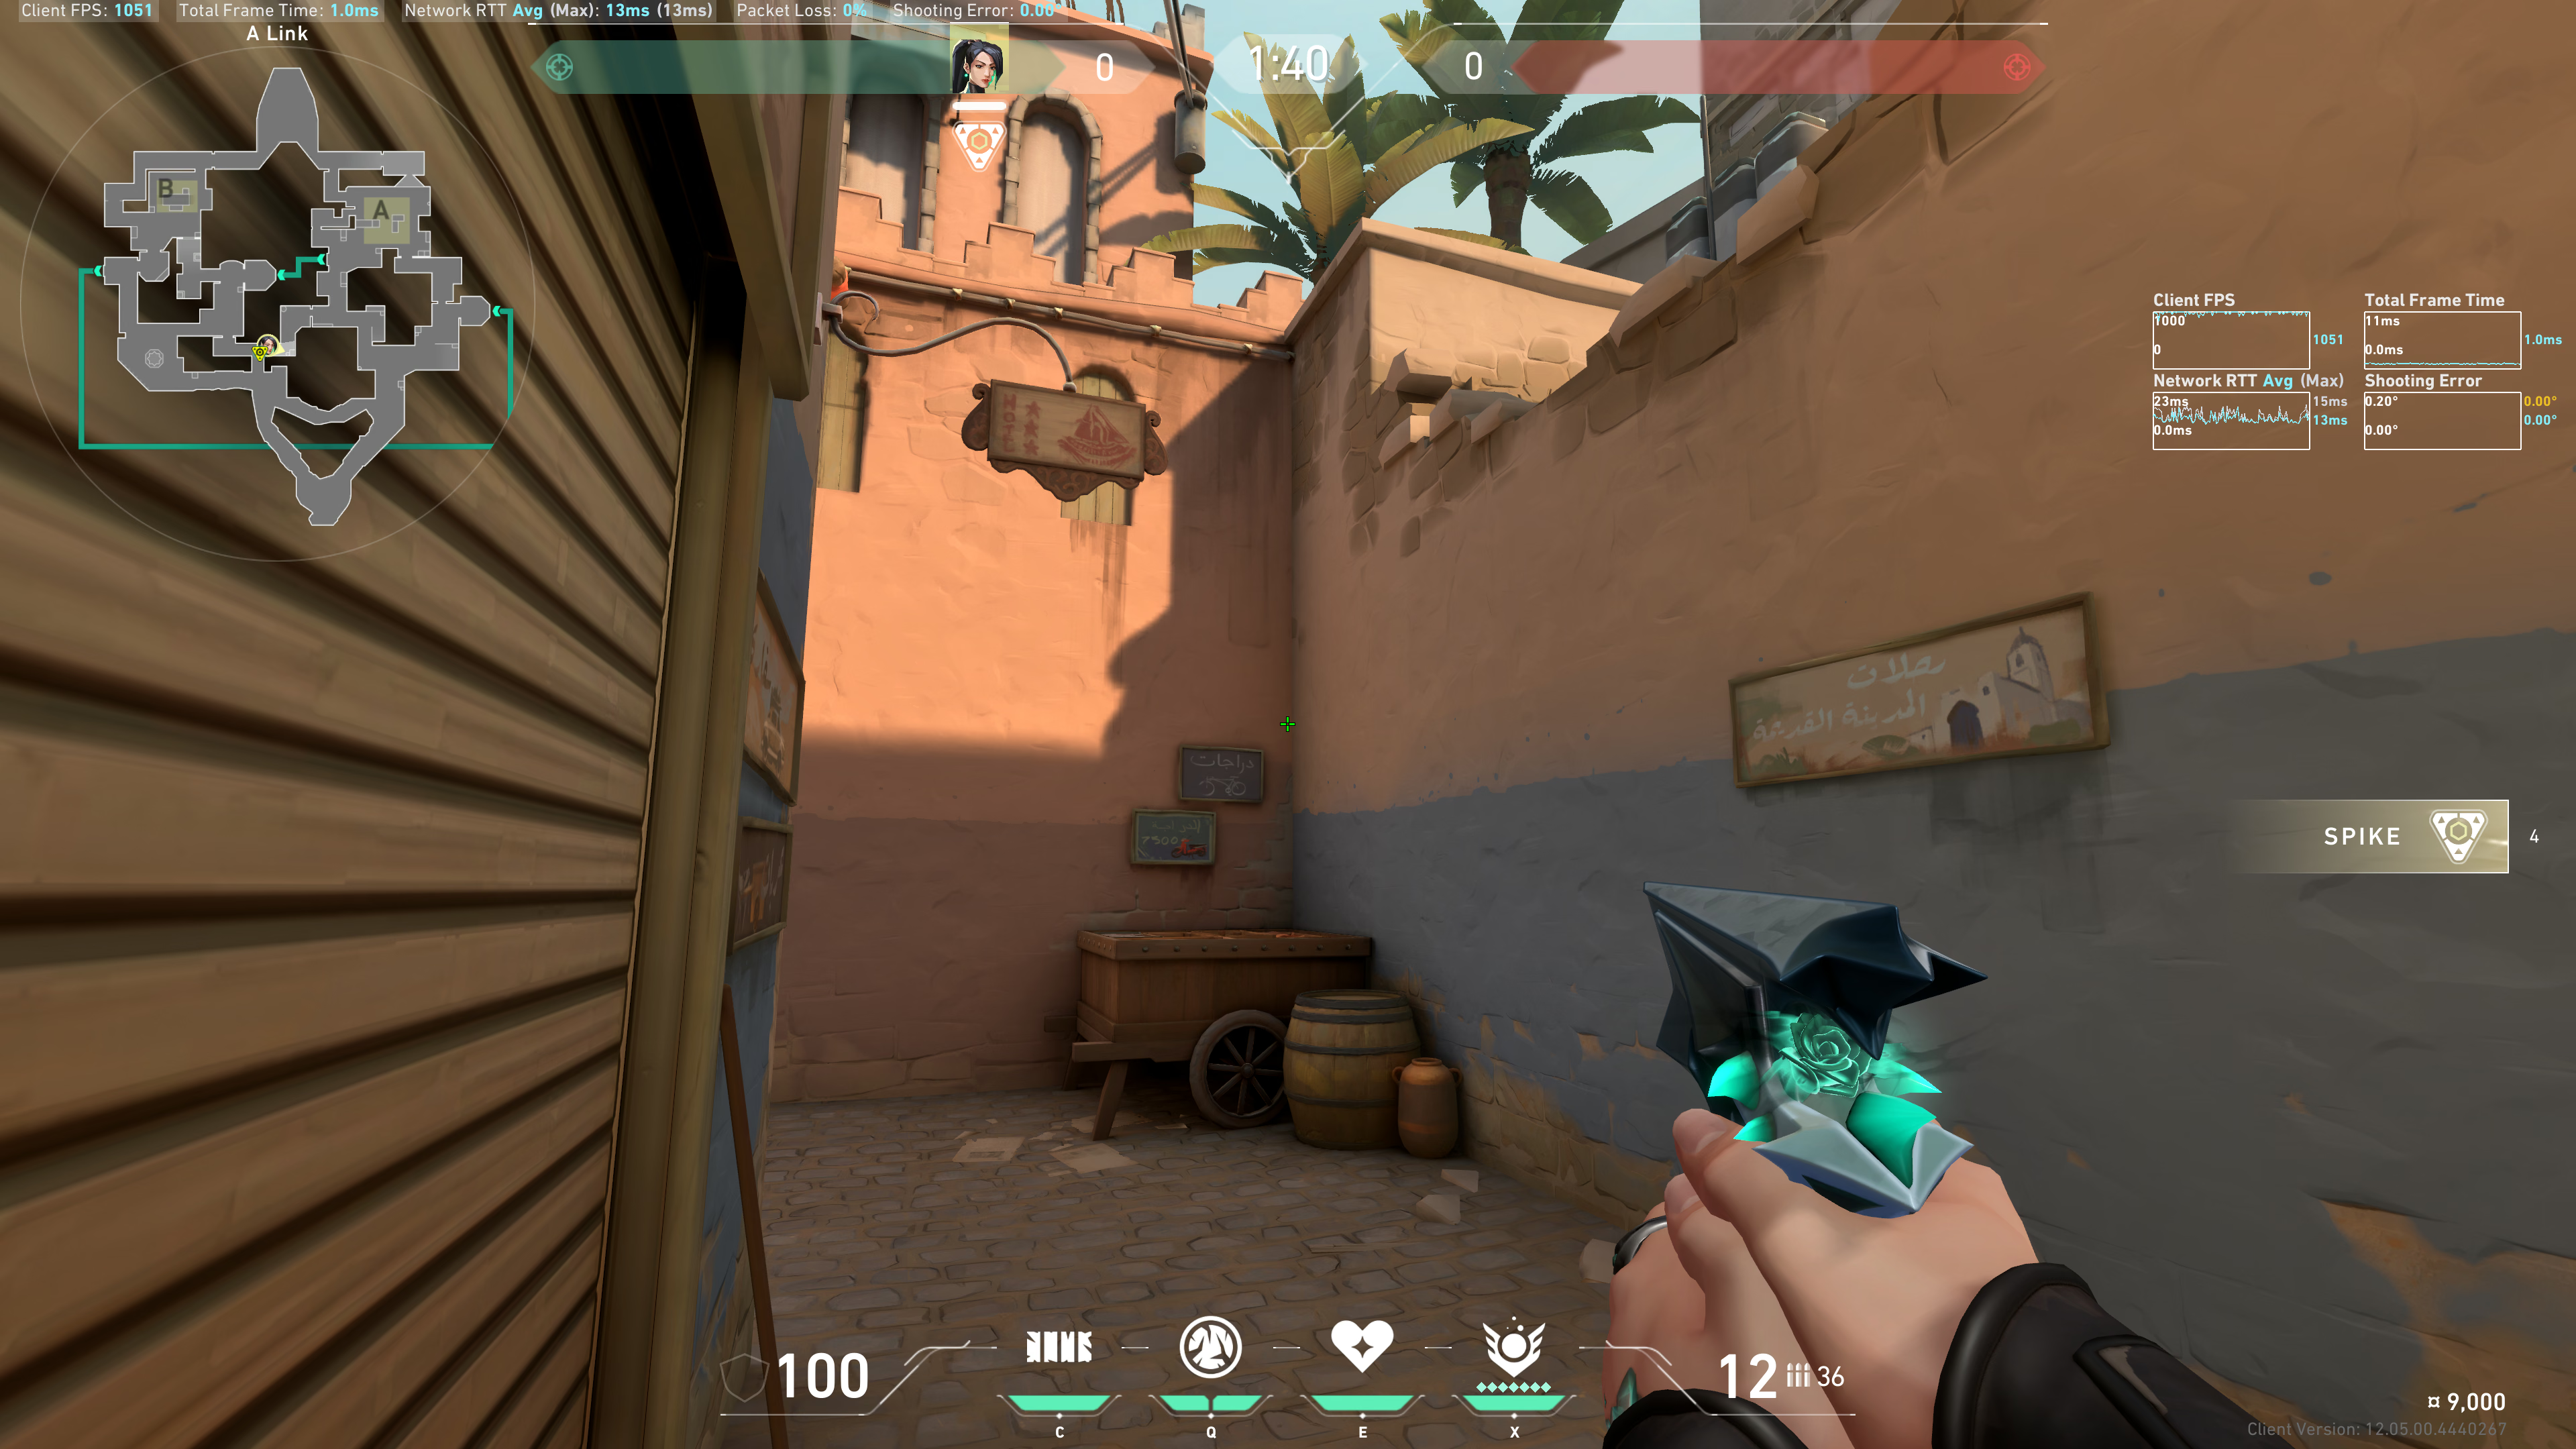
B Garden
Note: this is best when the team is defaulting and taking space. Avoid using this if your team has two mobility duelists and/or fast executing.
Note the joint that connects the lamp post stem to the wall:
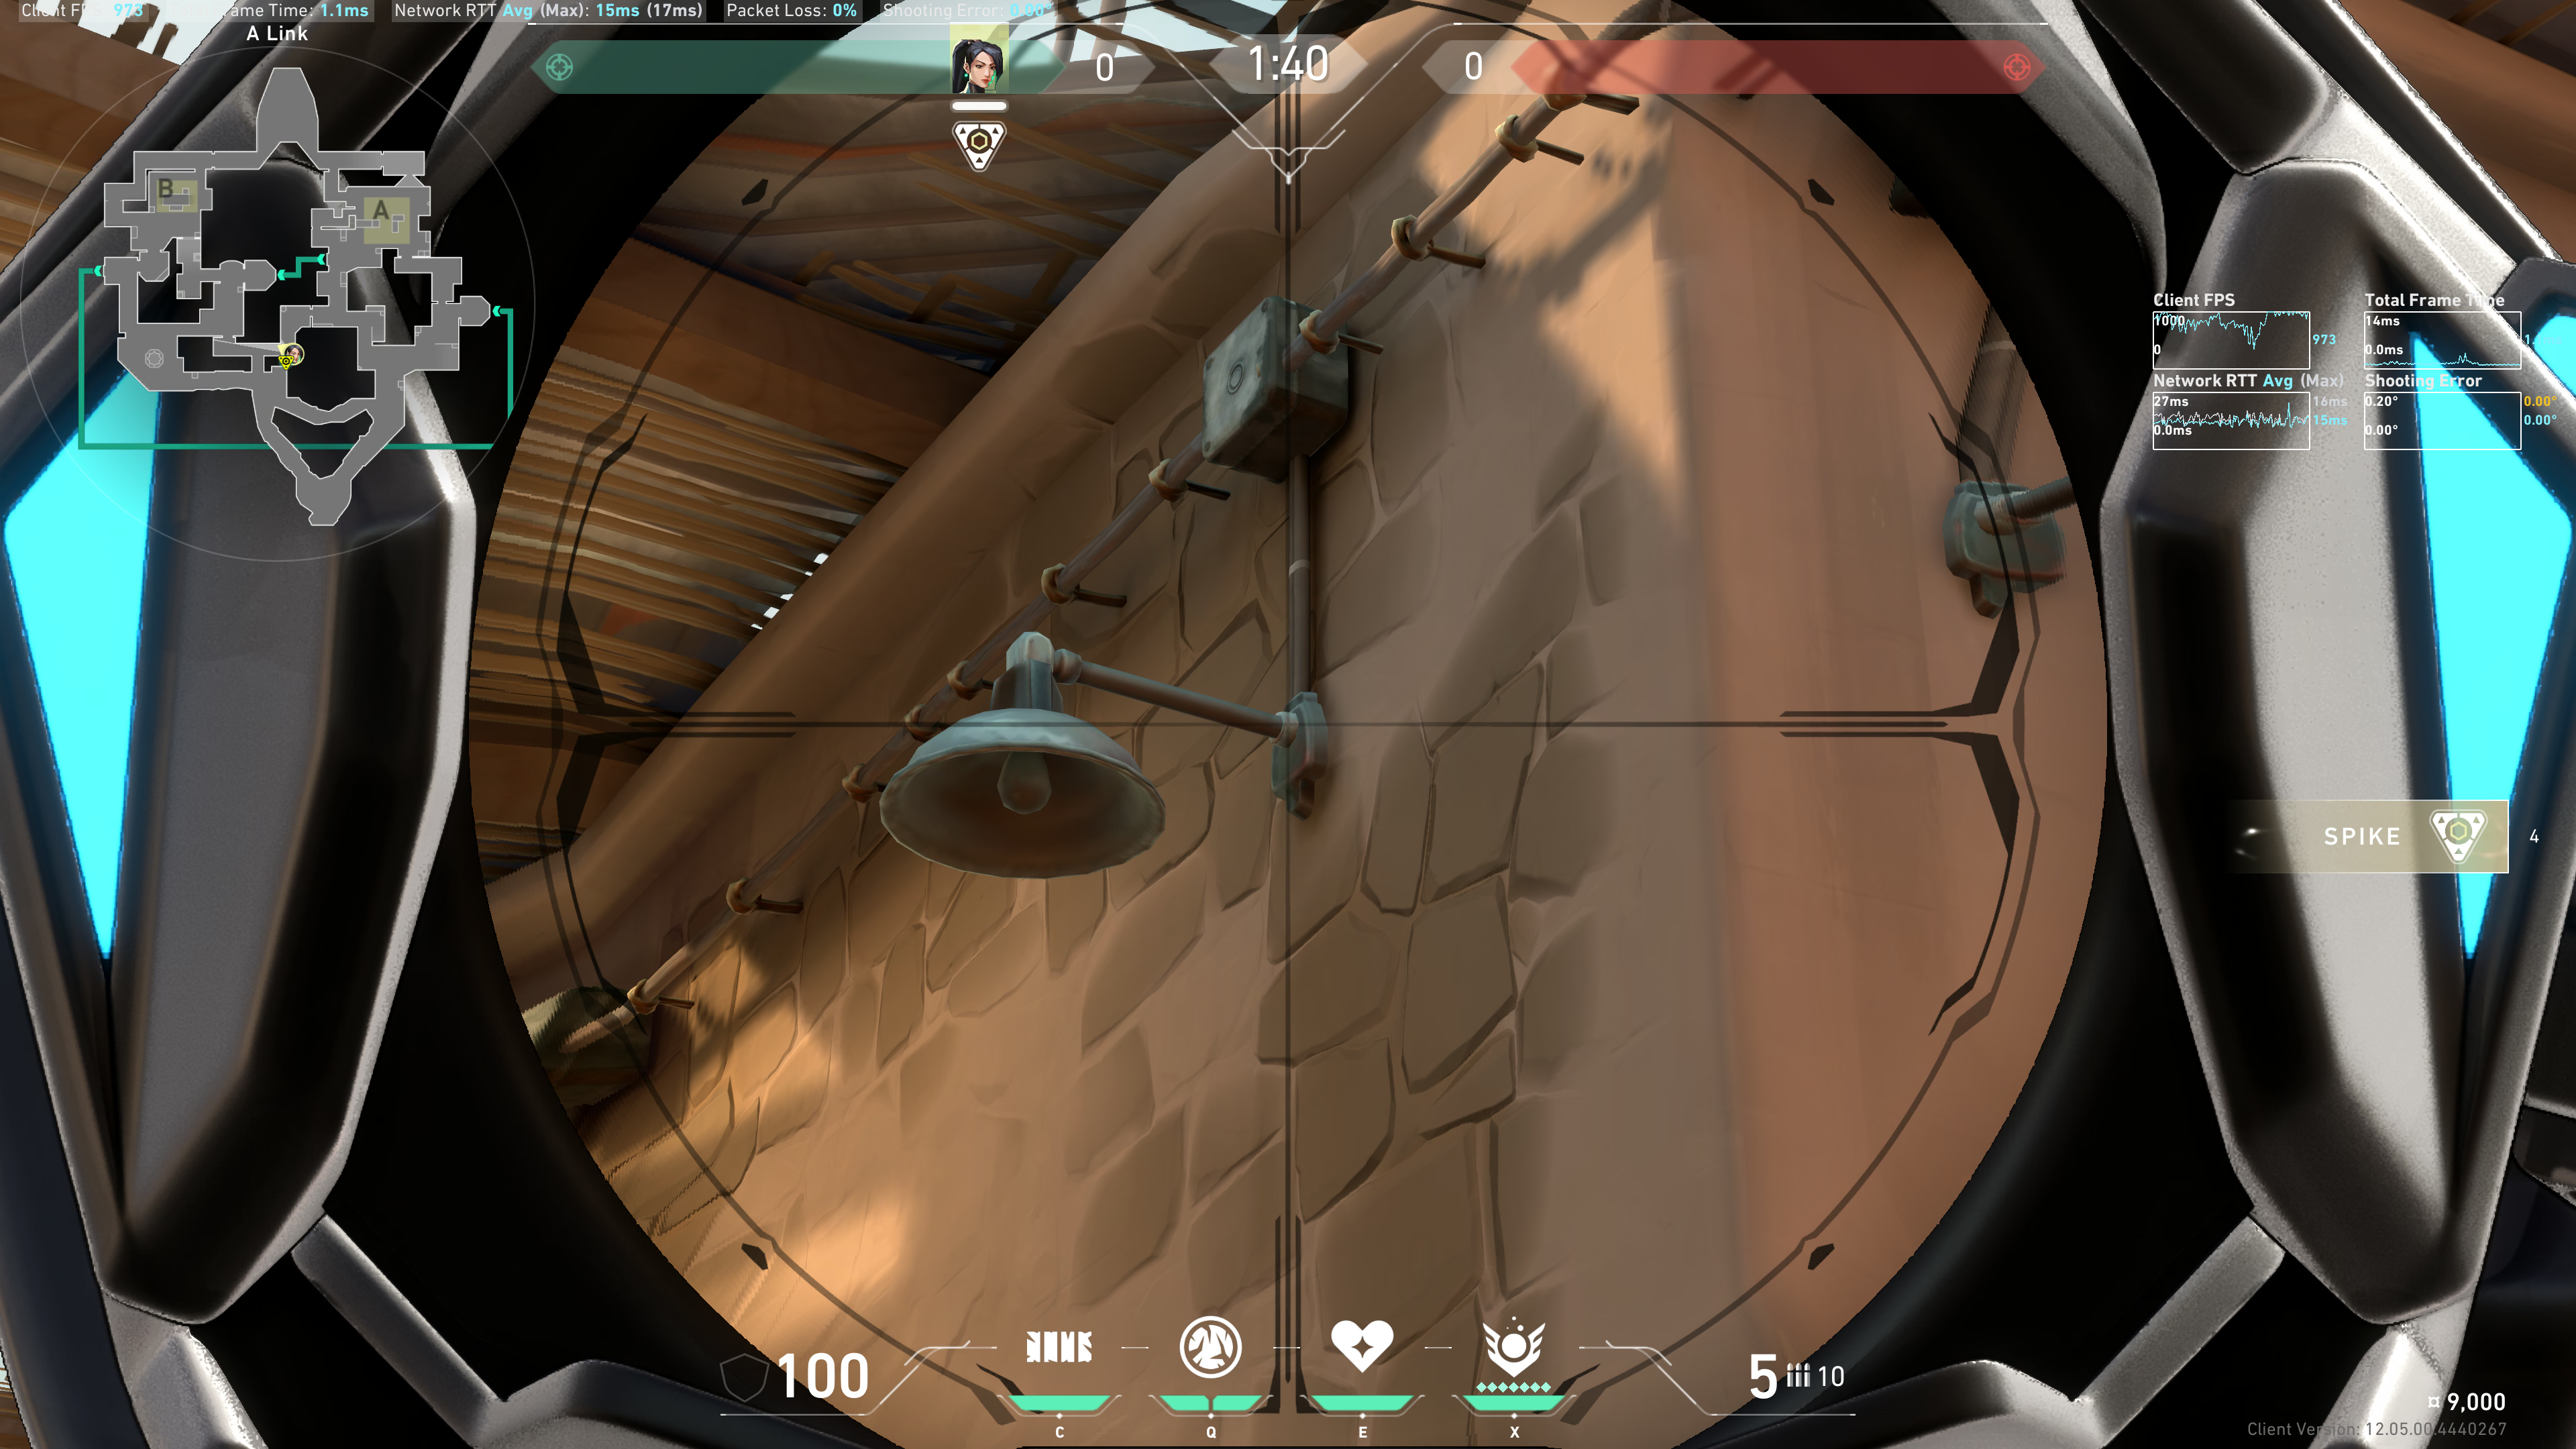
The second separator bar, line up the left side of it with that joint:
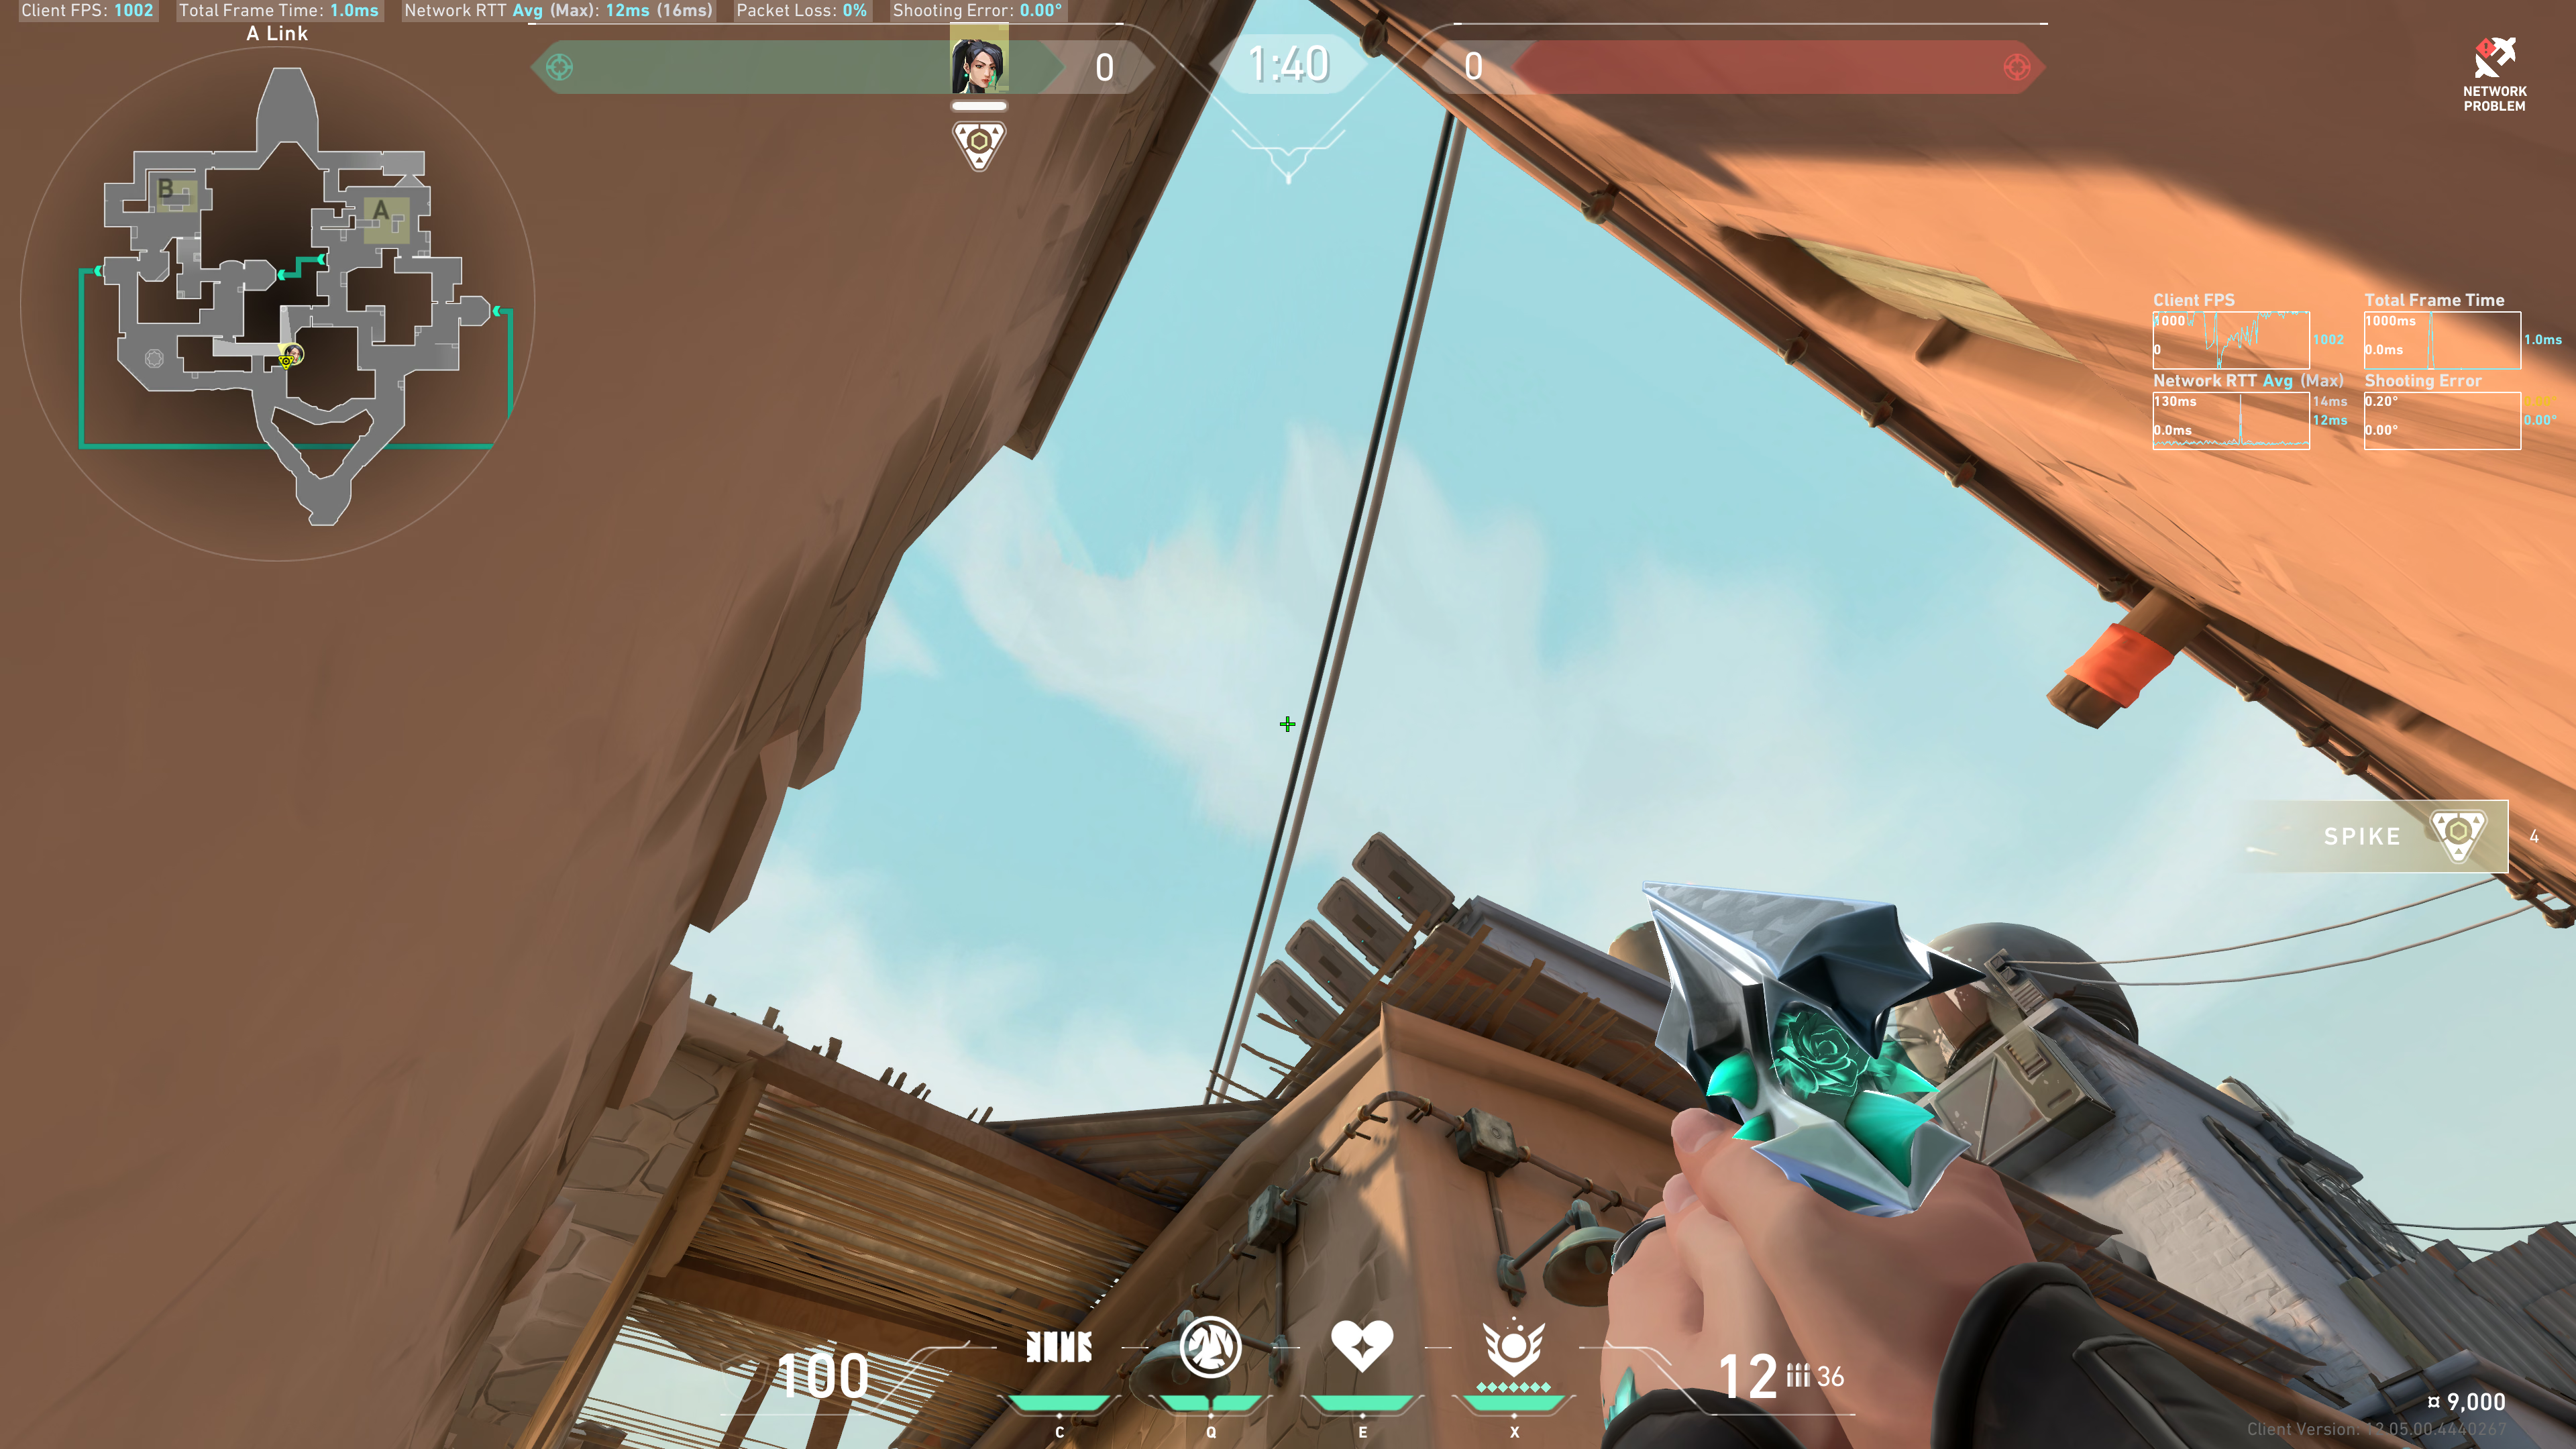
Result:
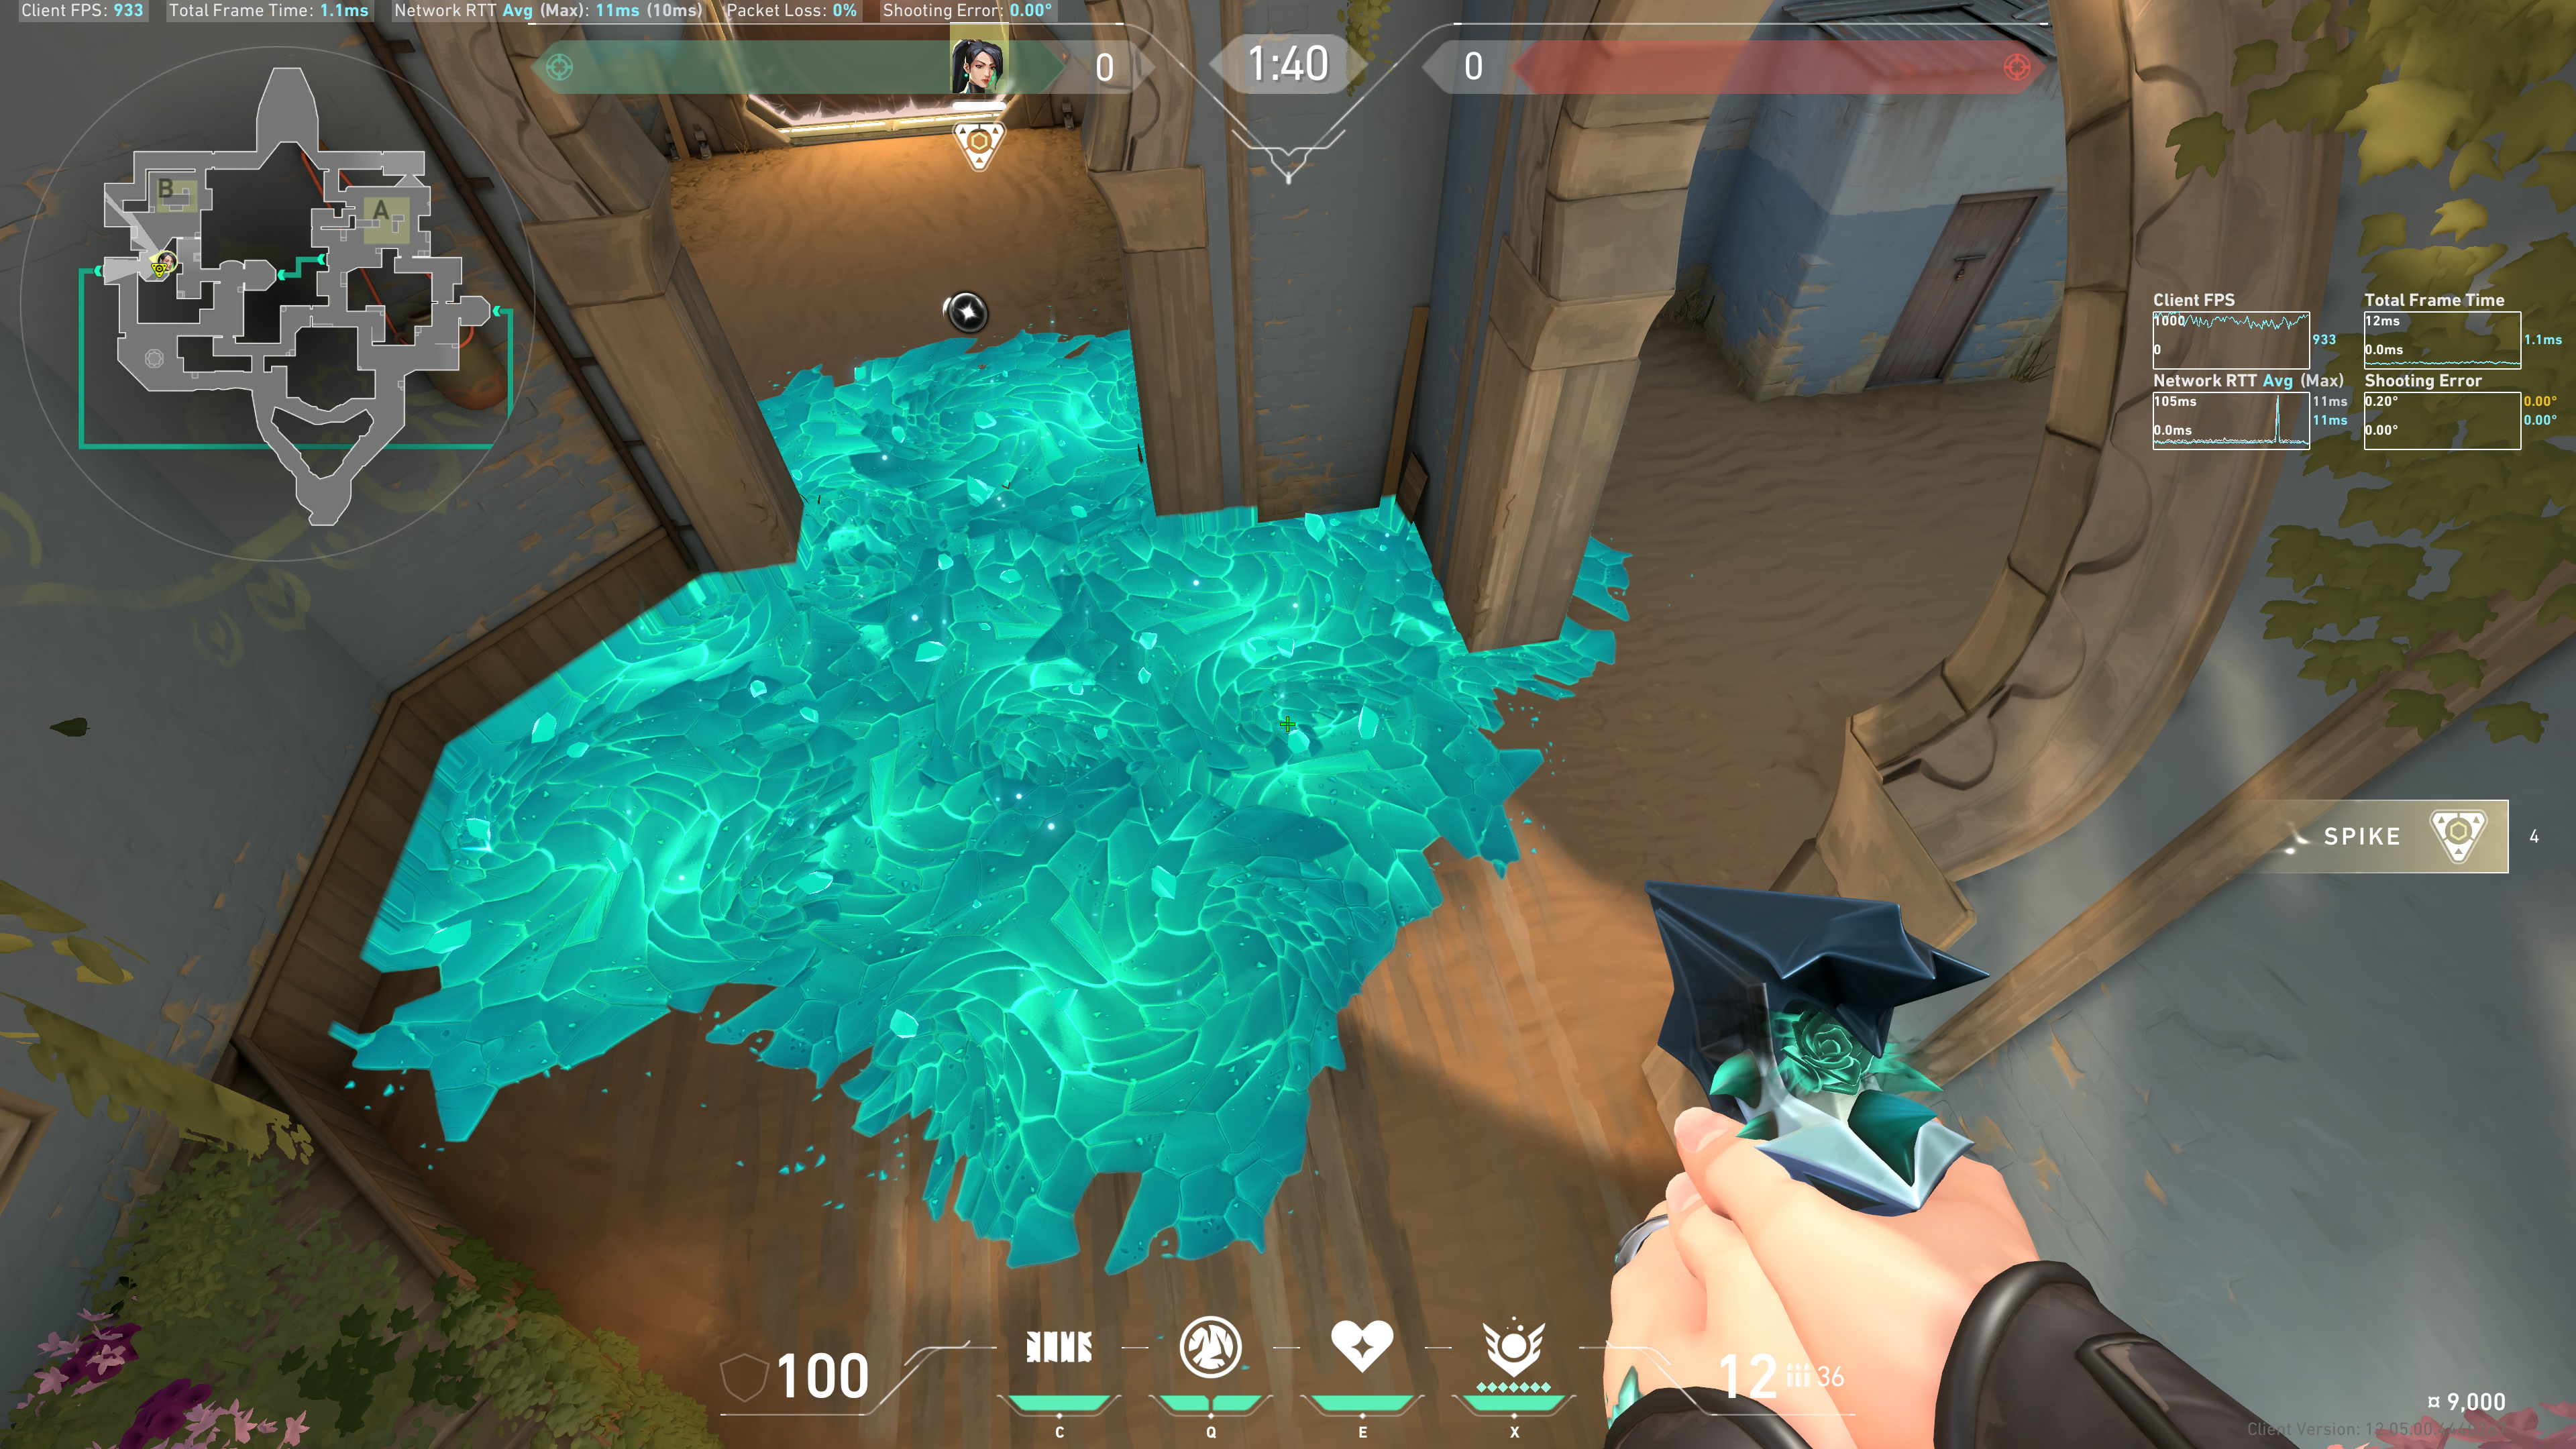
From B Short
Tuck into the corner of this box:
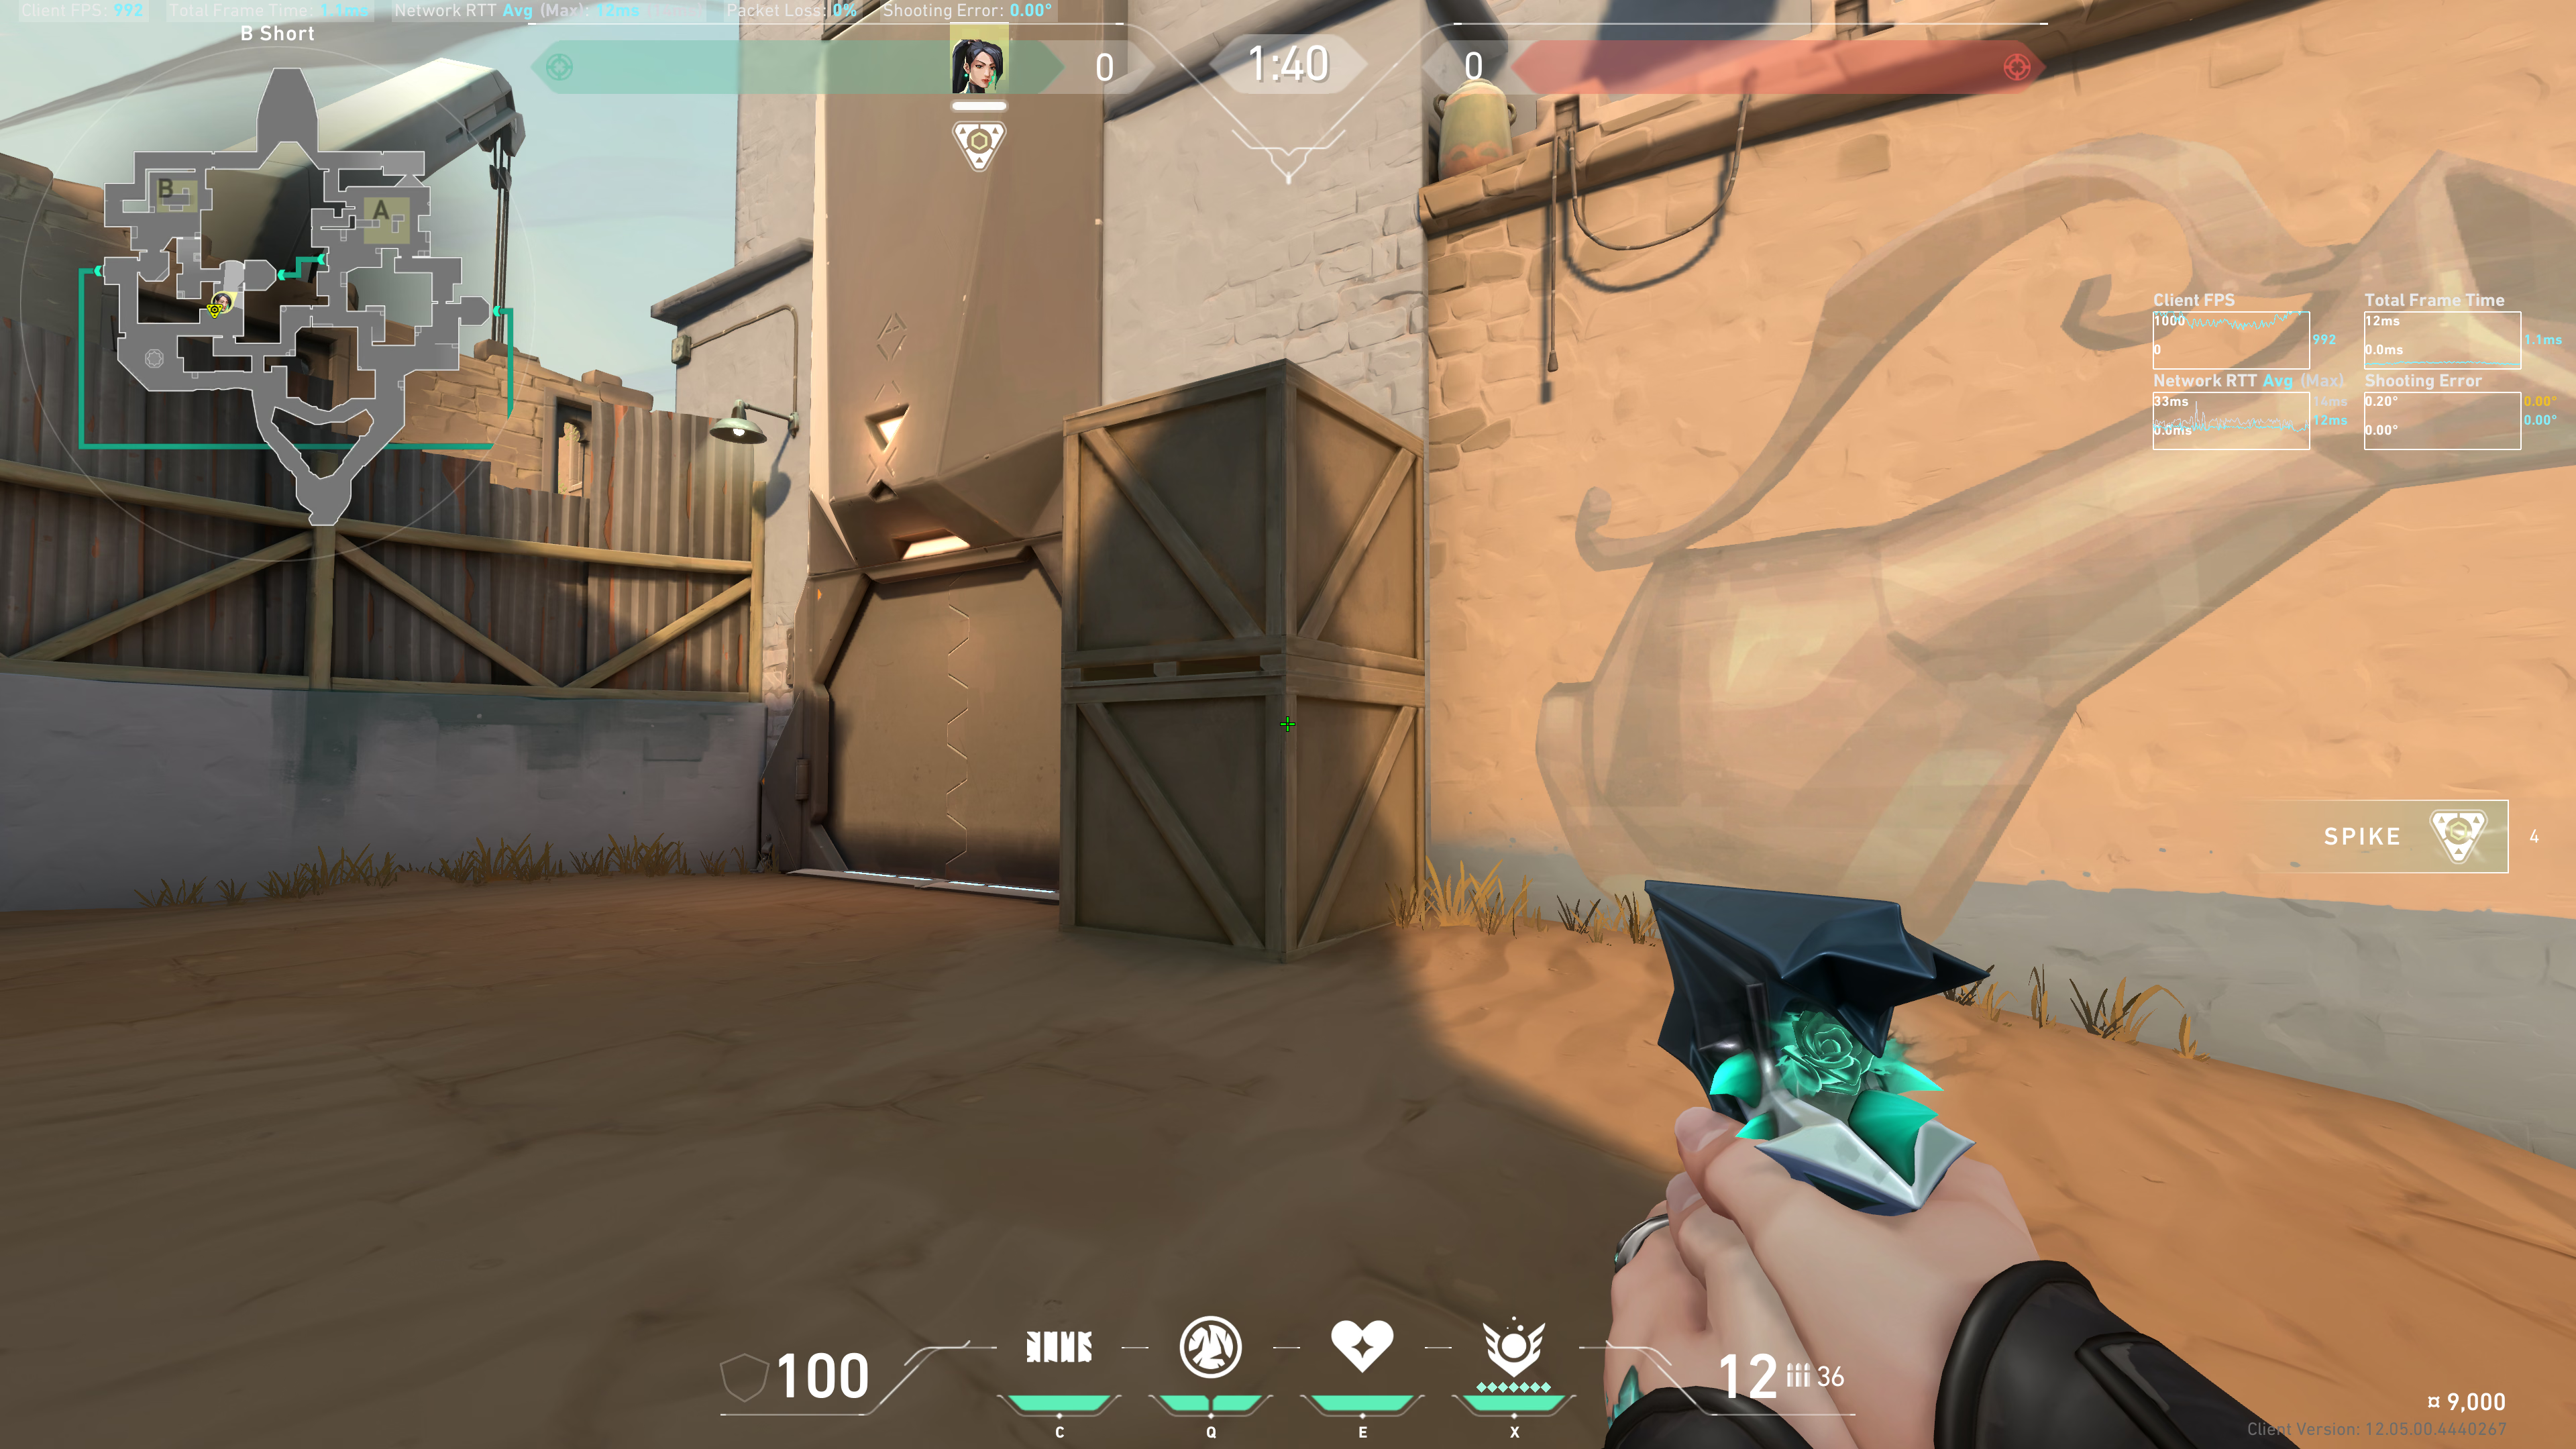
Back site (left side)
Notice these thorns:
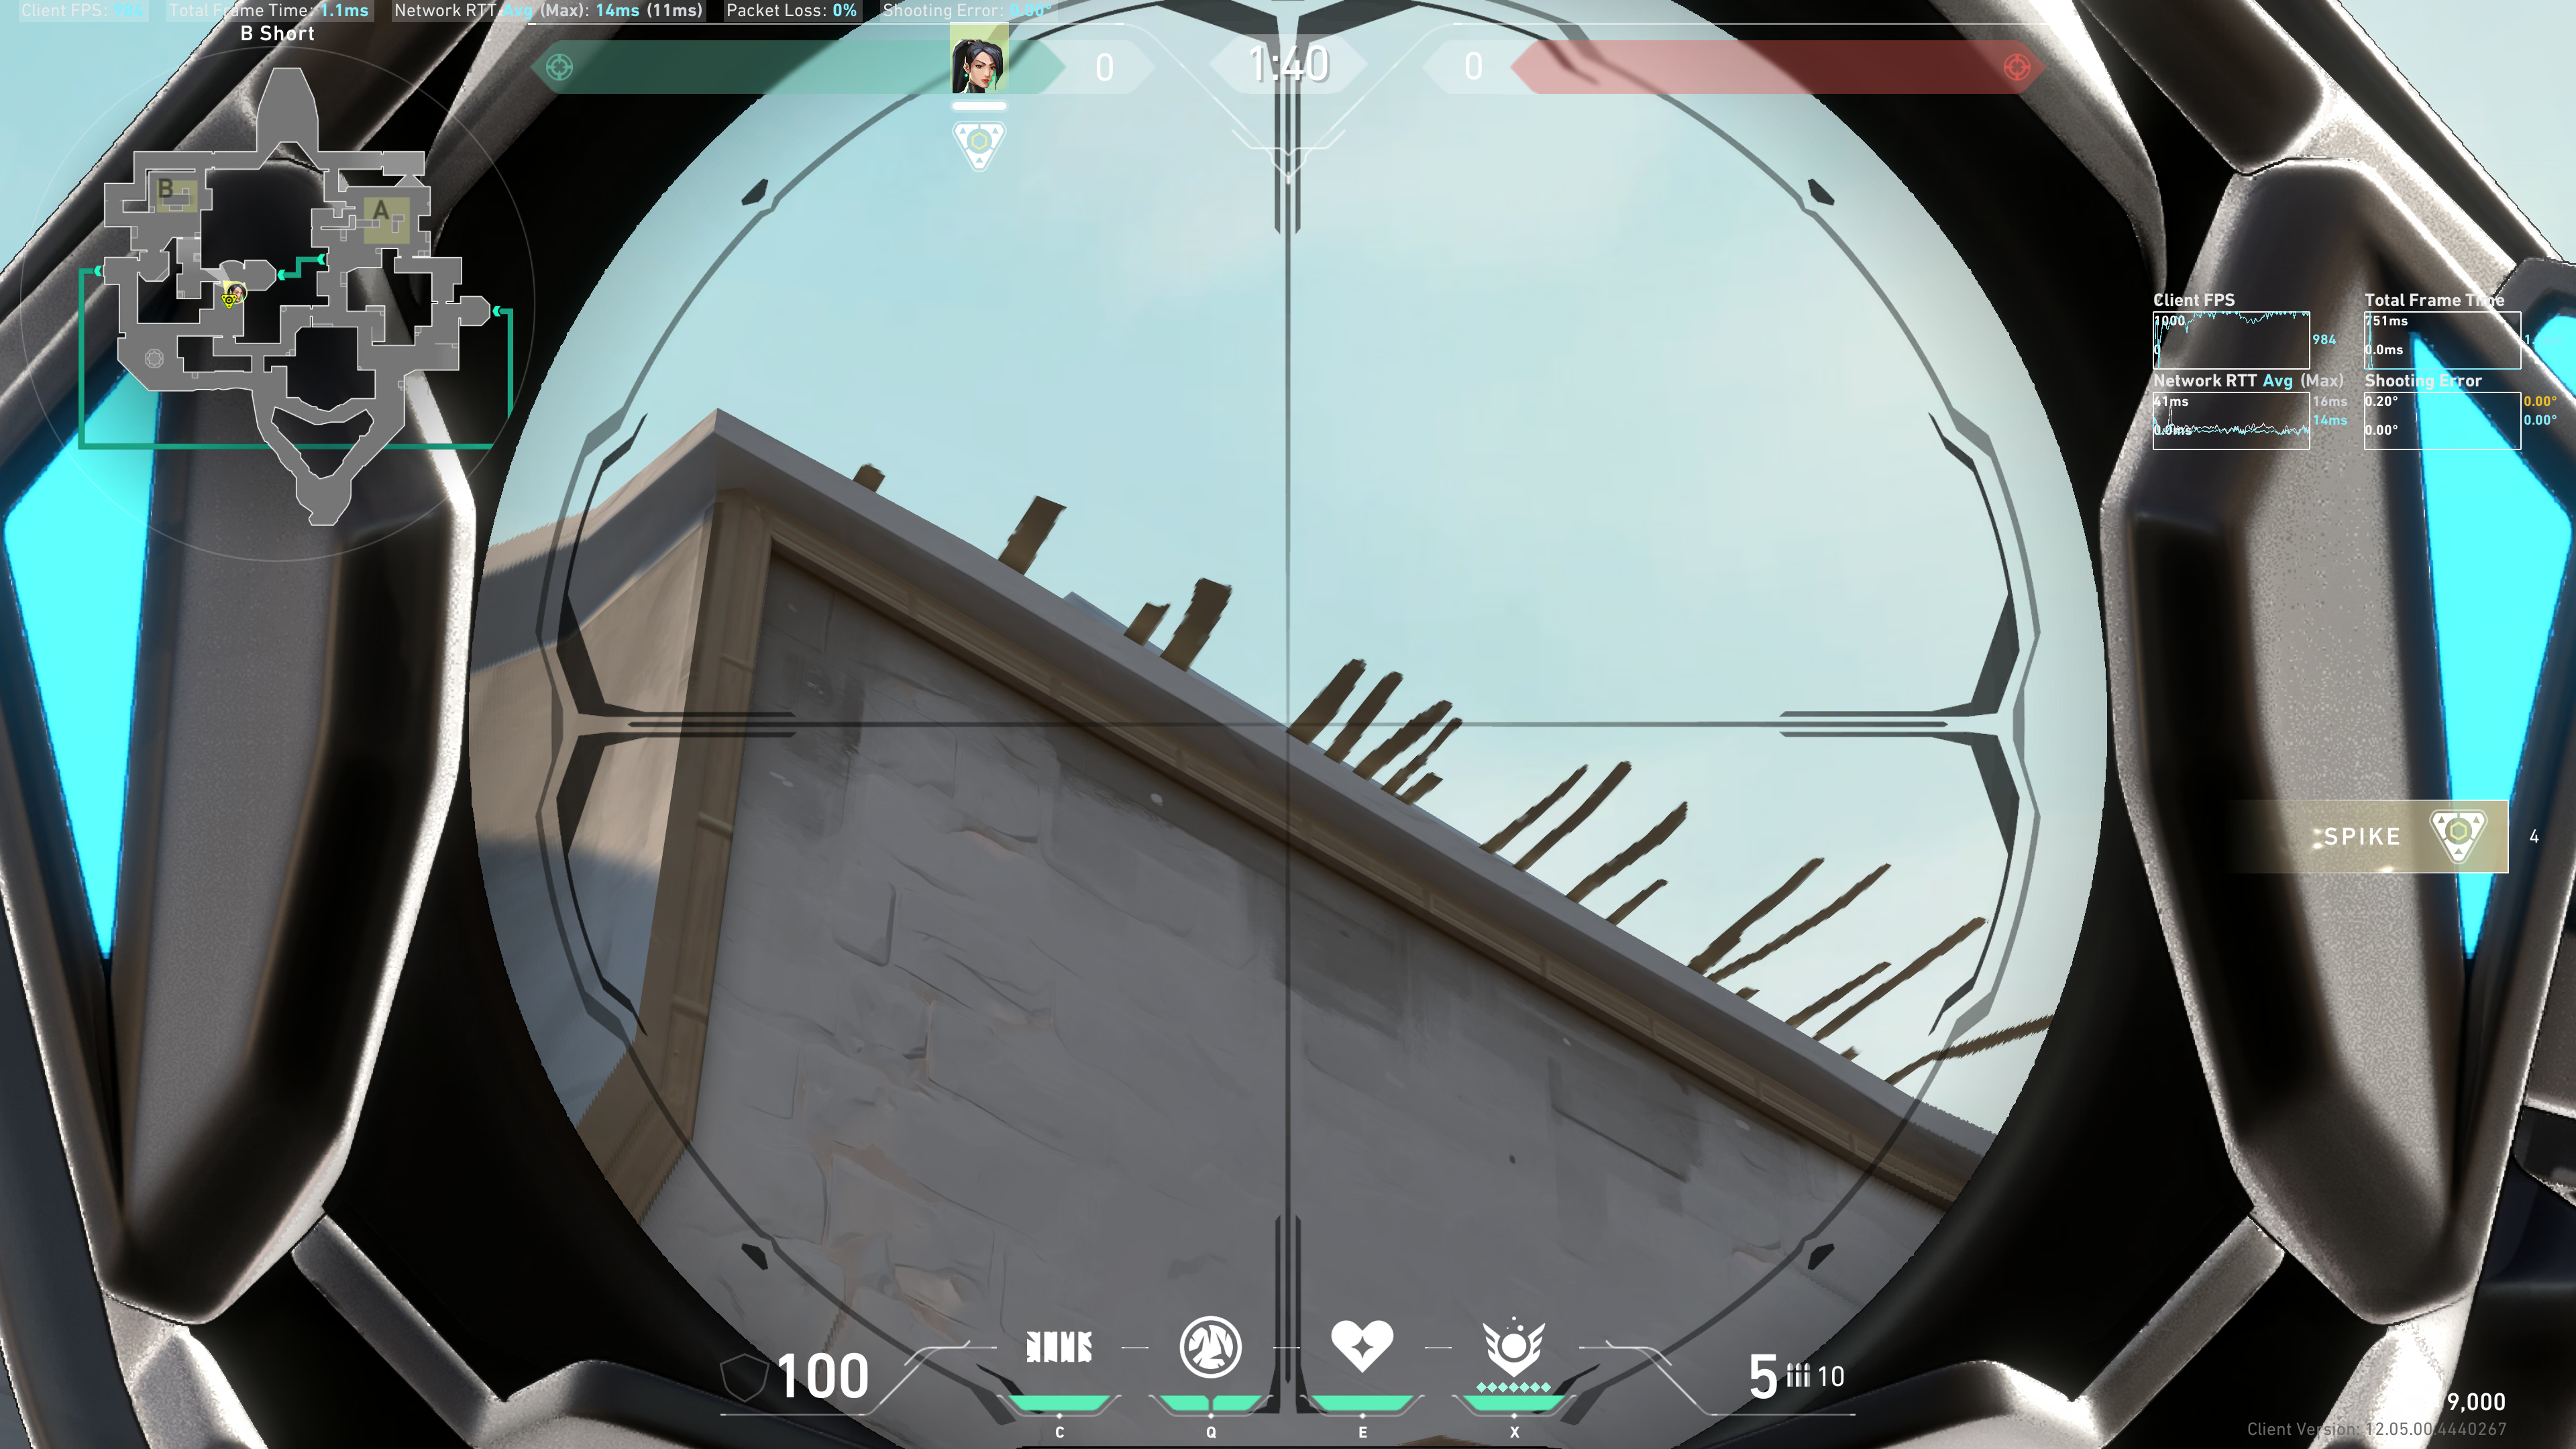
The Ice Orb indicator, line up the bottom point of it with that roof with the thorn sticking out:
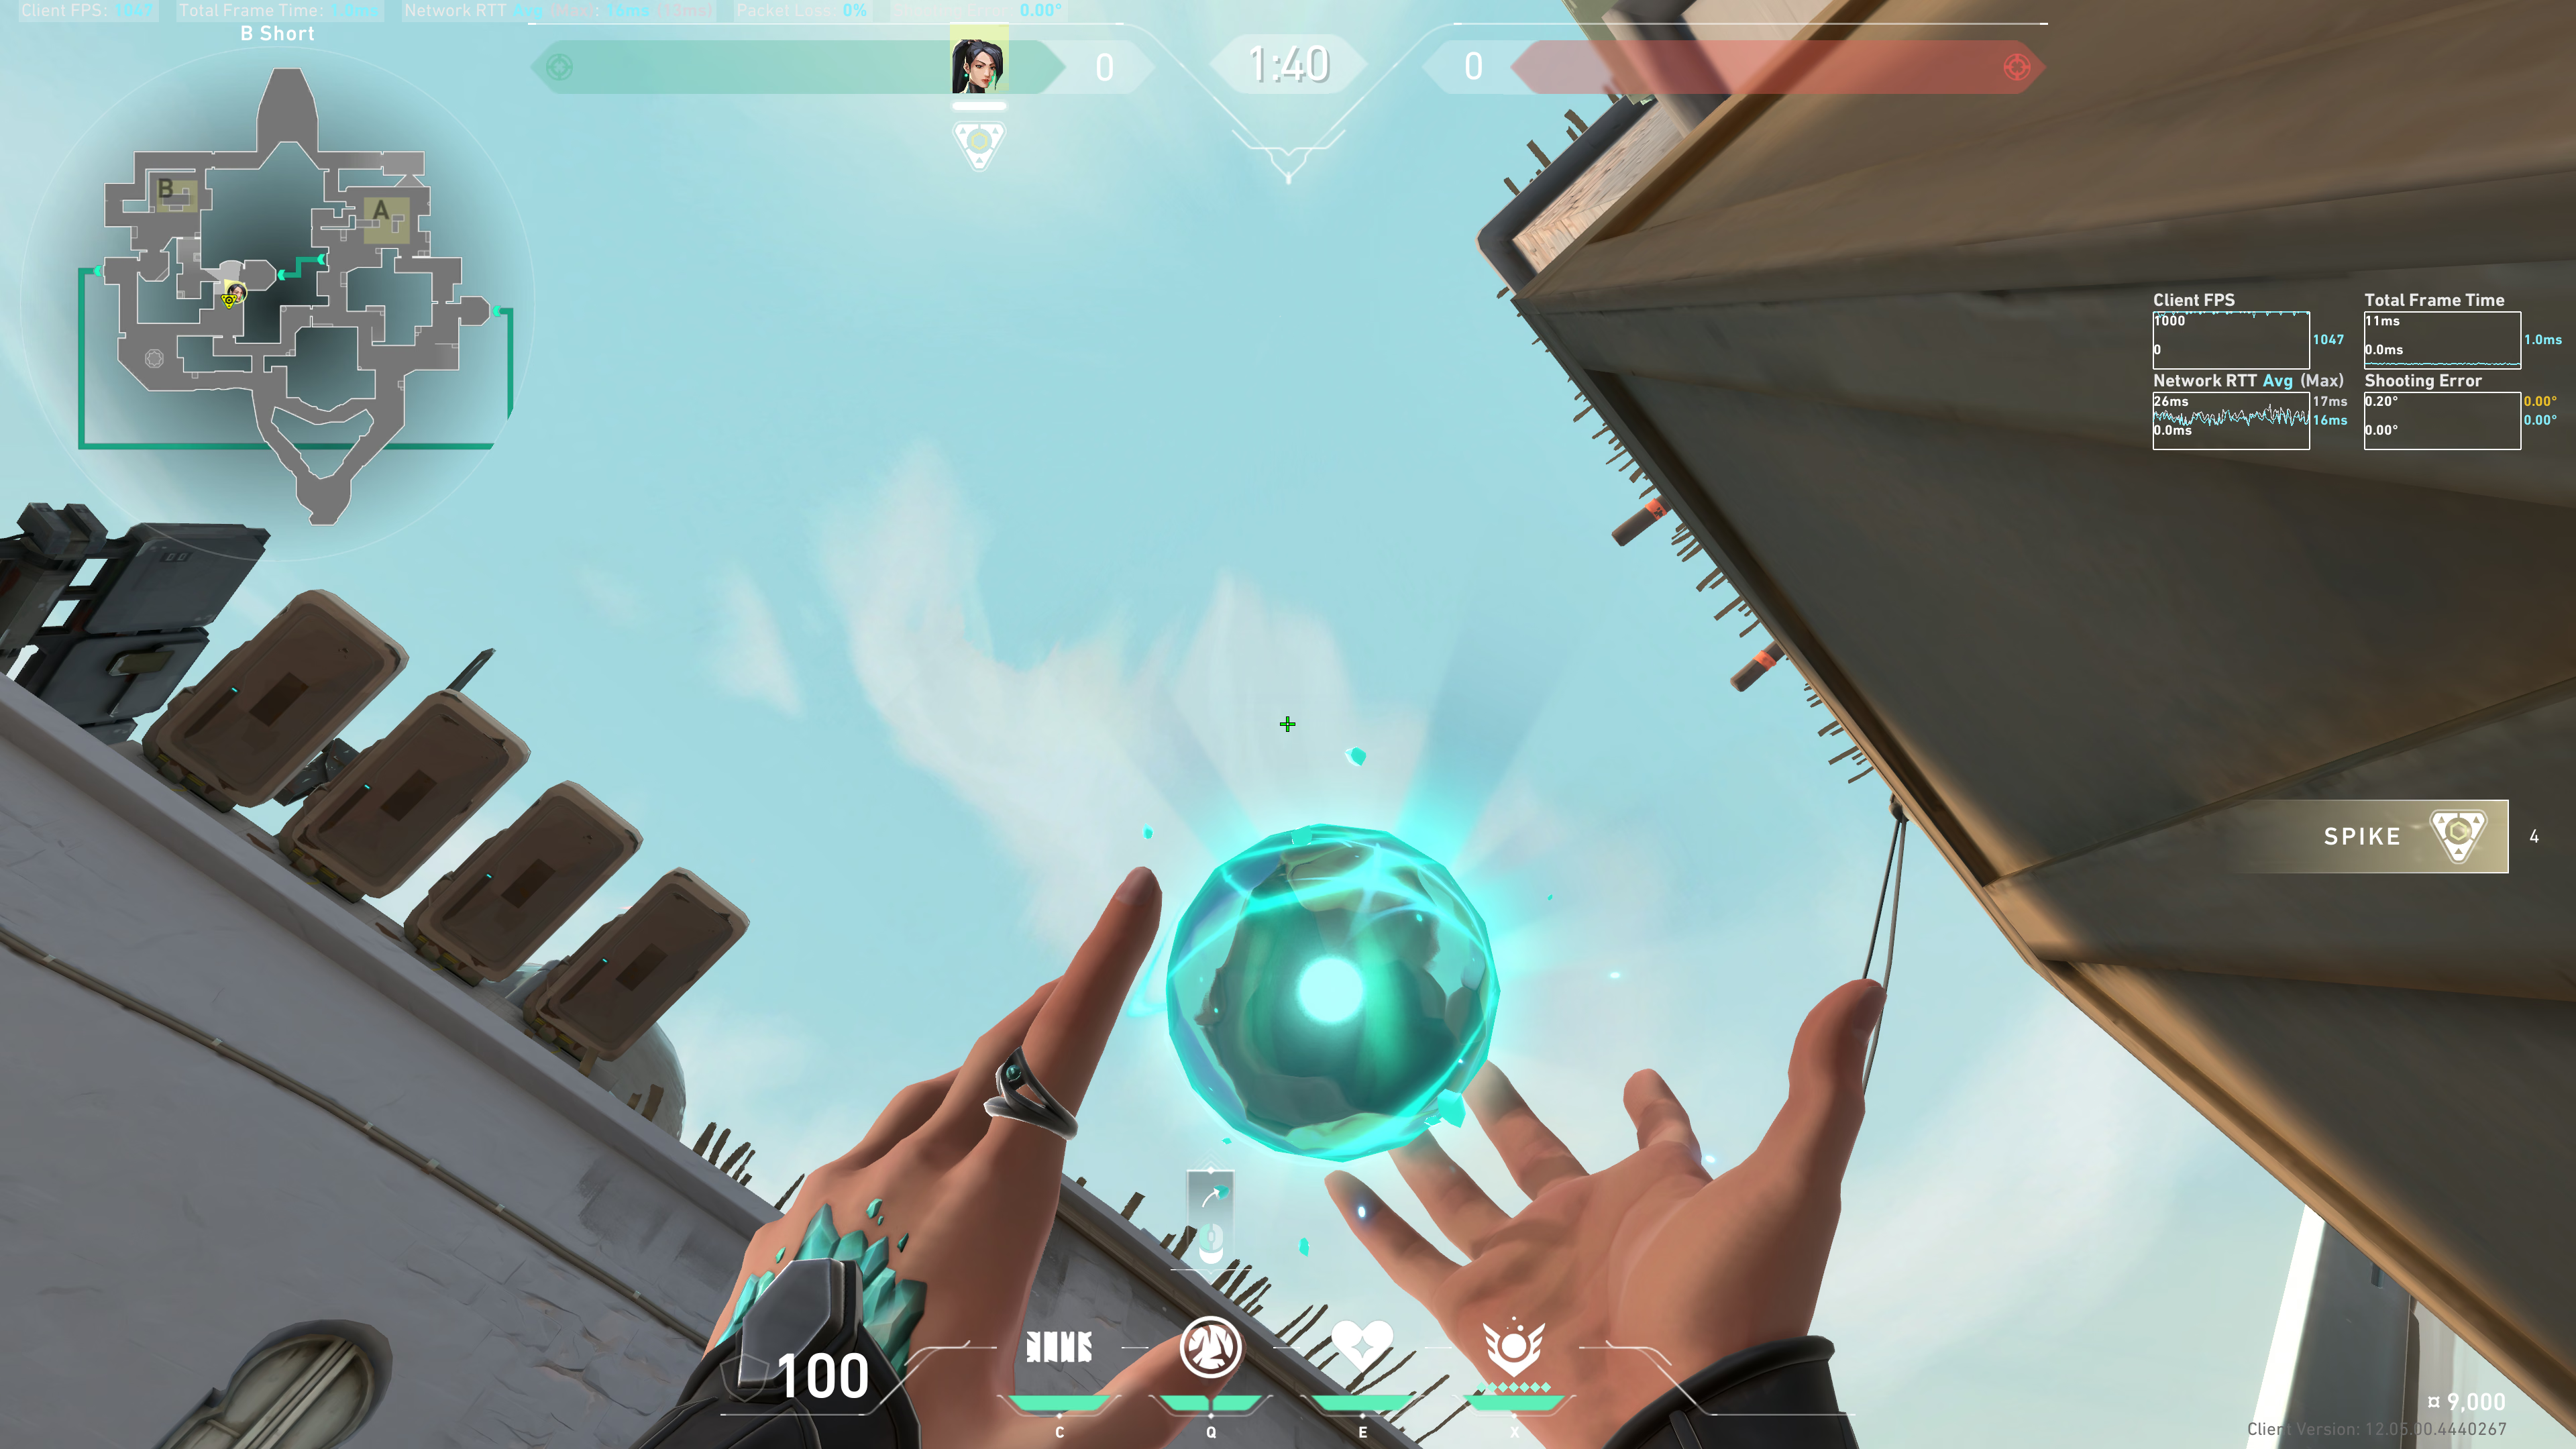
Result:
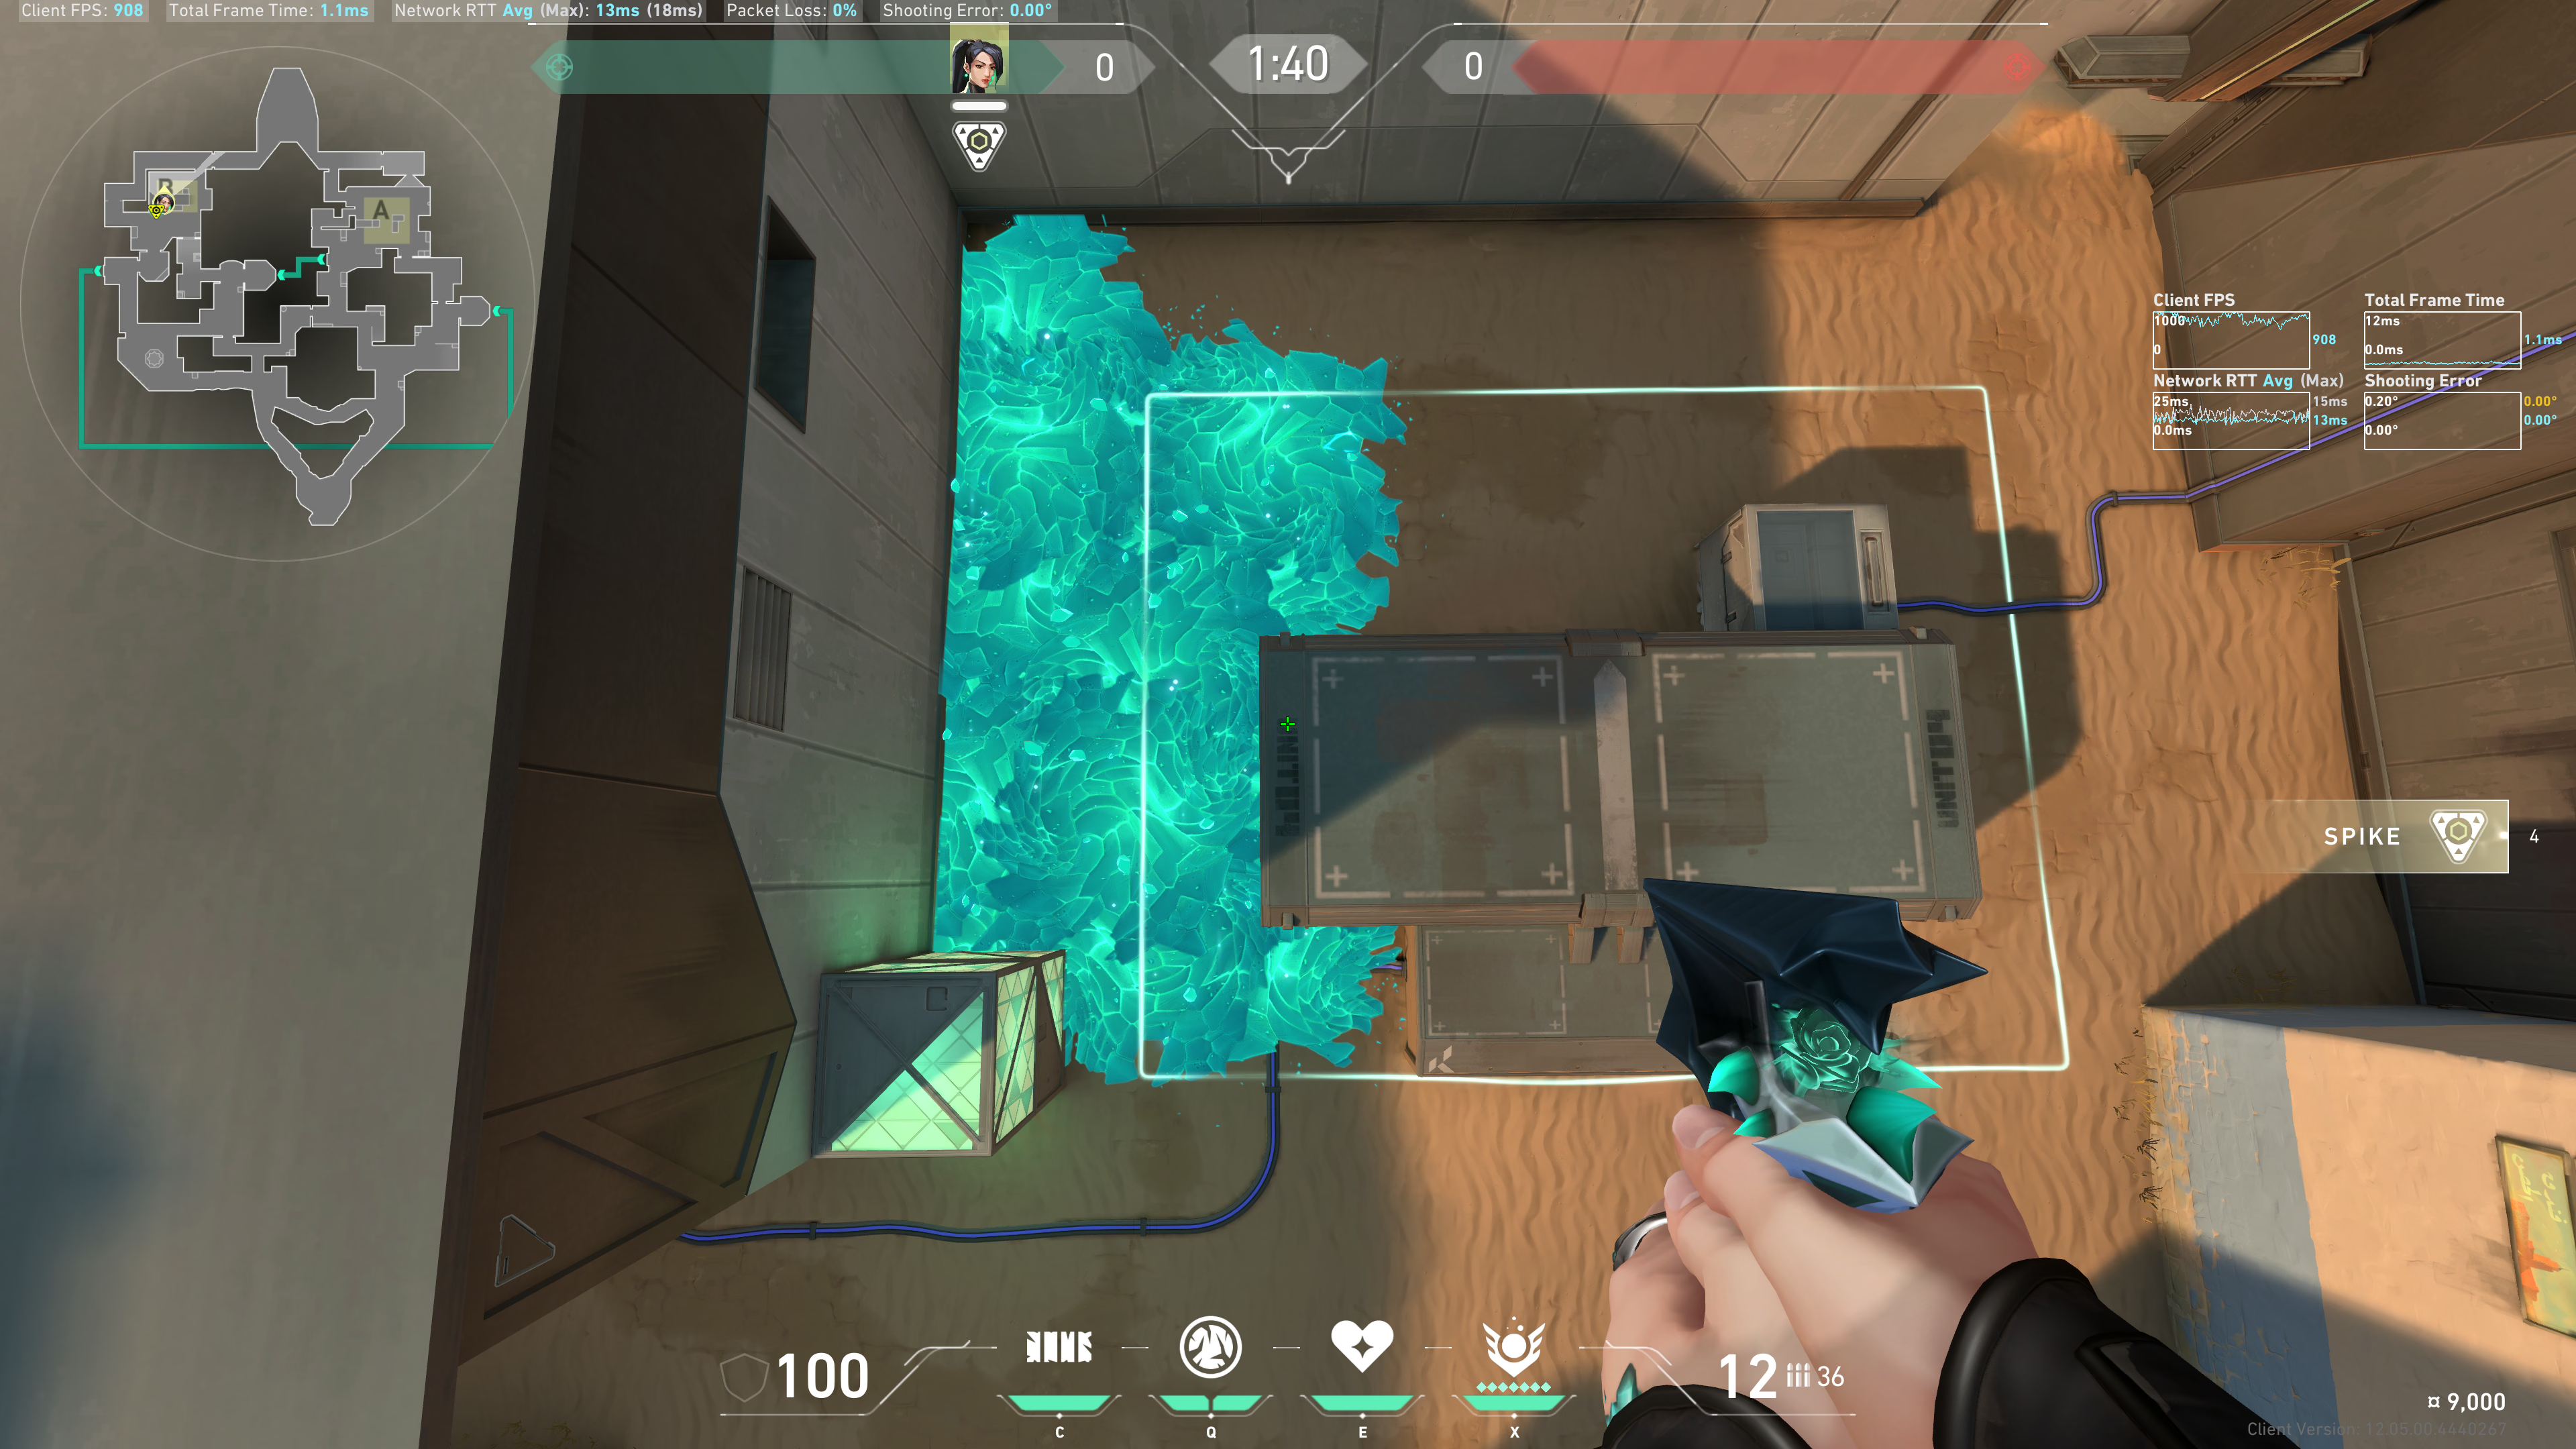
Back site (right side)
This cloud in the sky, imagine an intersection point between this gap, forming a rectangle:
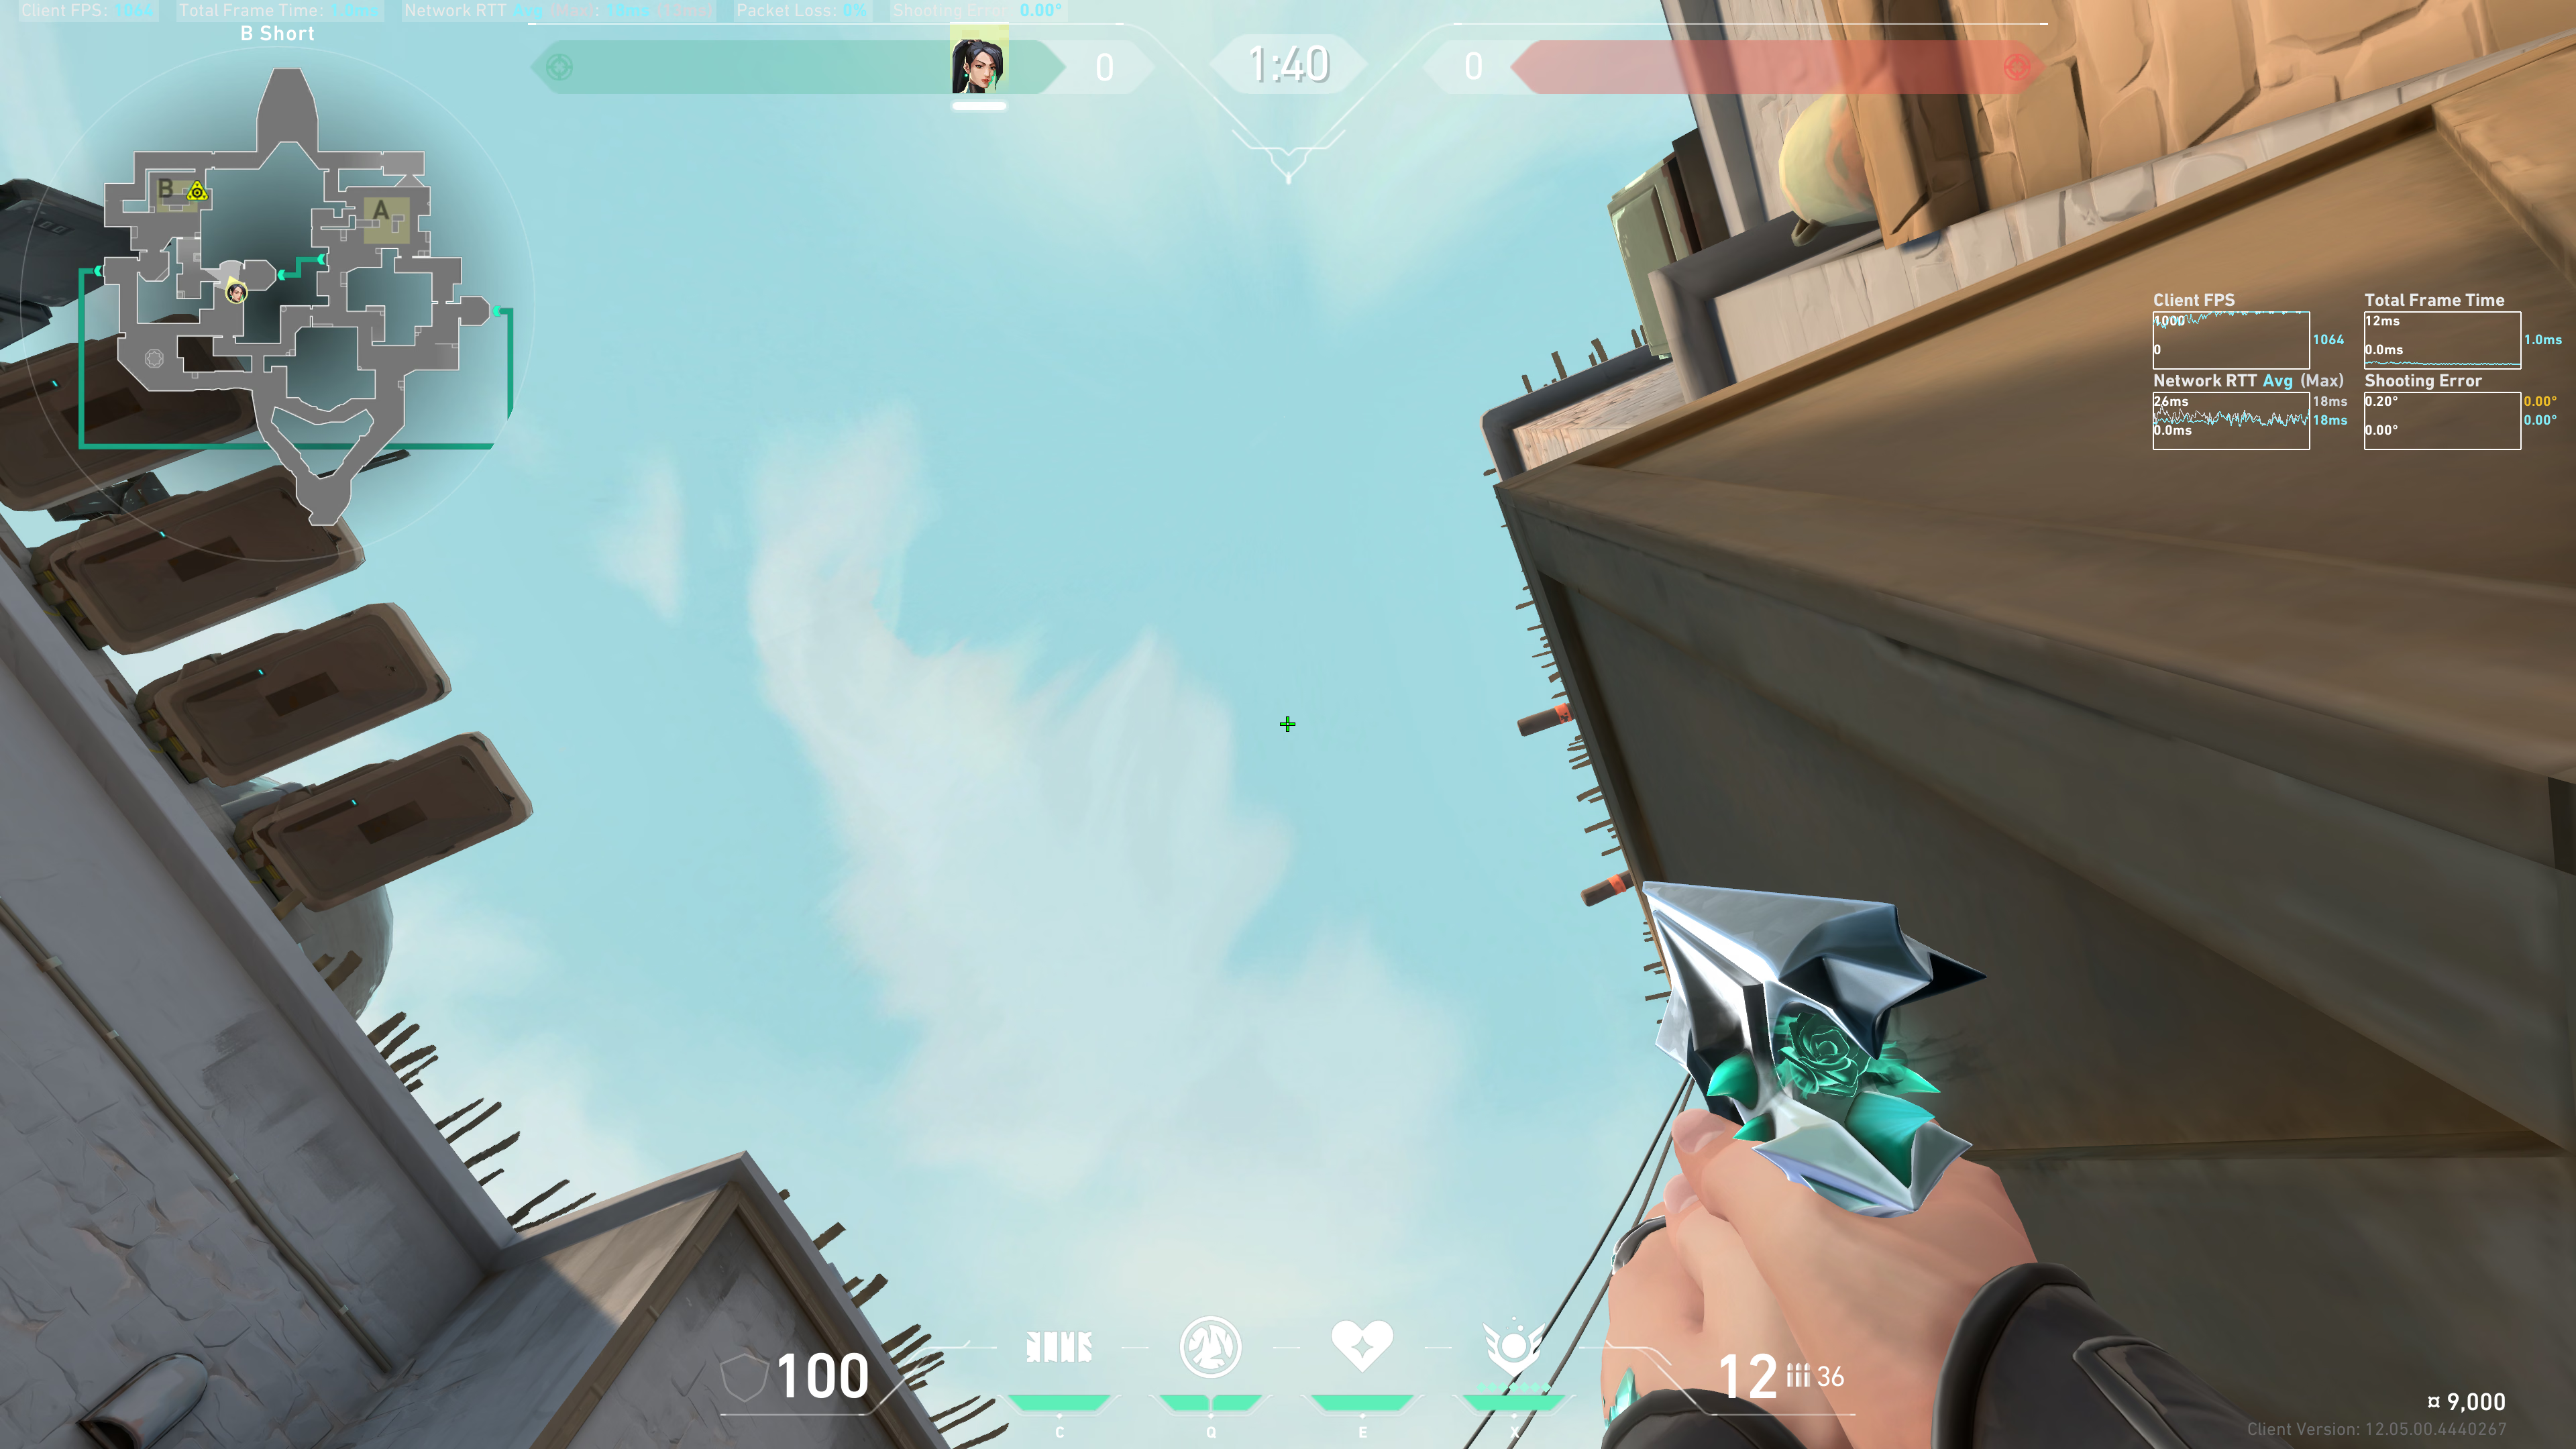
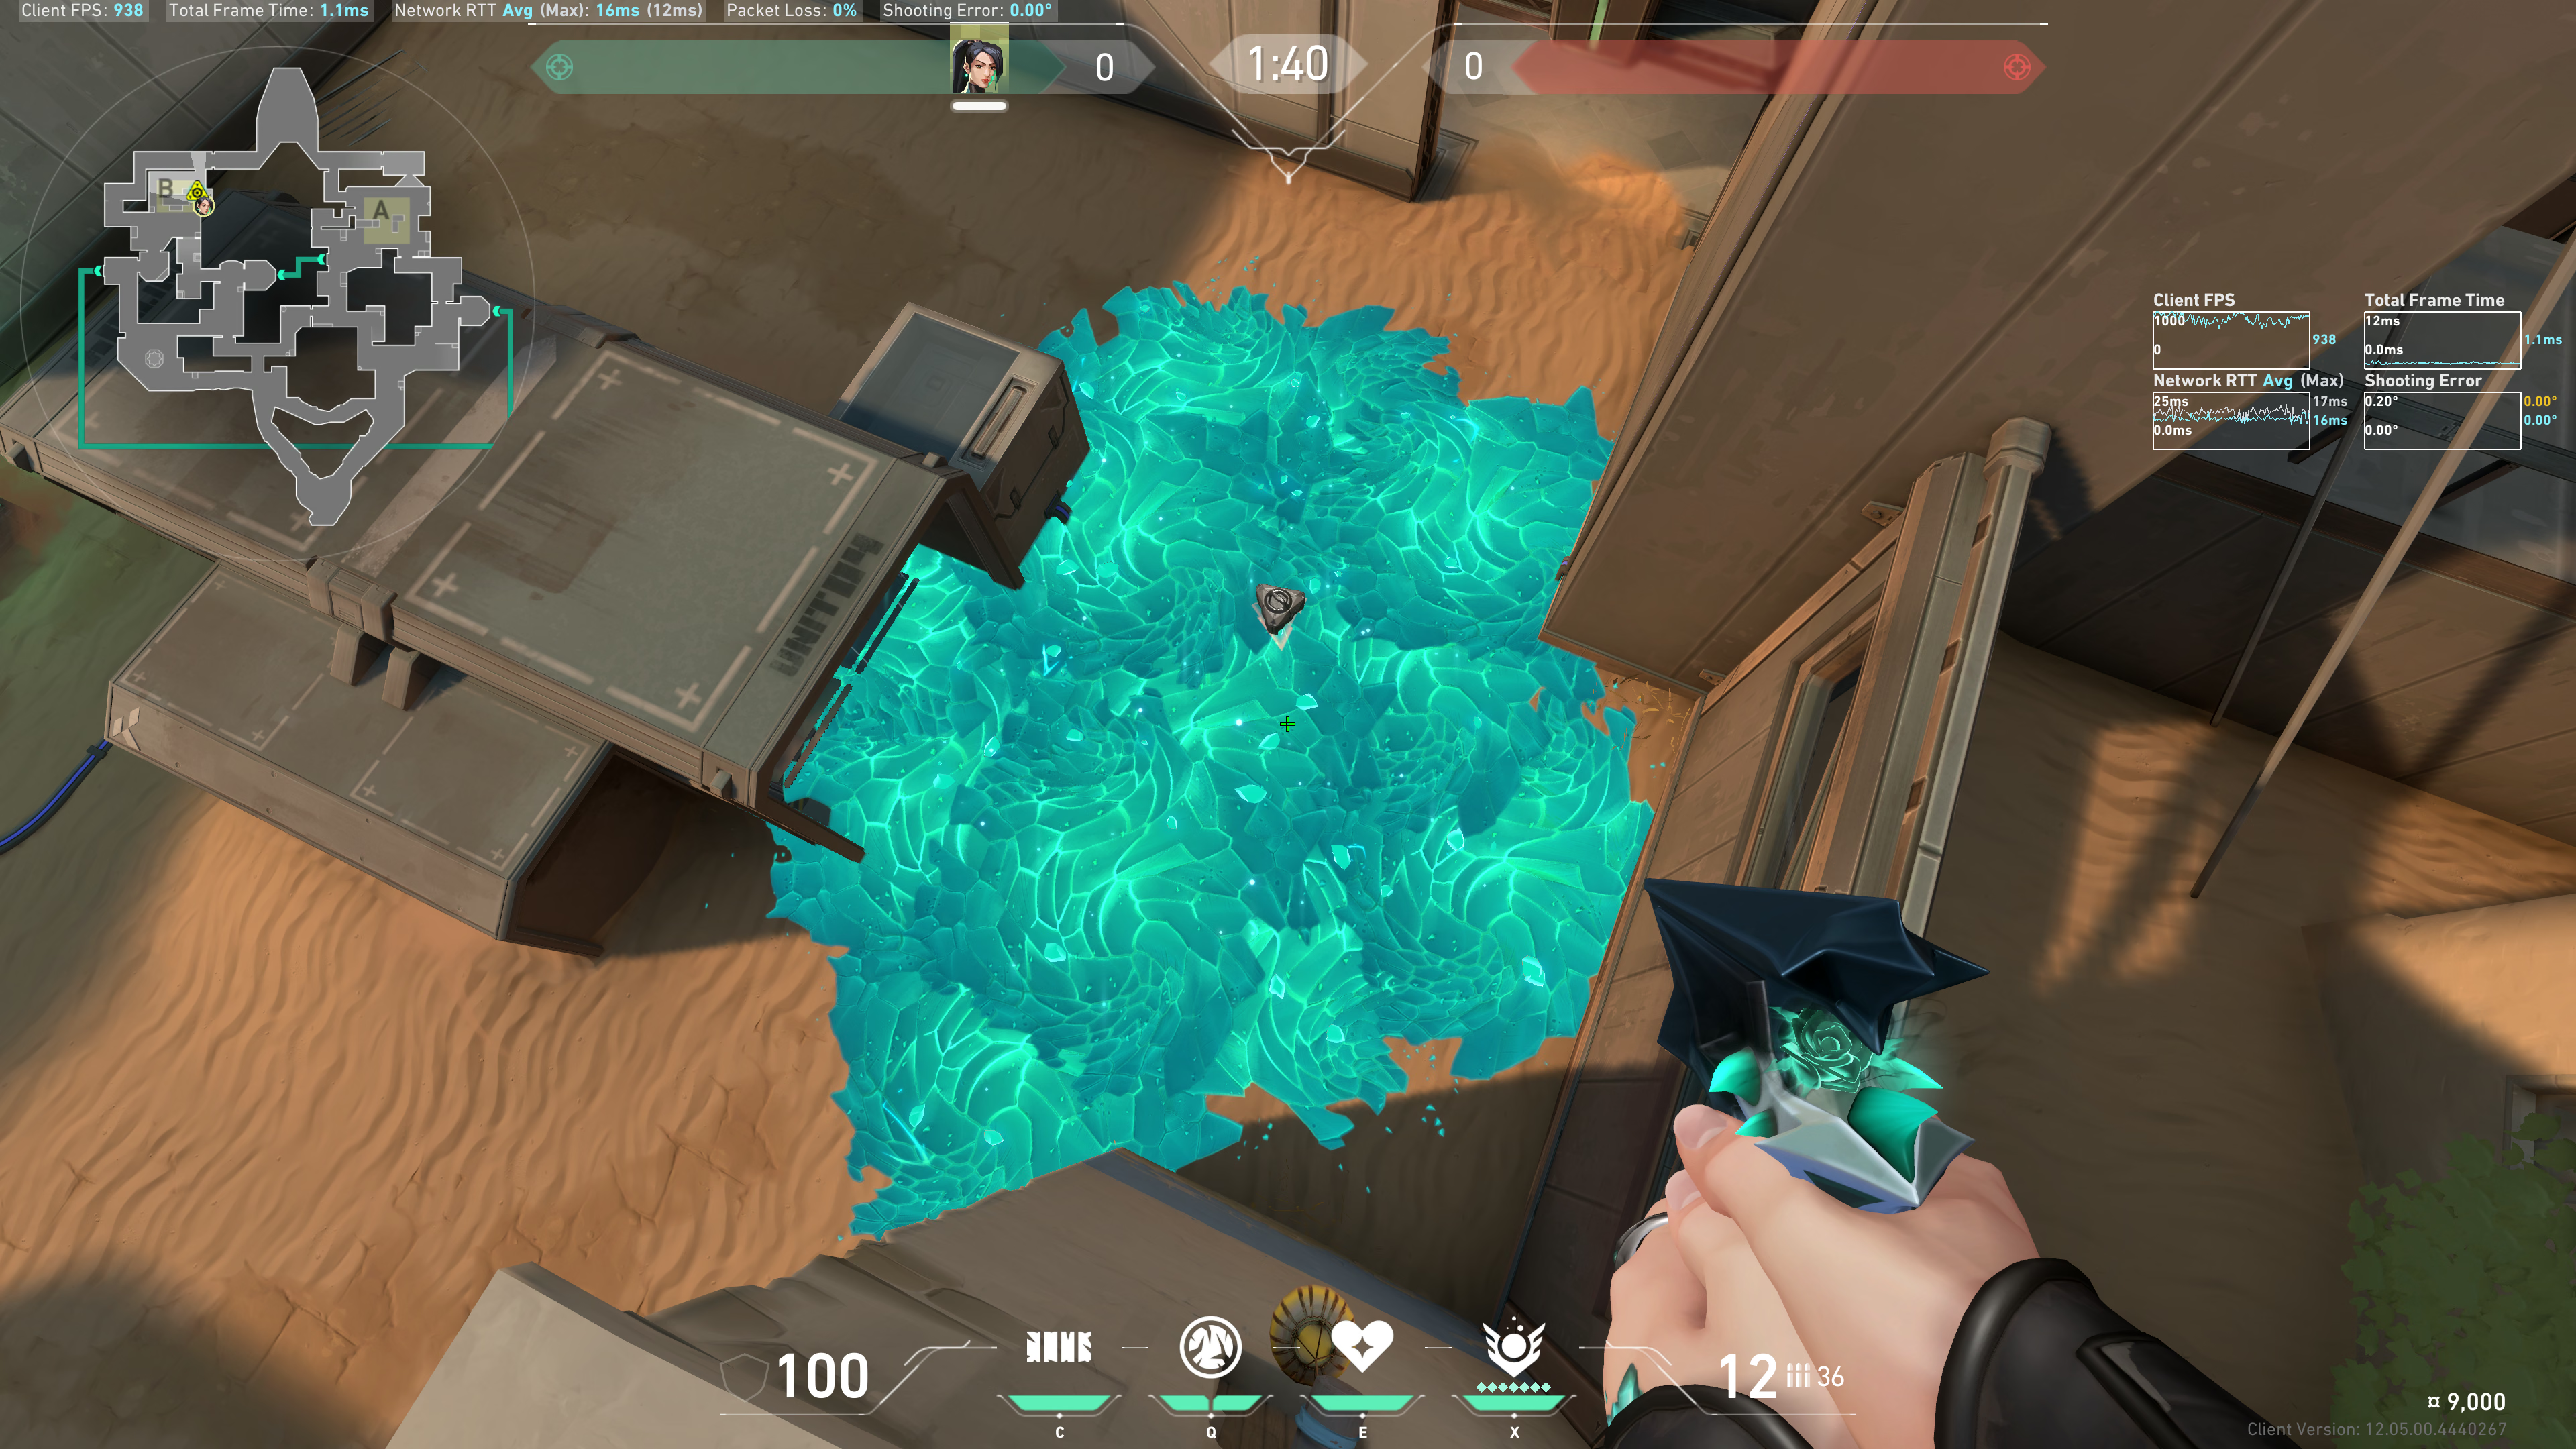
Example result:
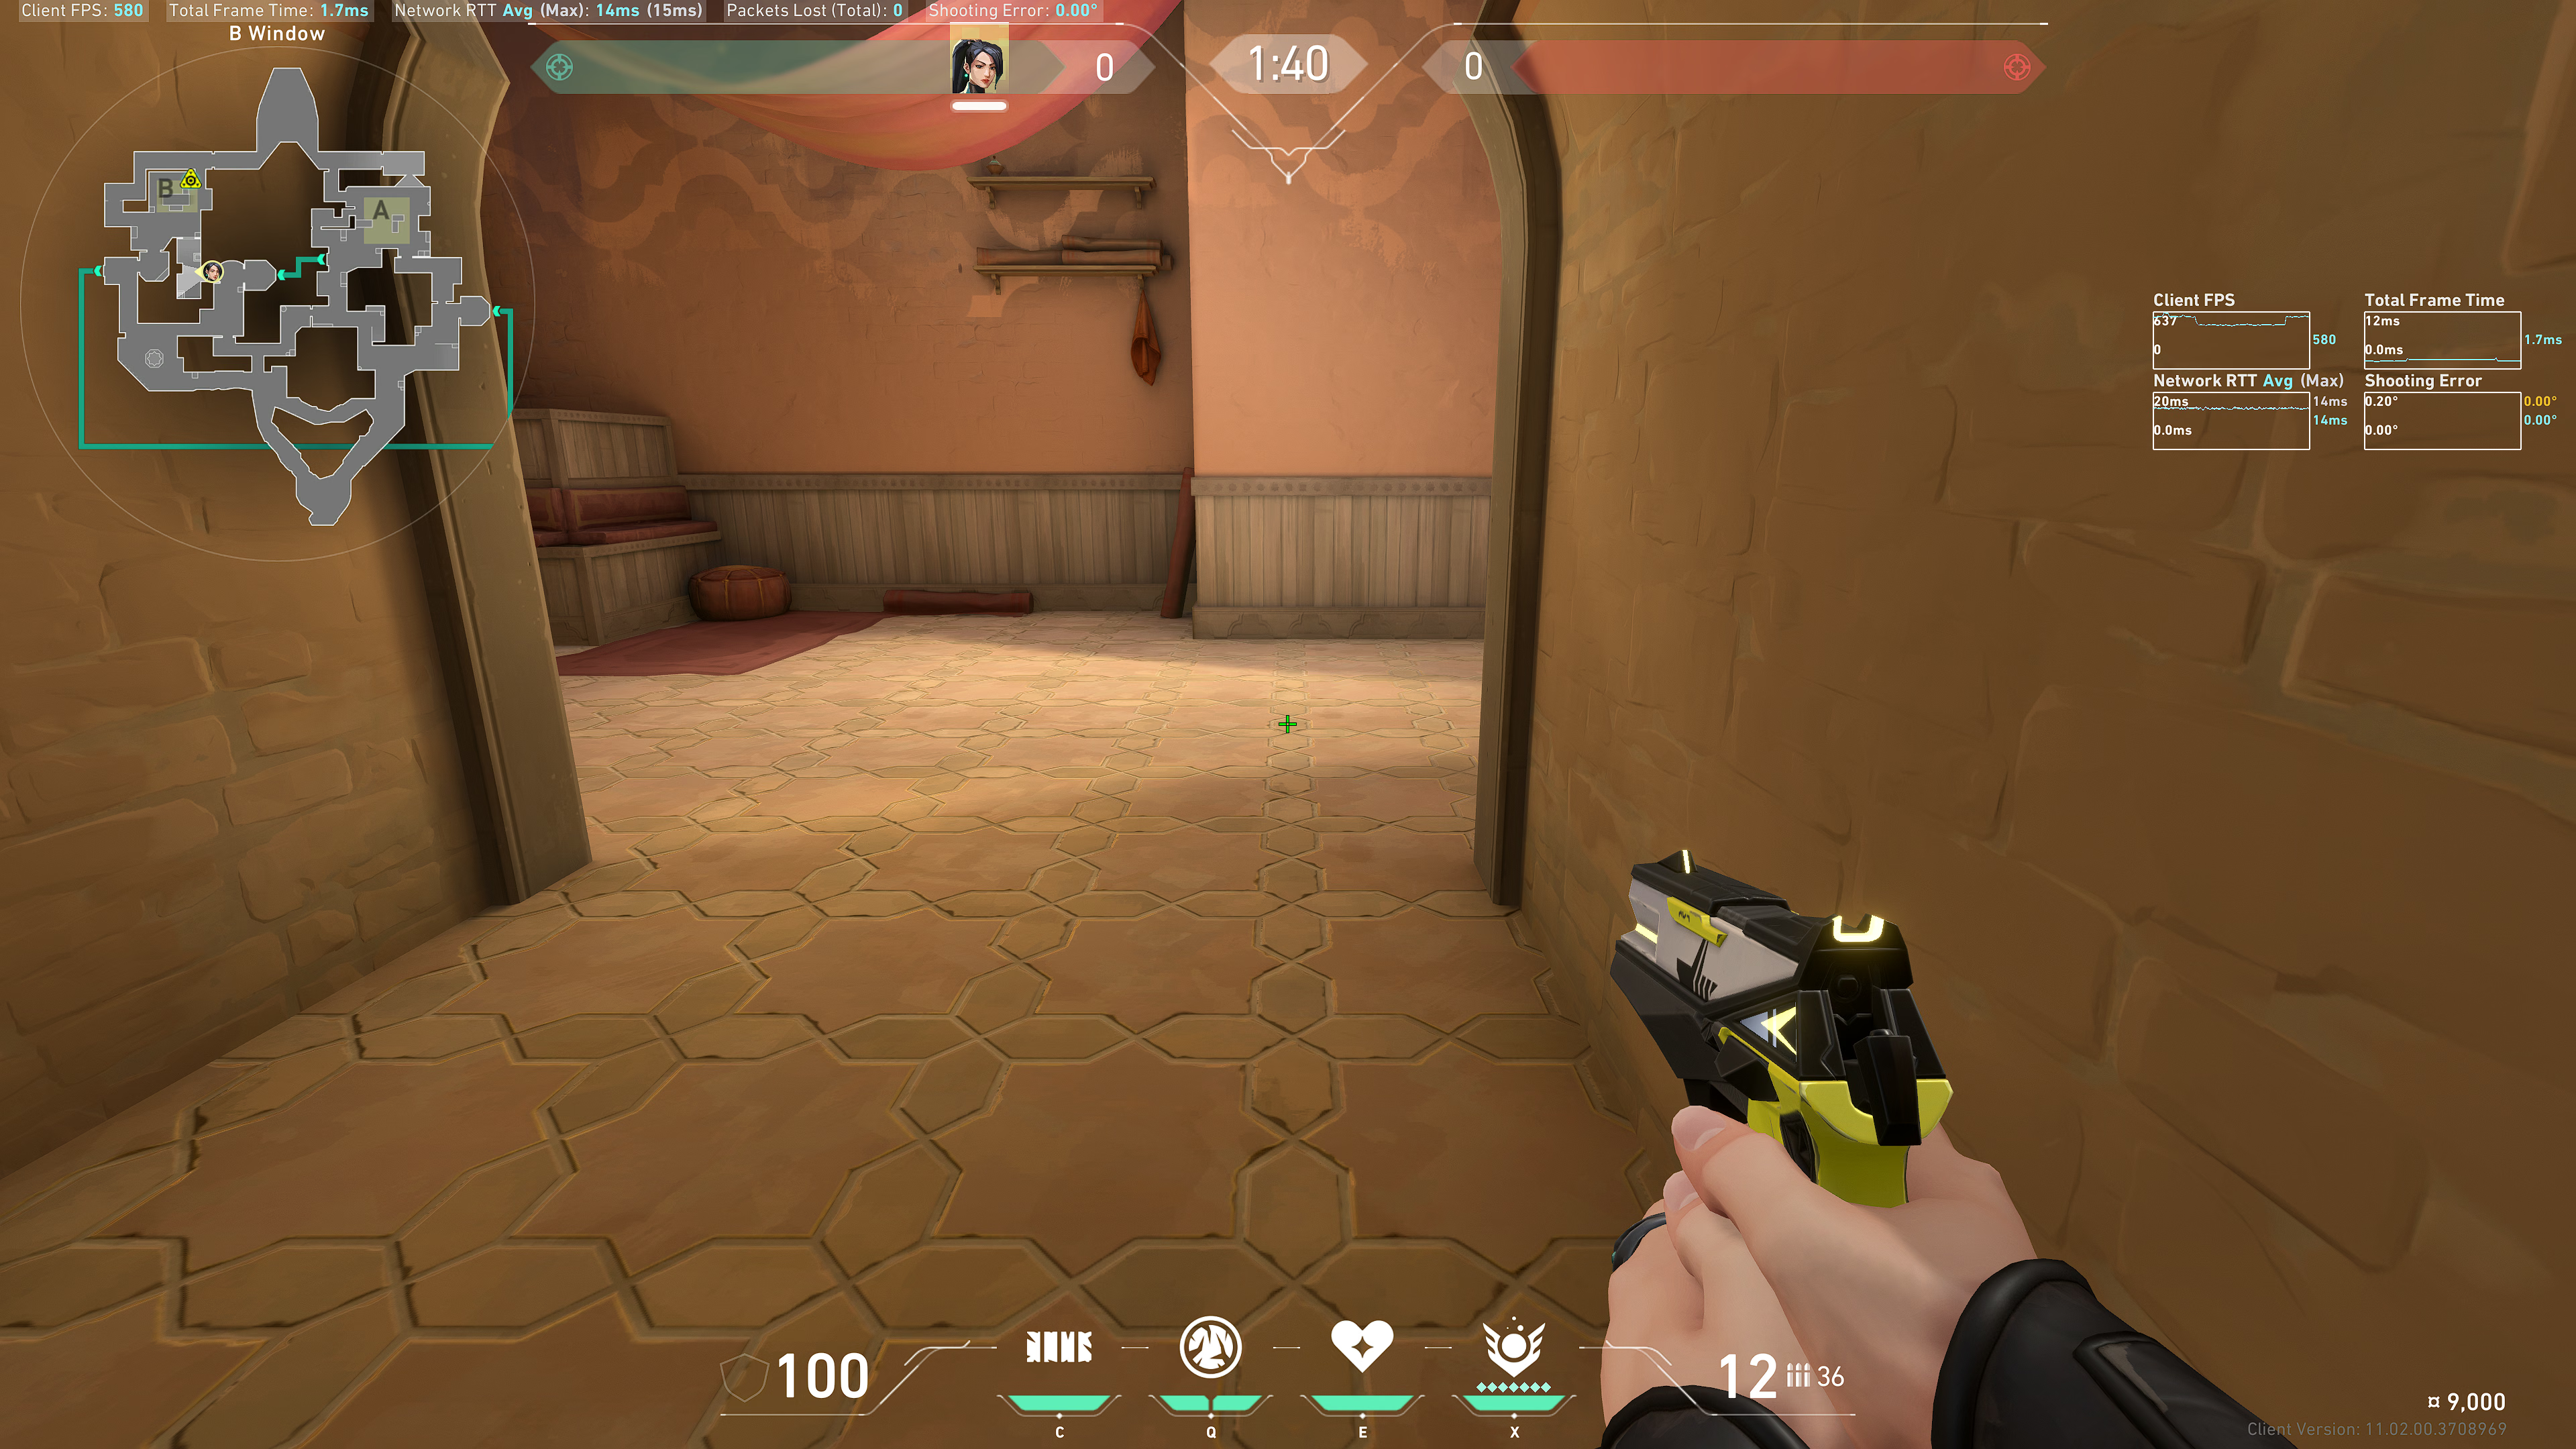
From Hookah
Stand along the line of this wall to your right, while standing in Hookah:
Back site (left side)
Aim at the bottom outline of the left green down pointer:
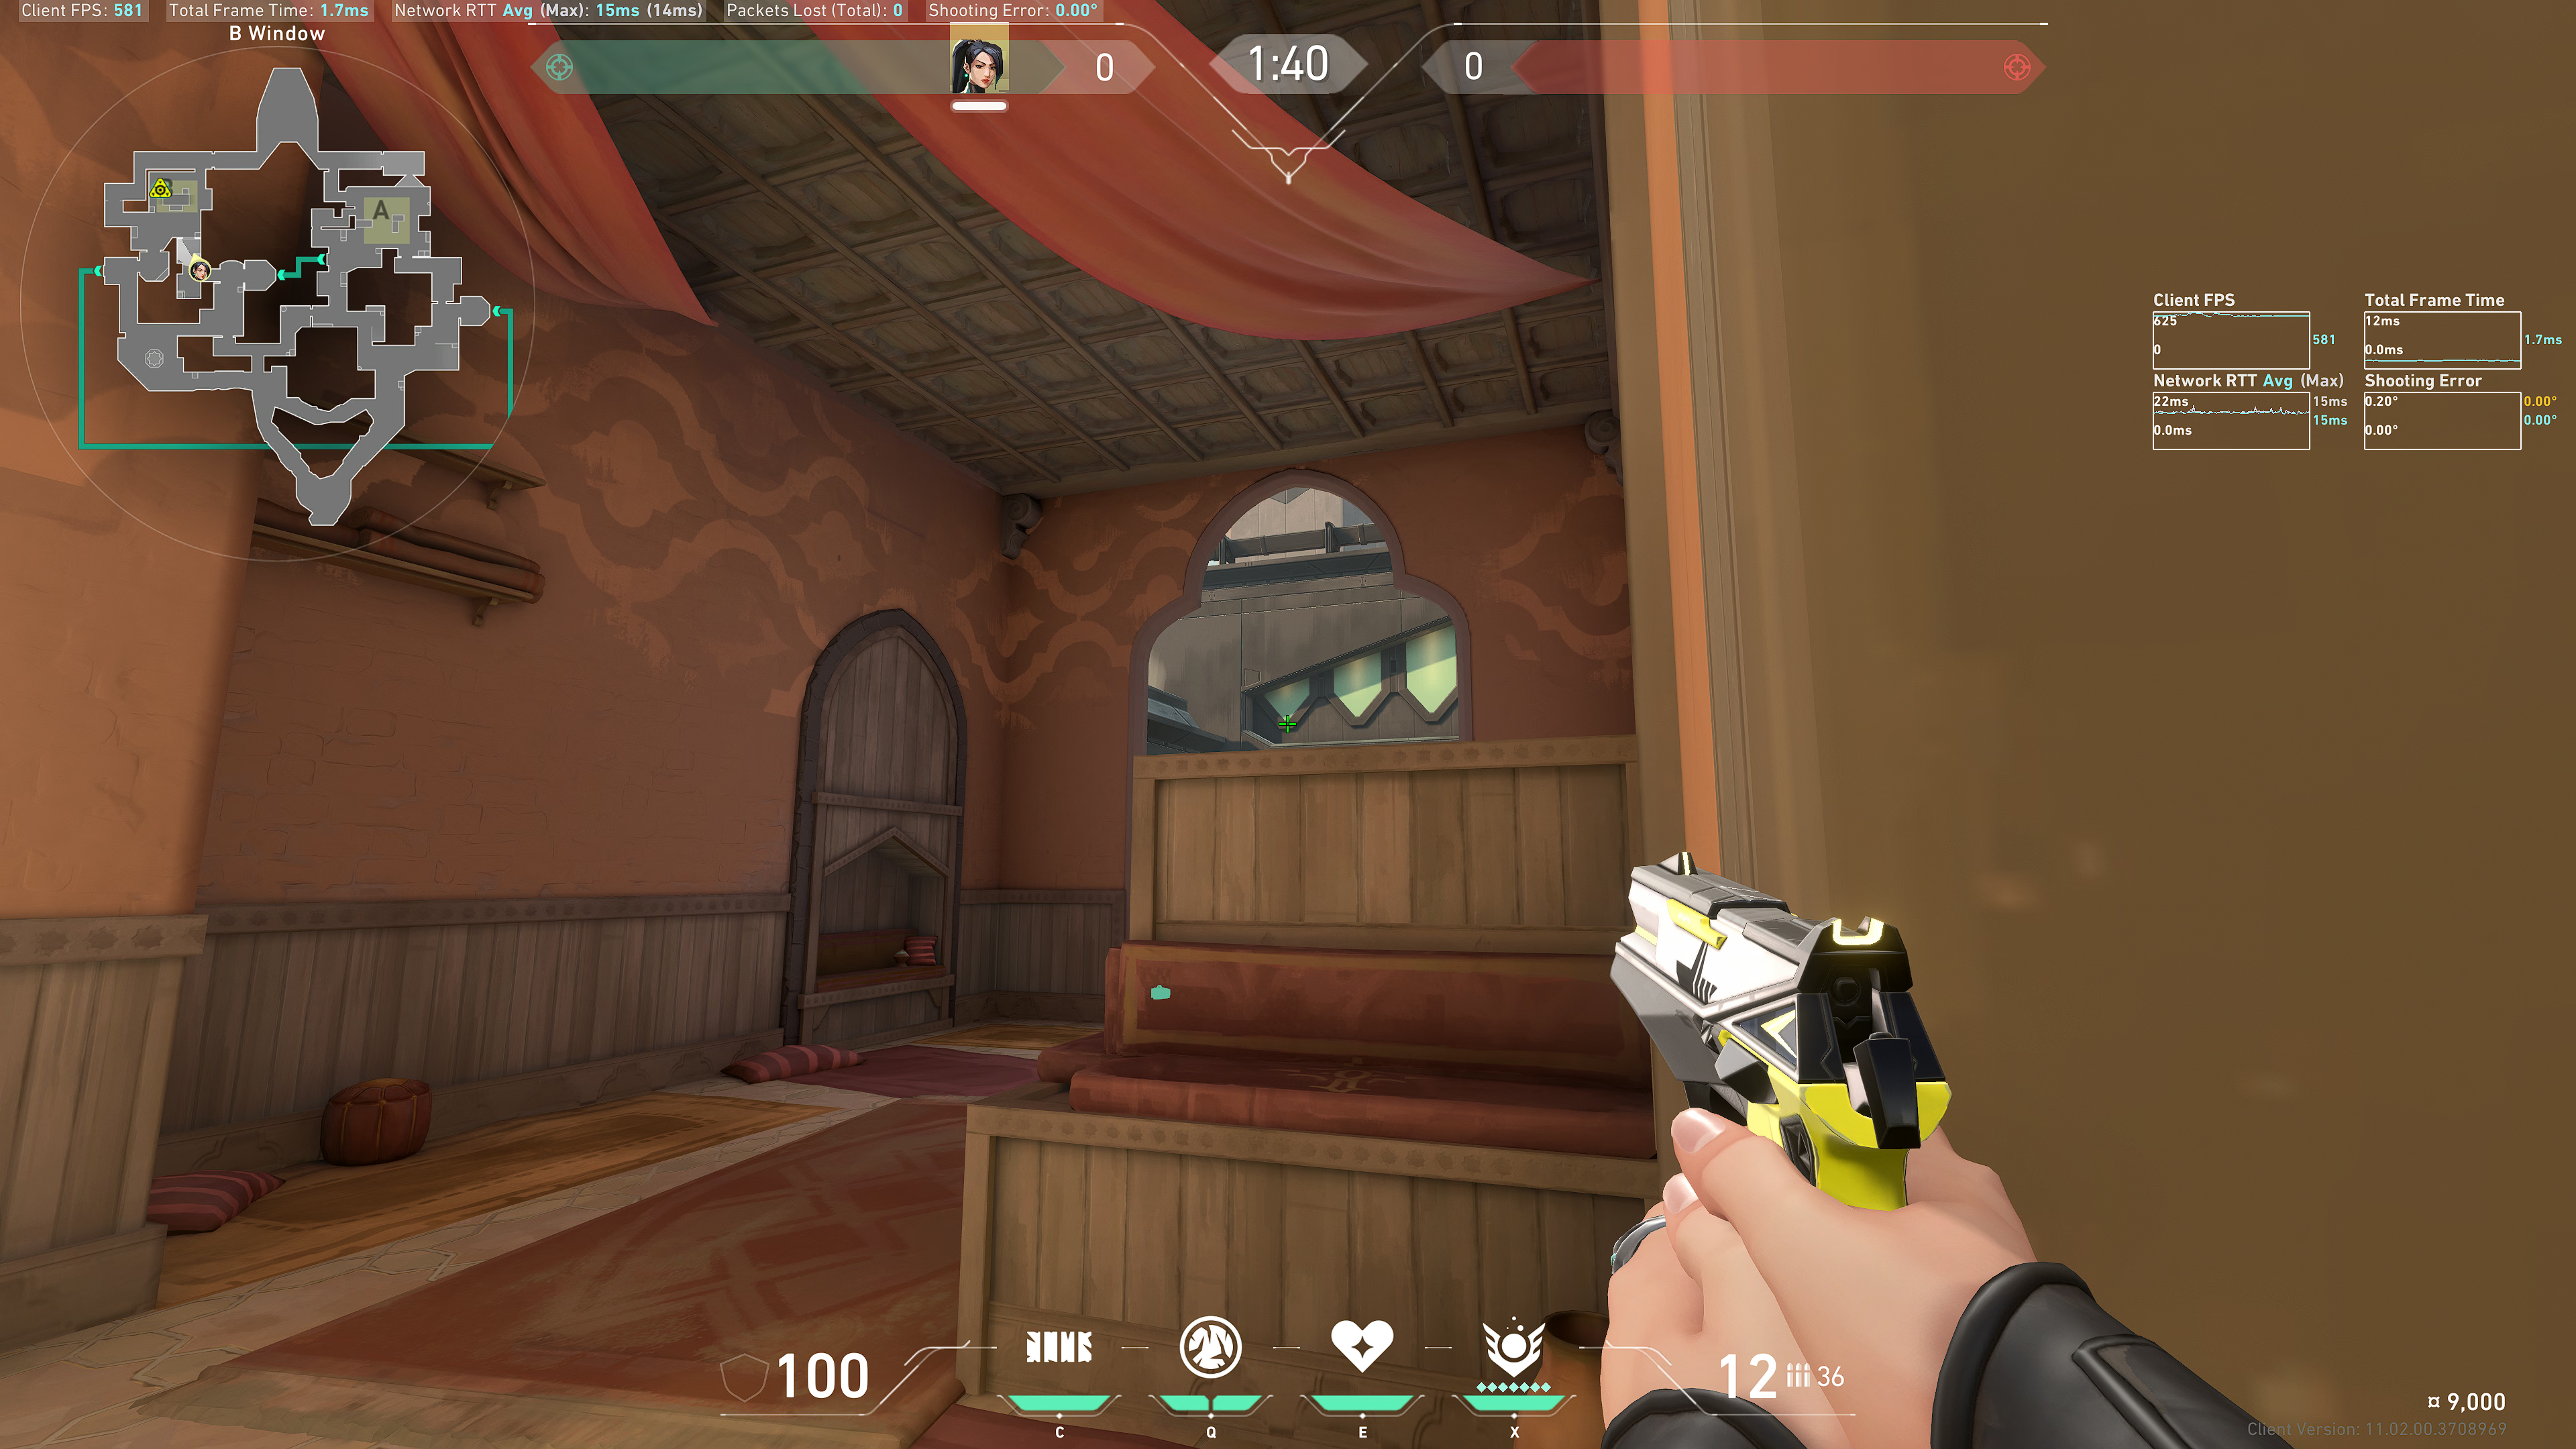
Example result:
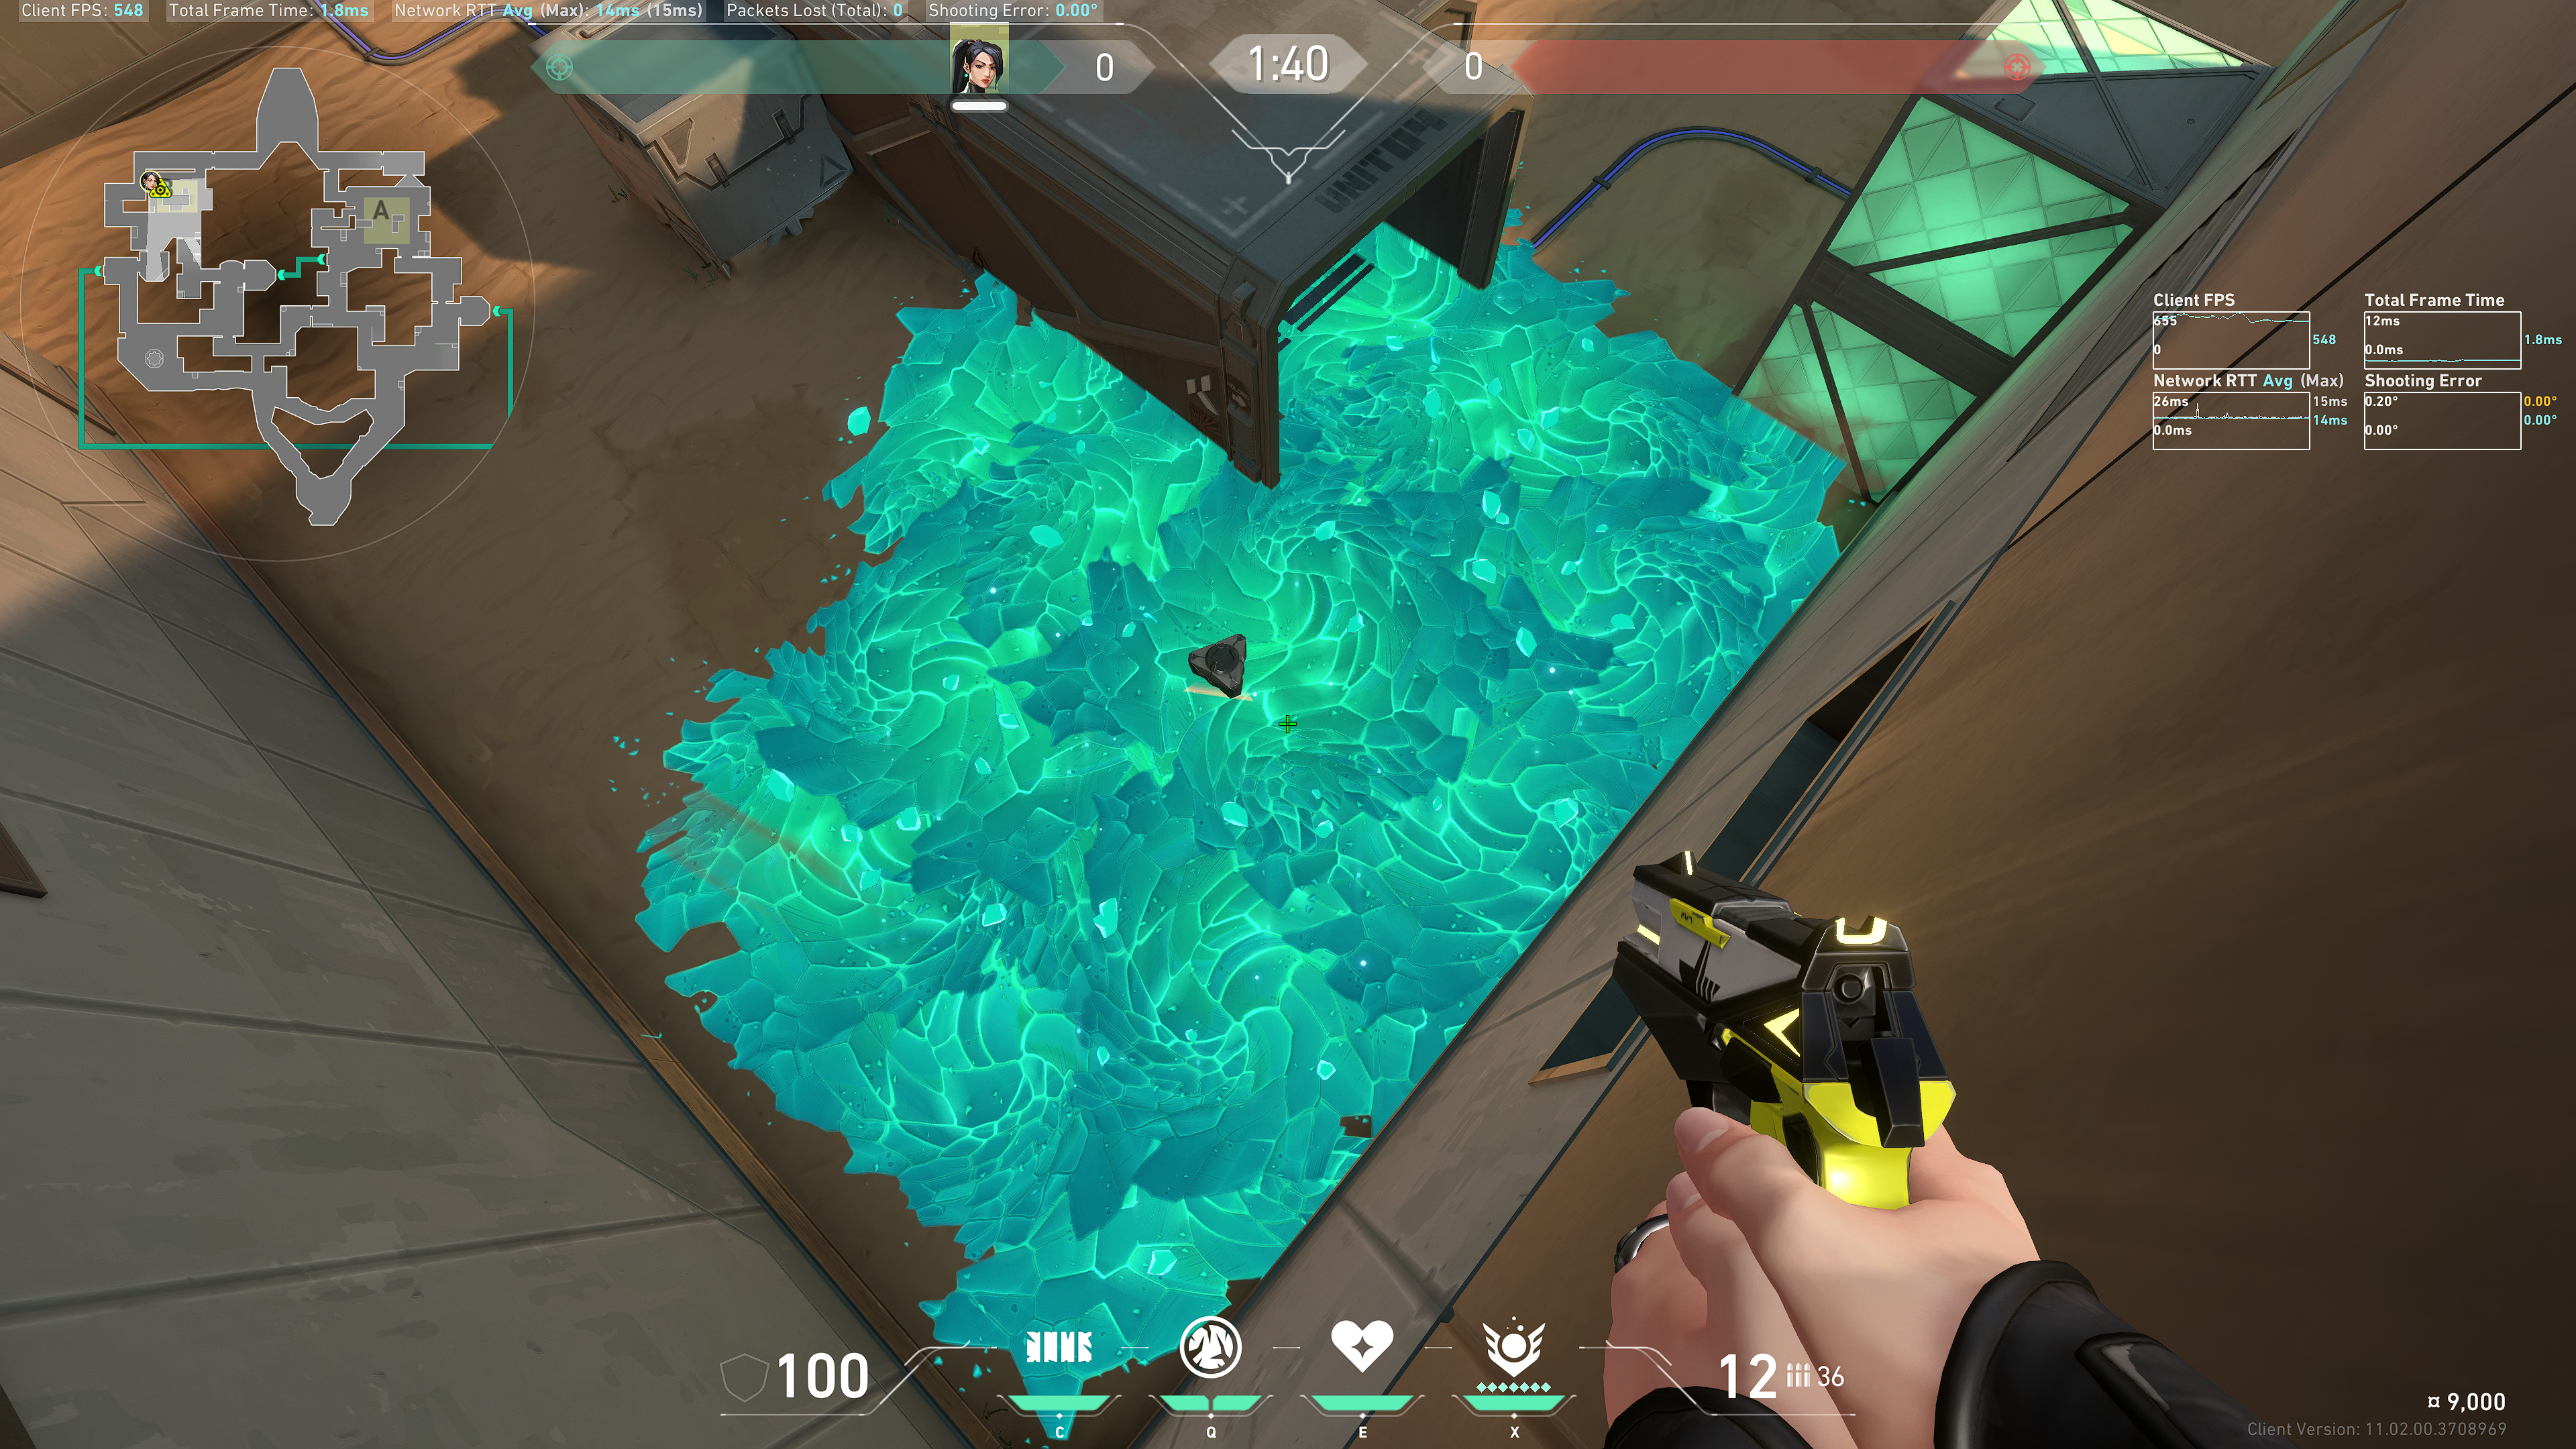
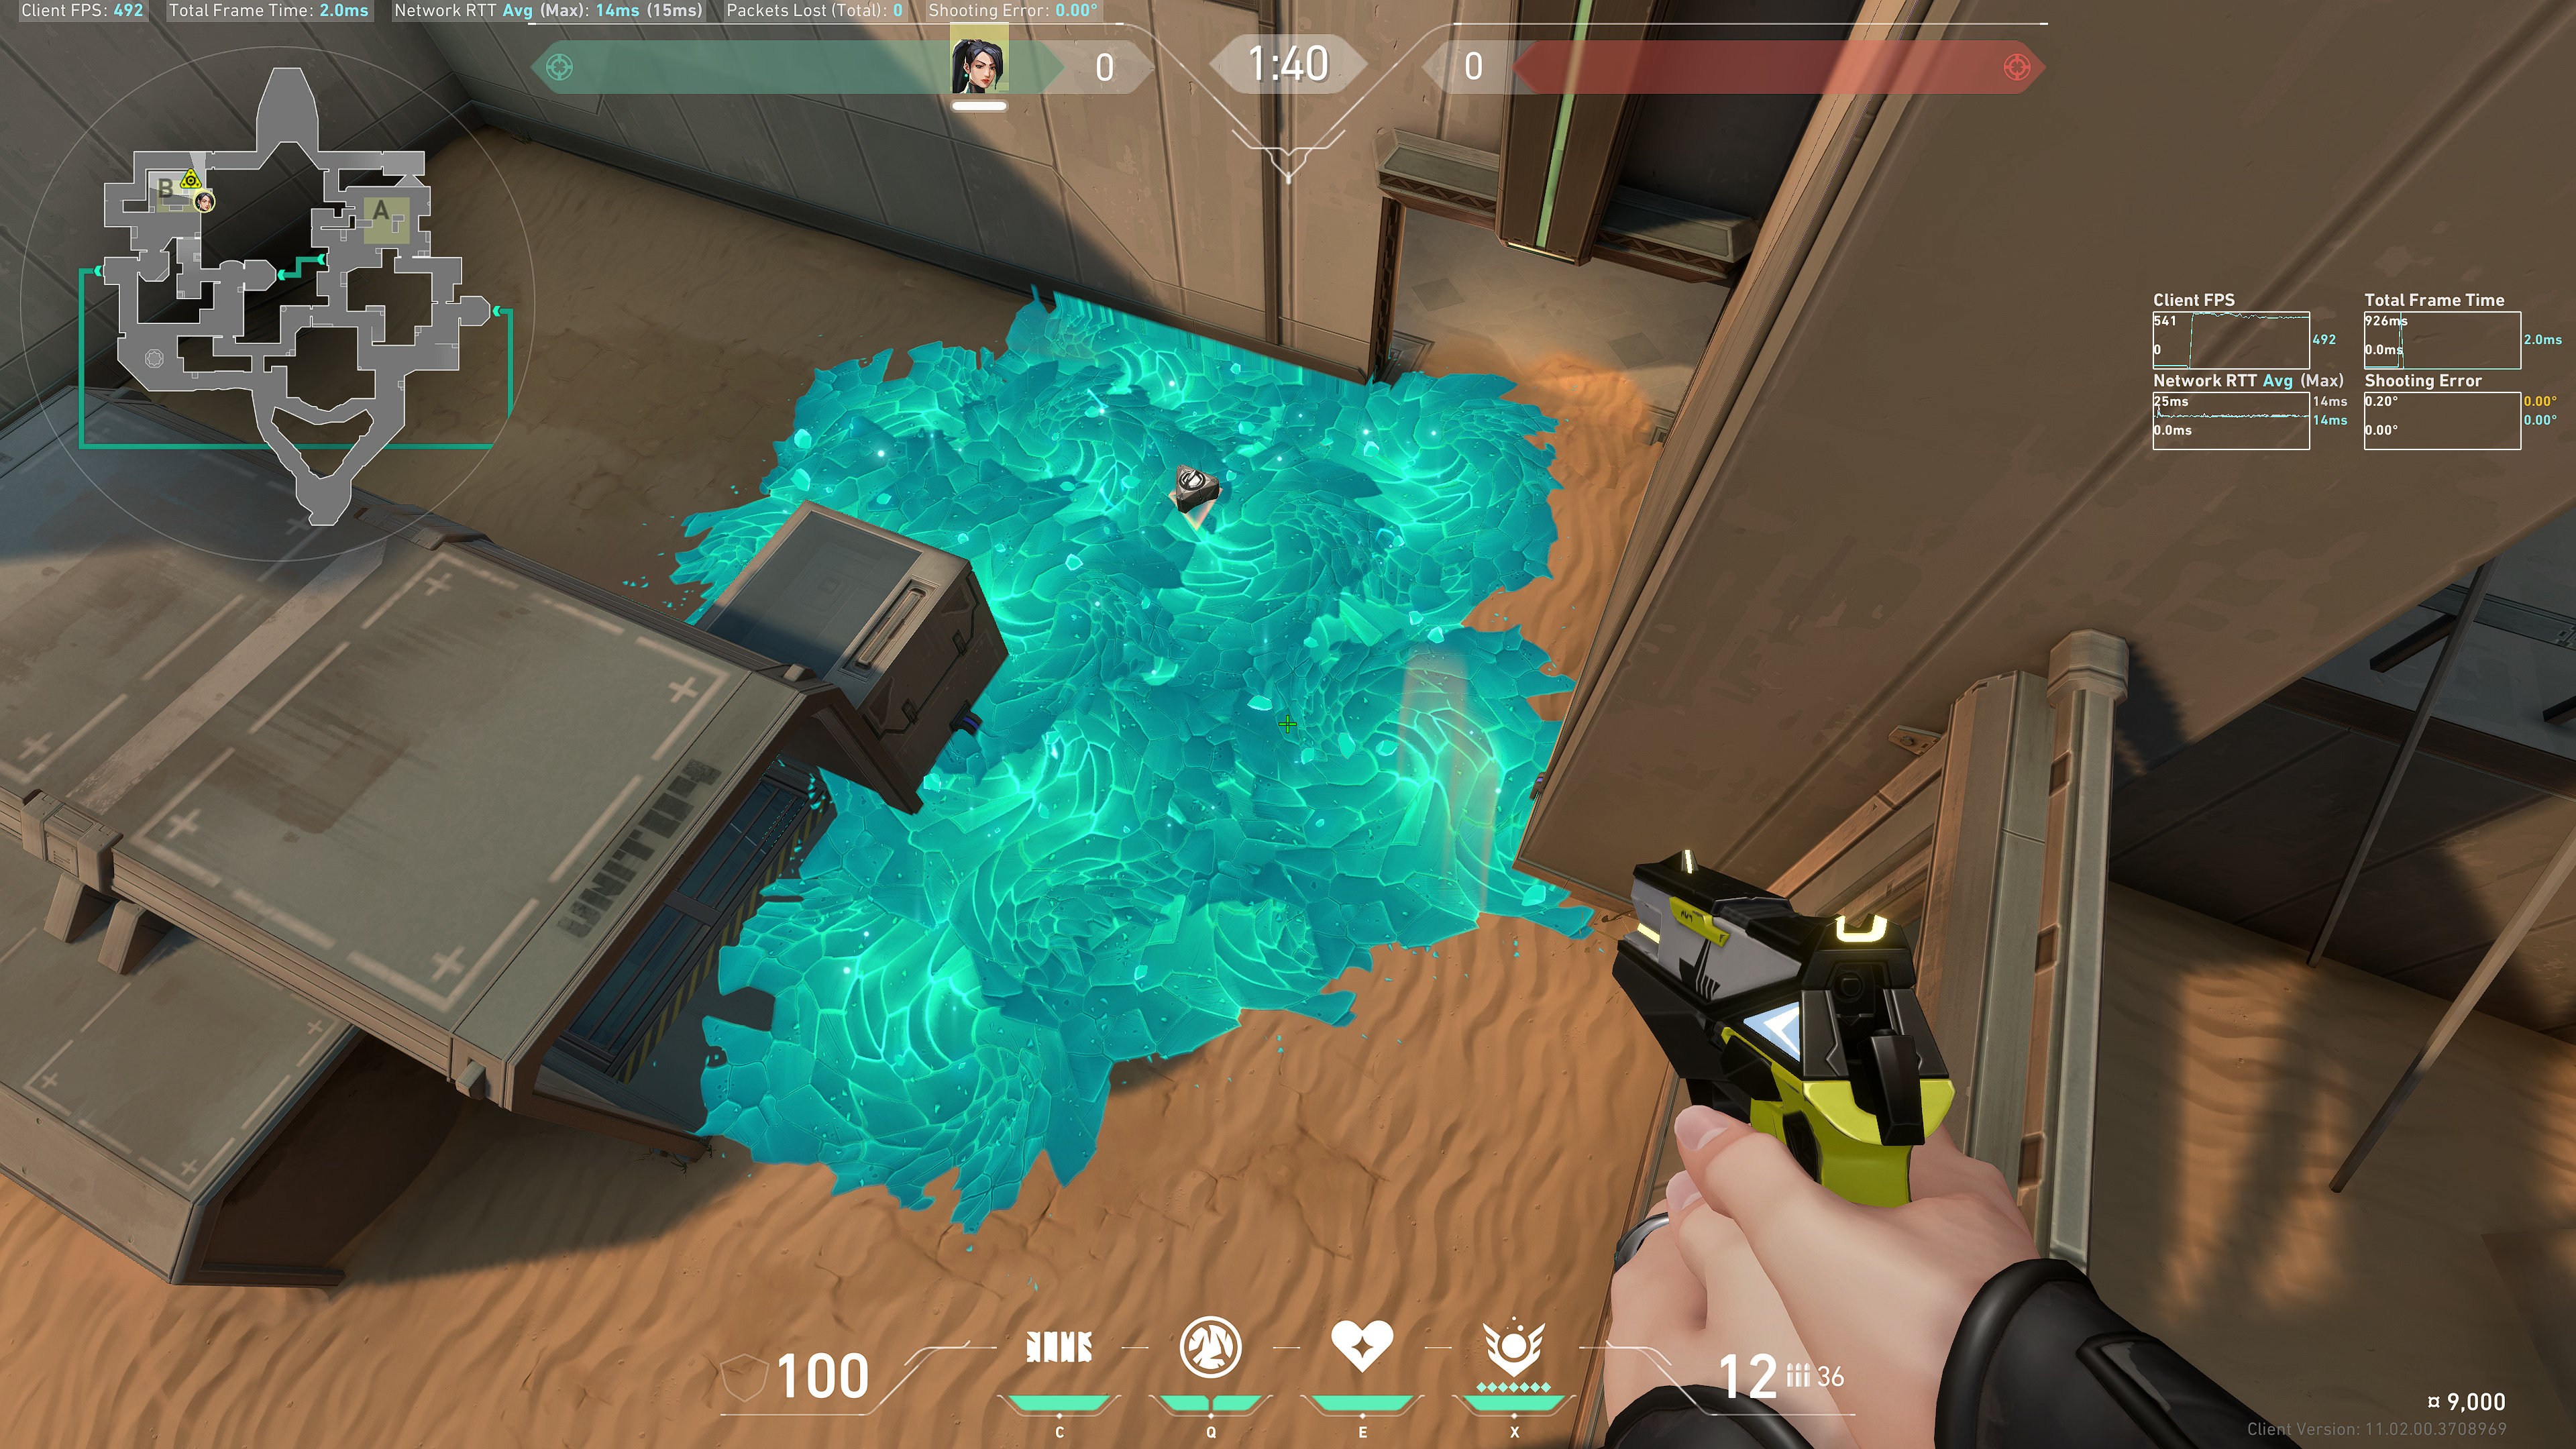
Back site (right side)
Aim at this T intersection:
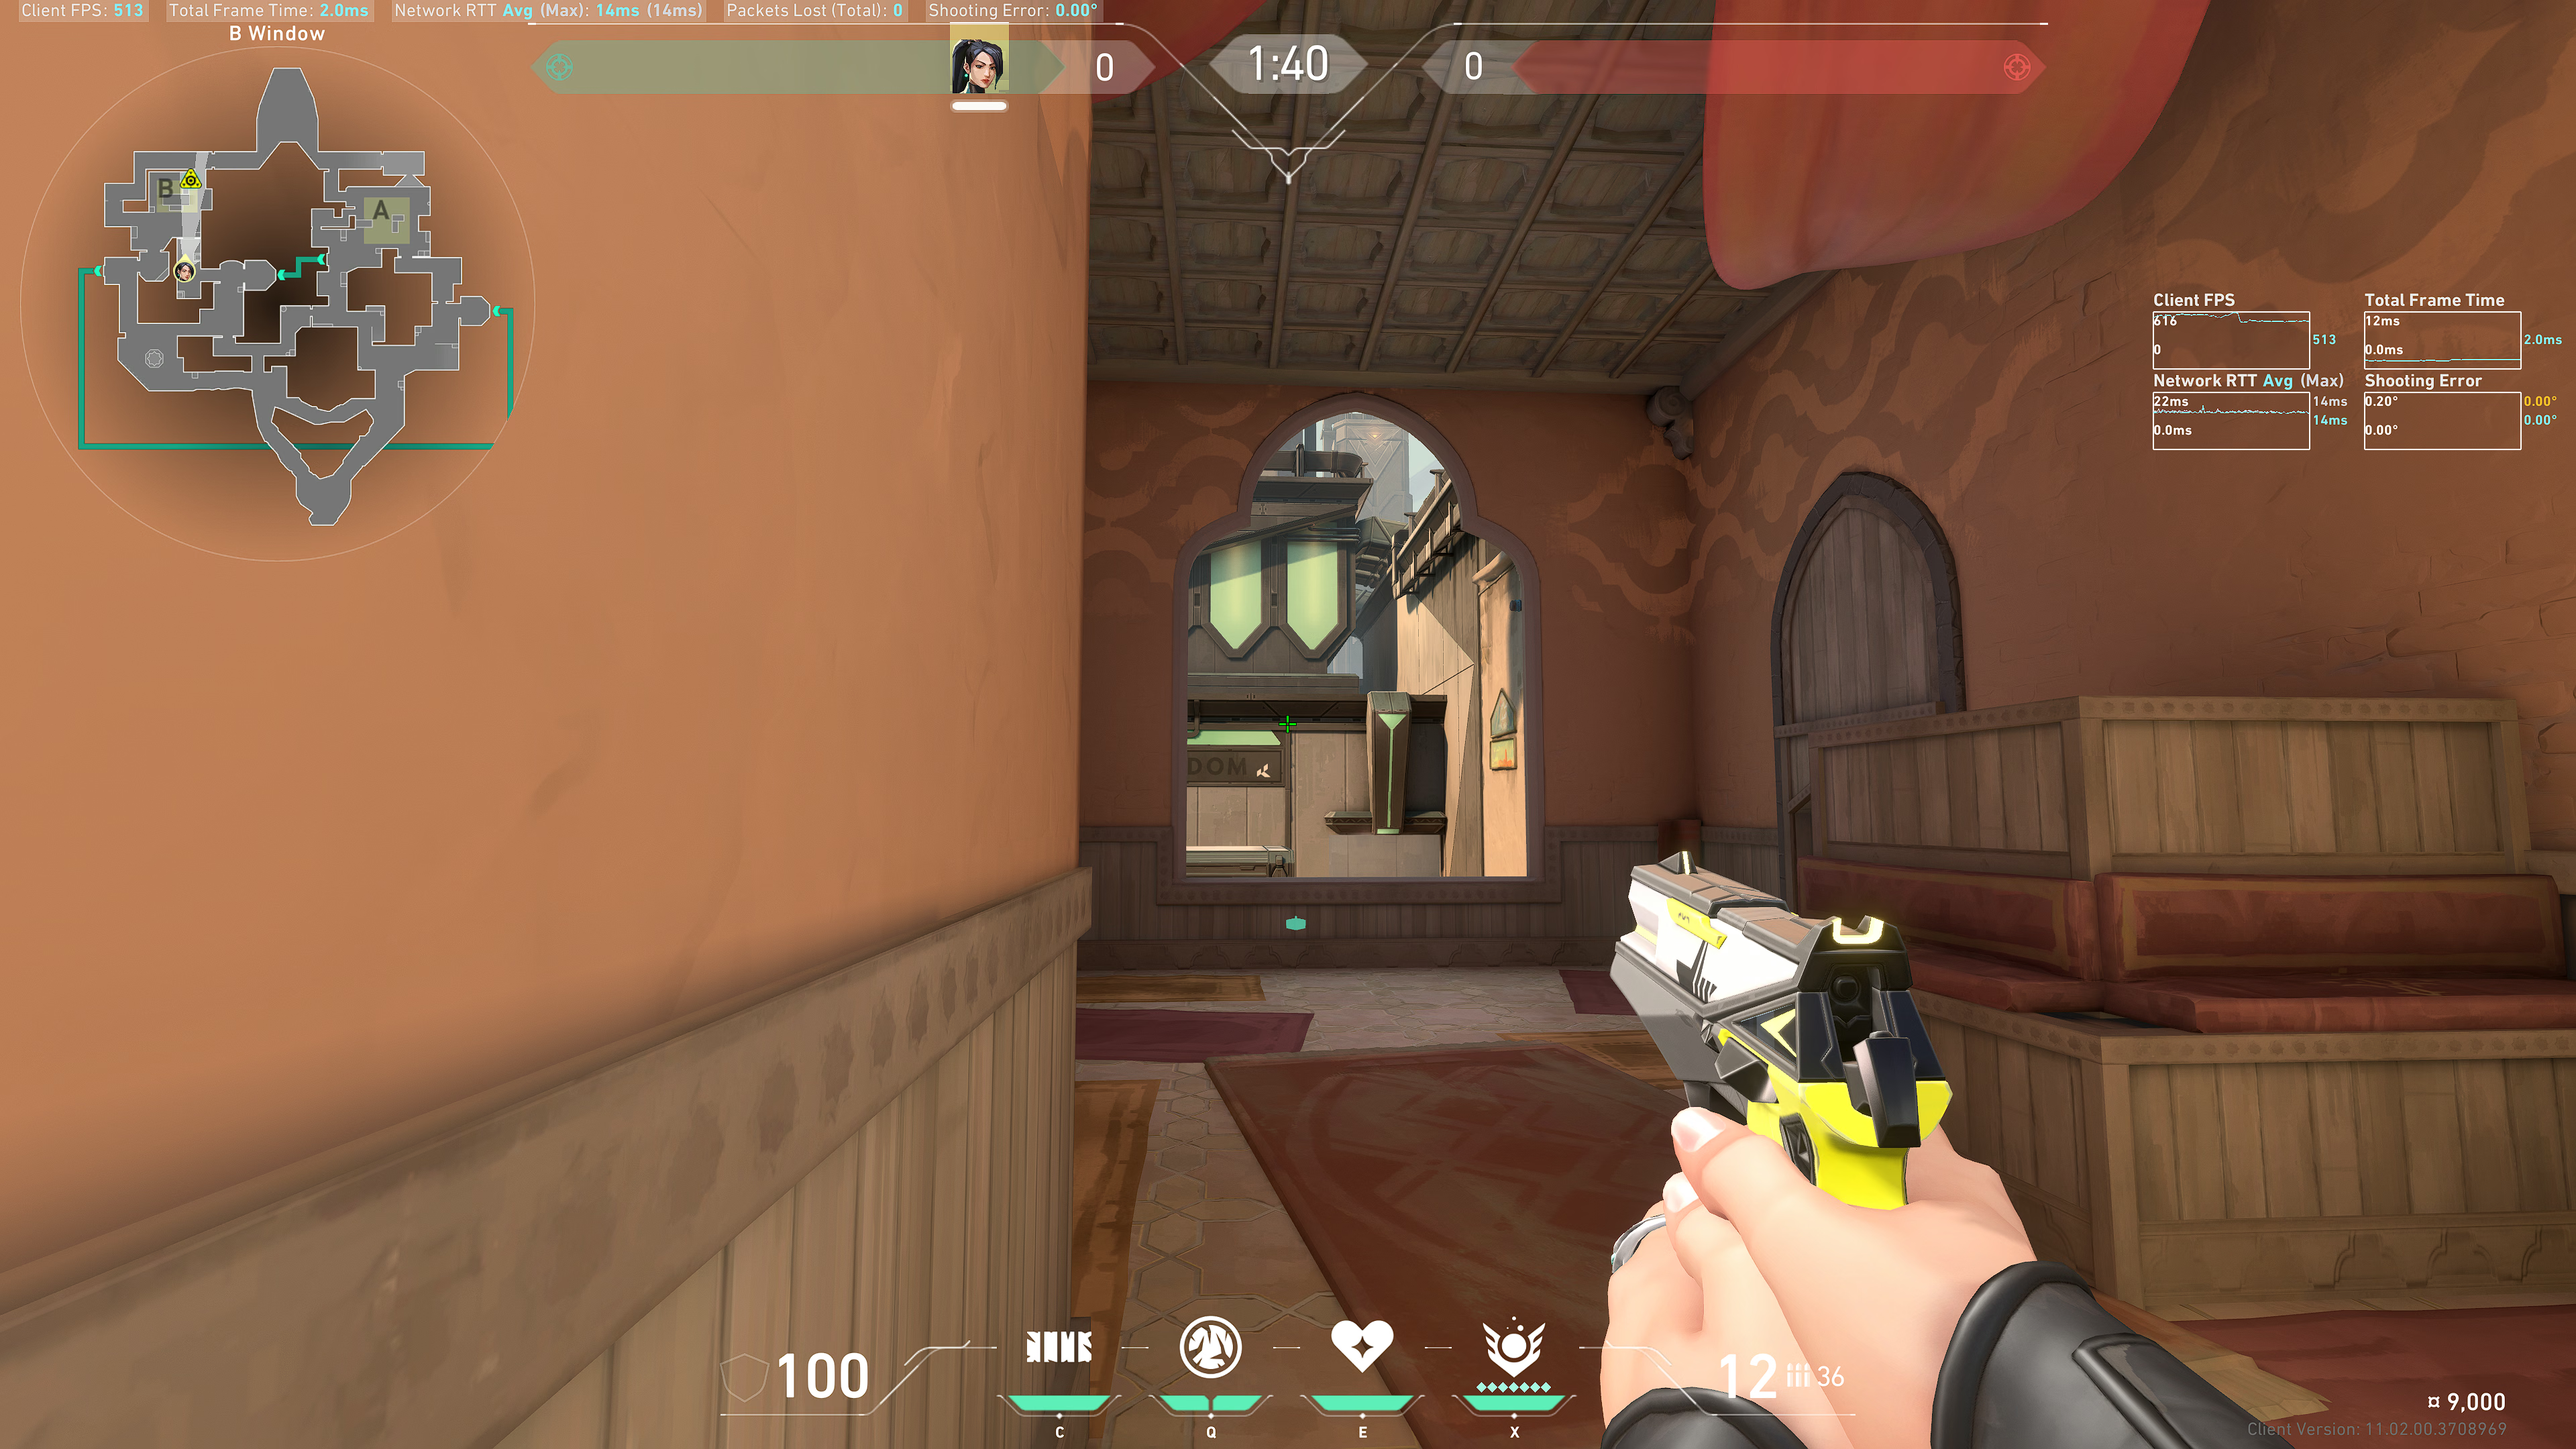
Example result:
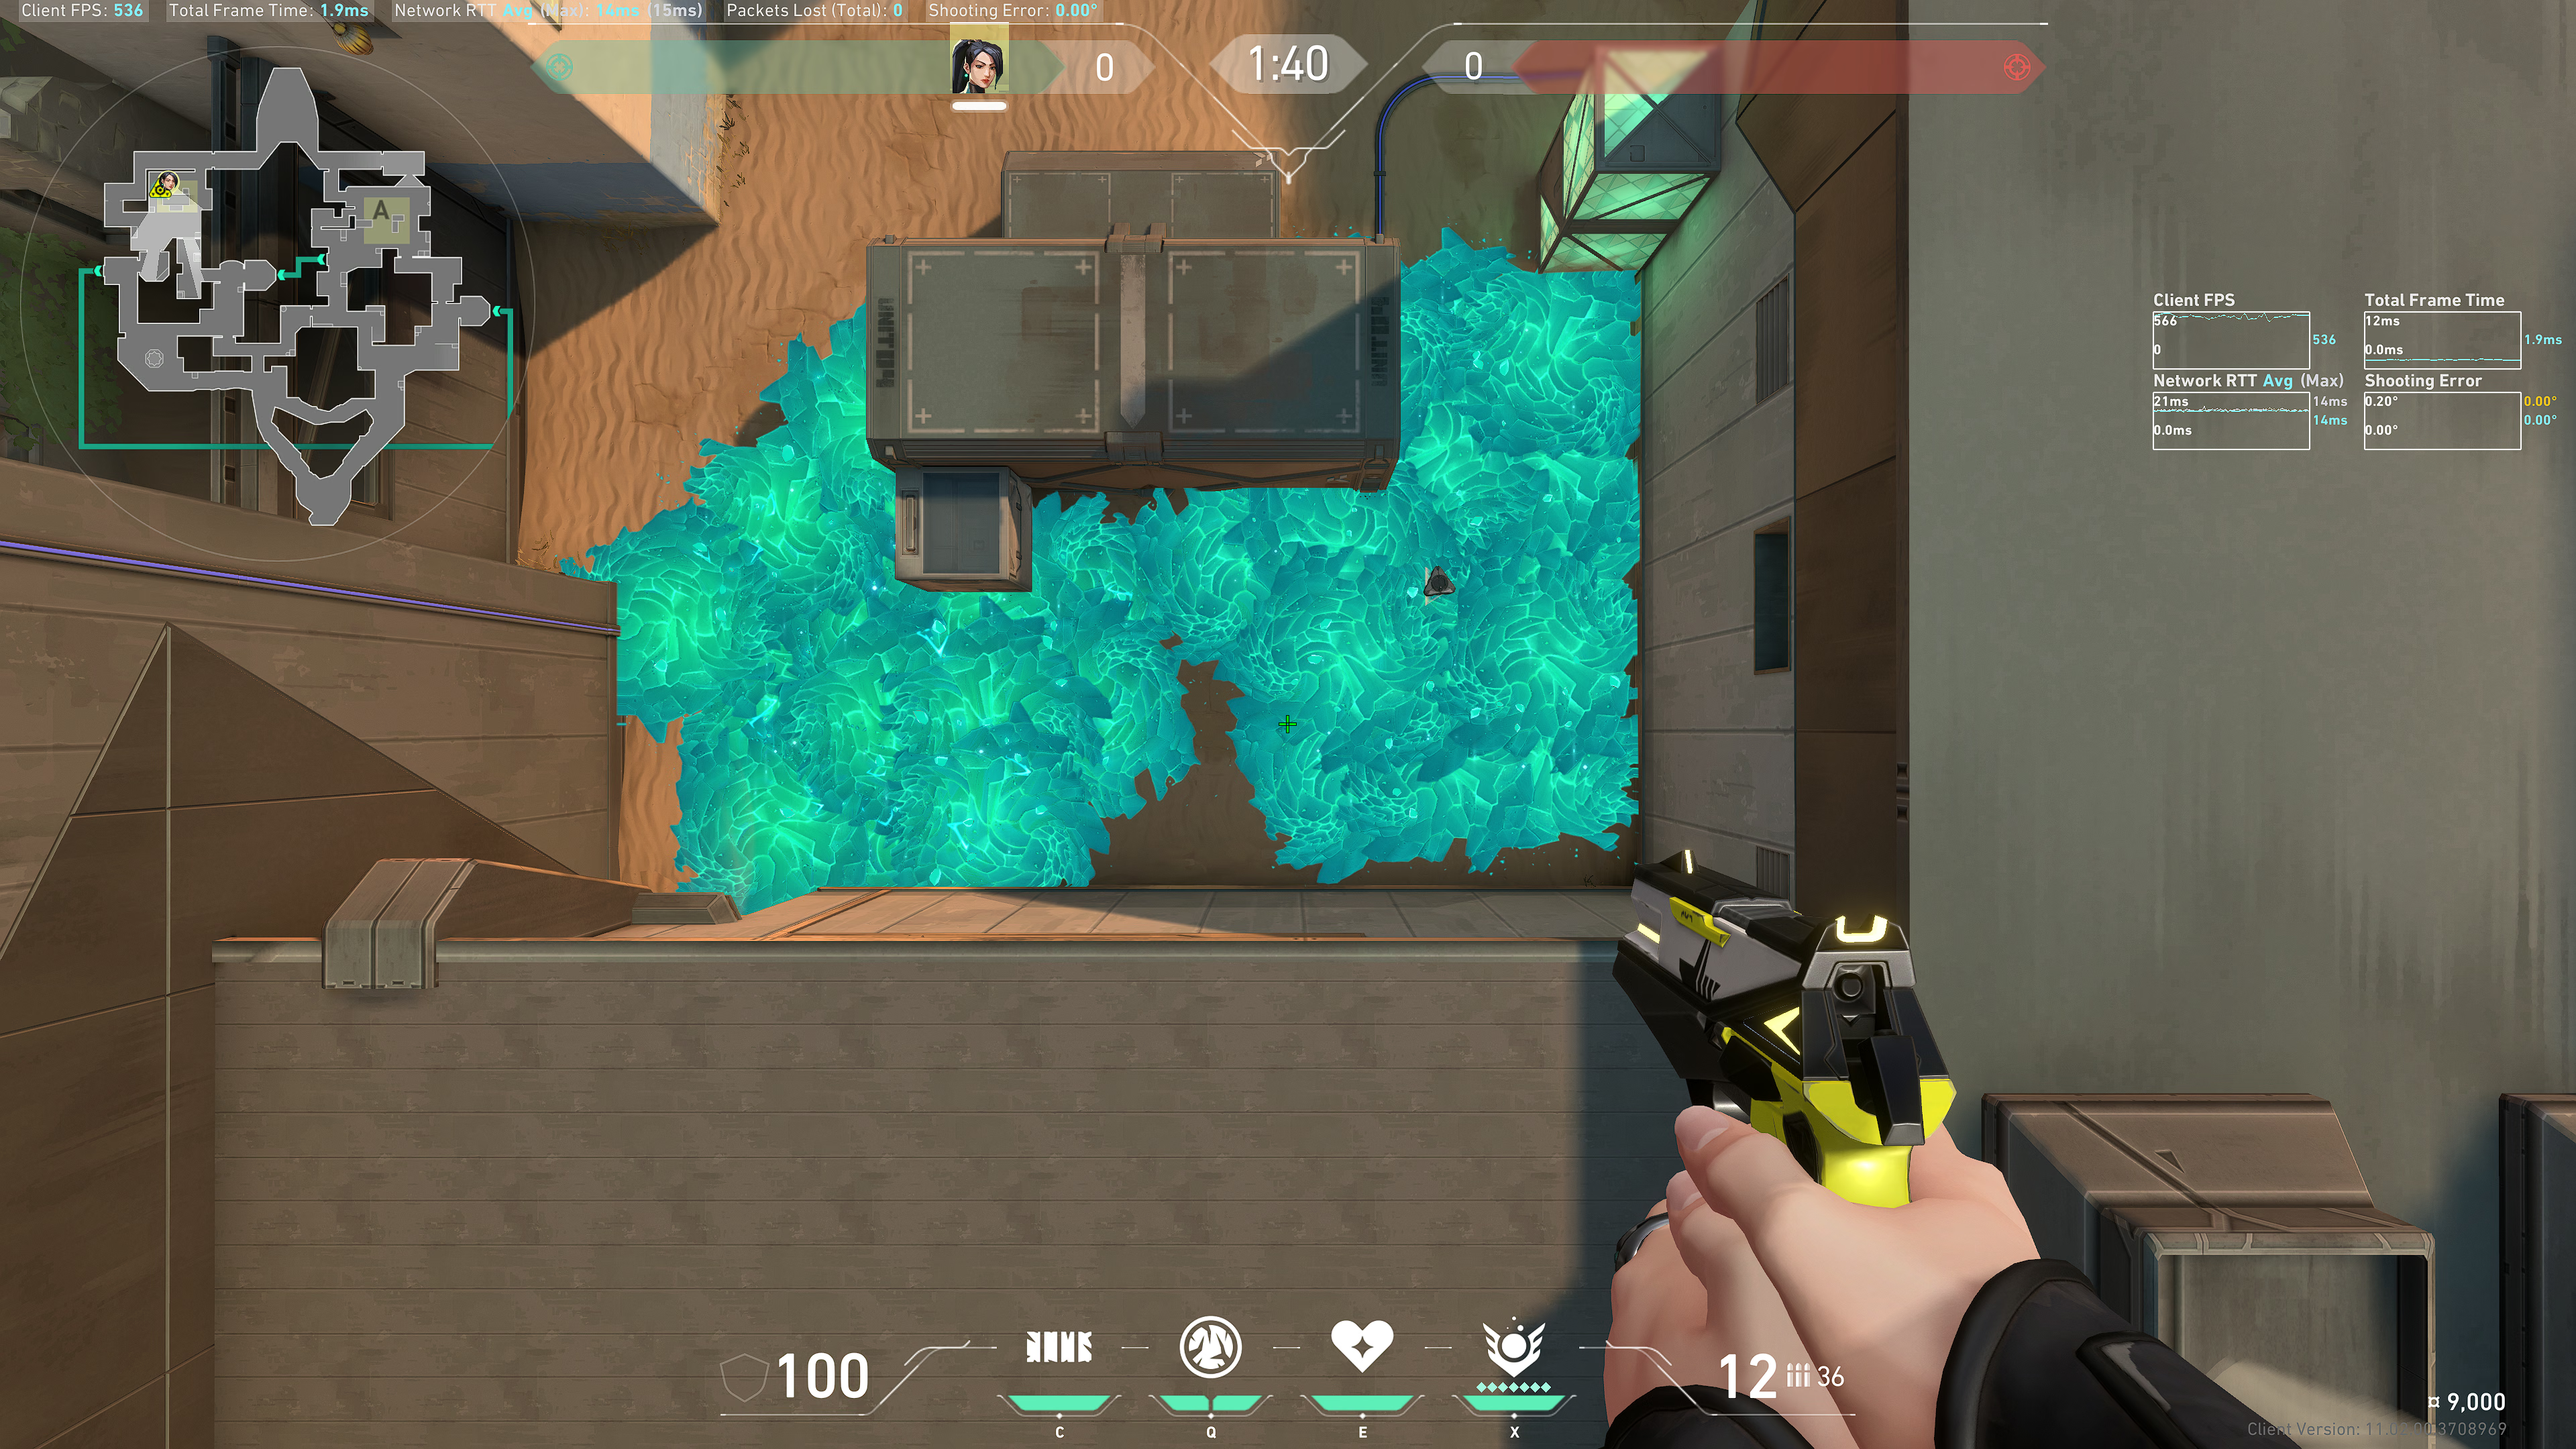
Combined results:
Post Plant (Elbow window)
Aim at the top left of the window, slightly to the right, and slight above:
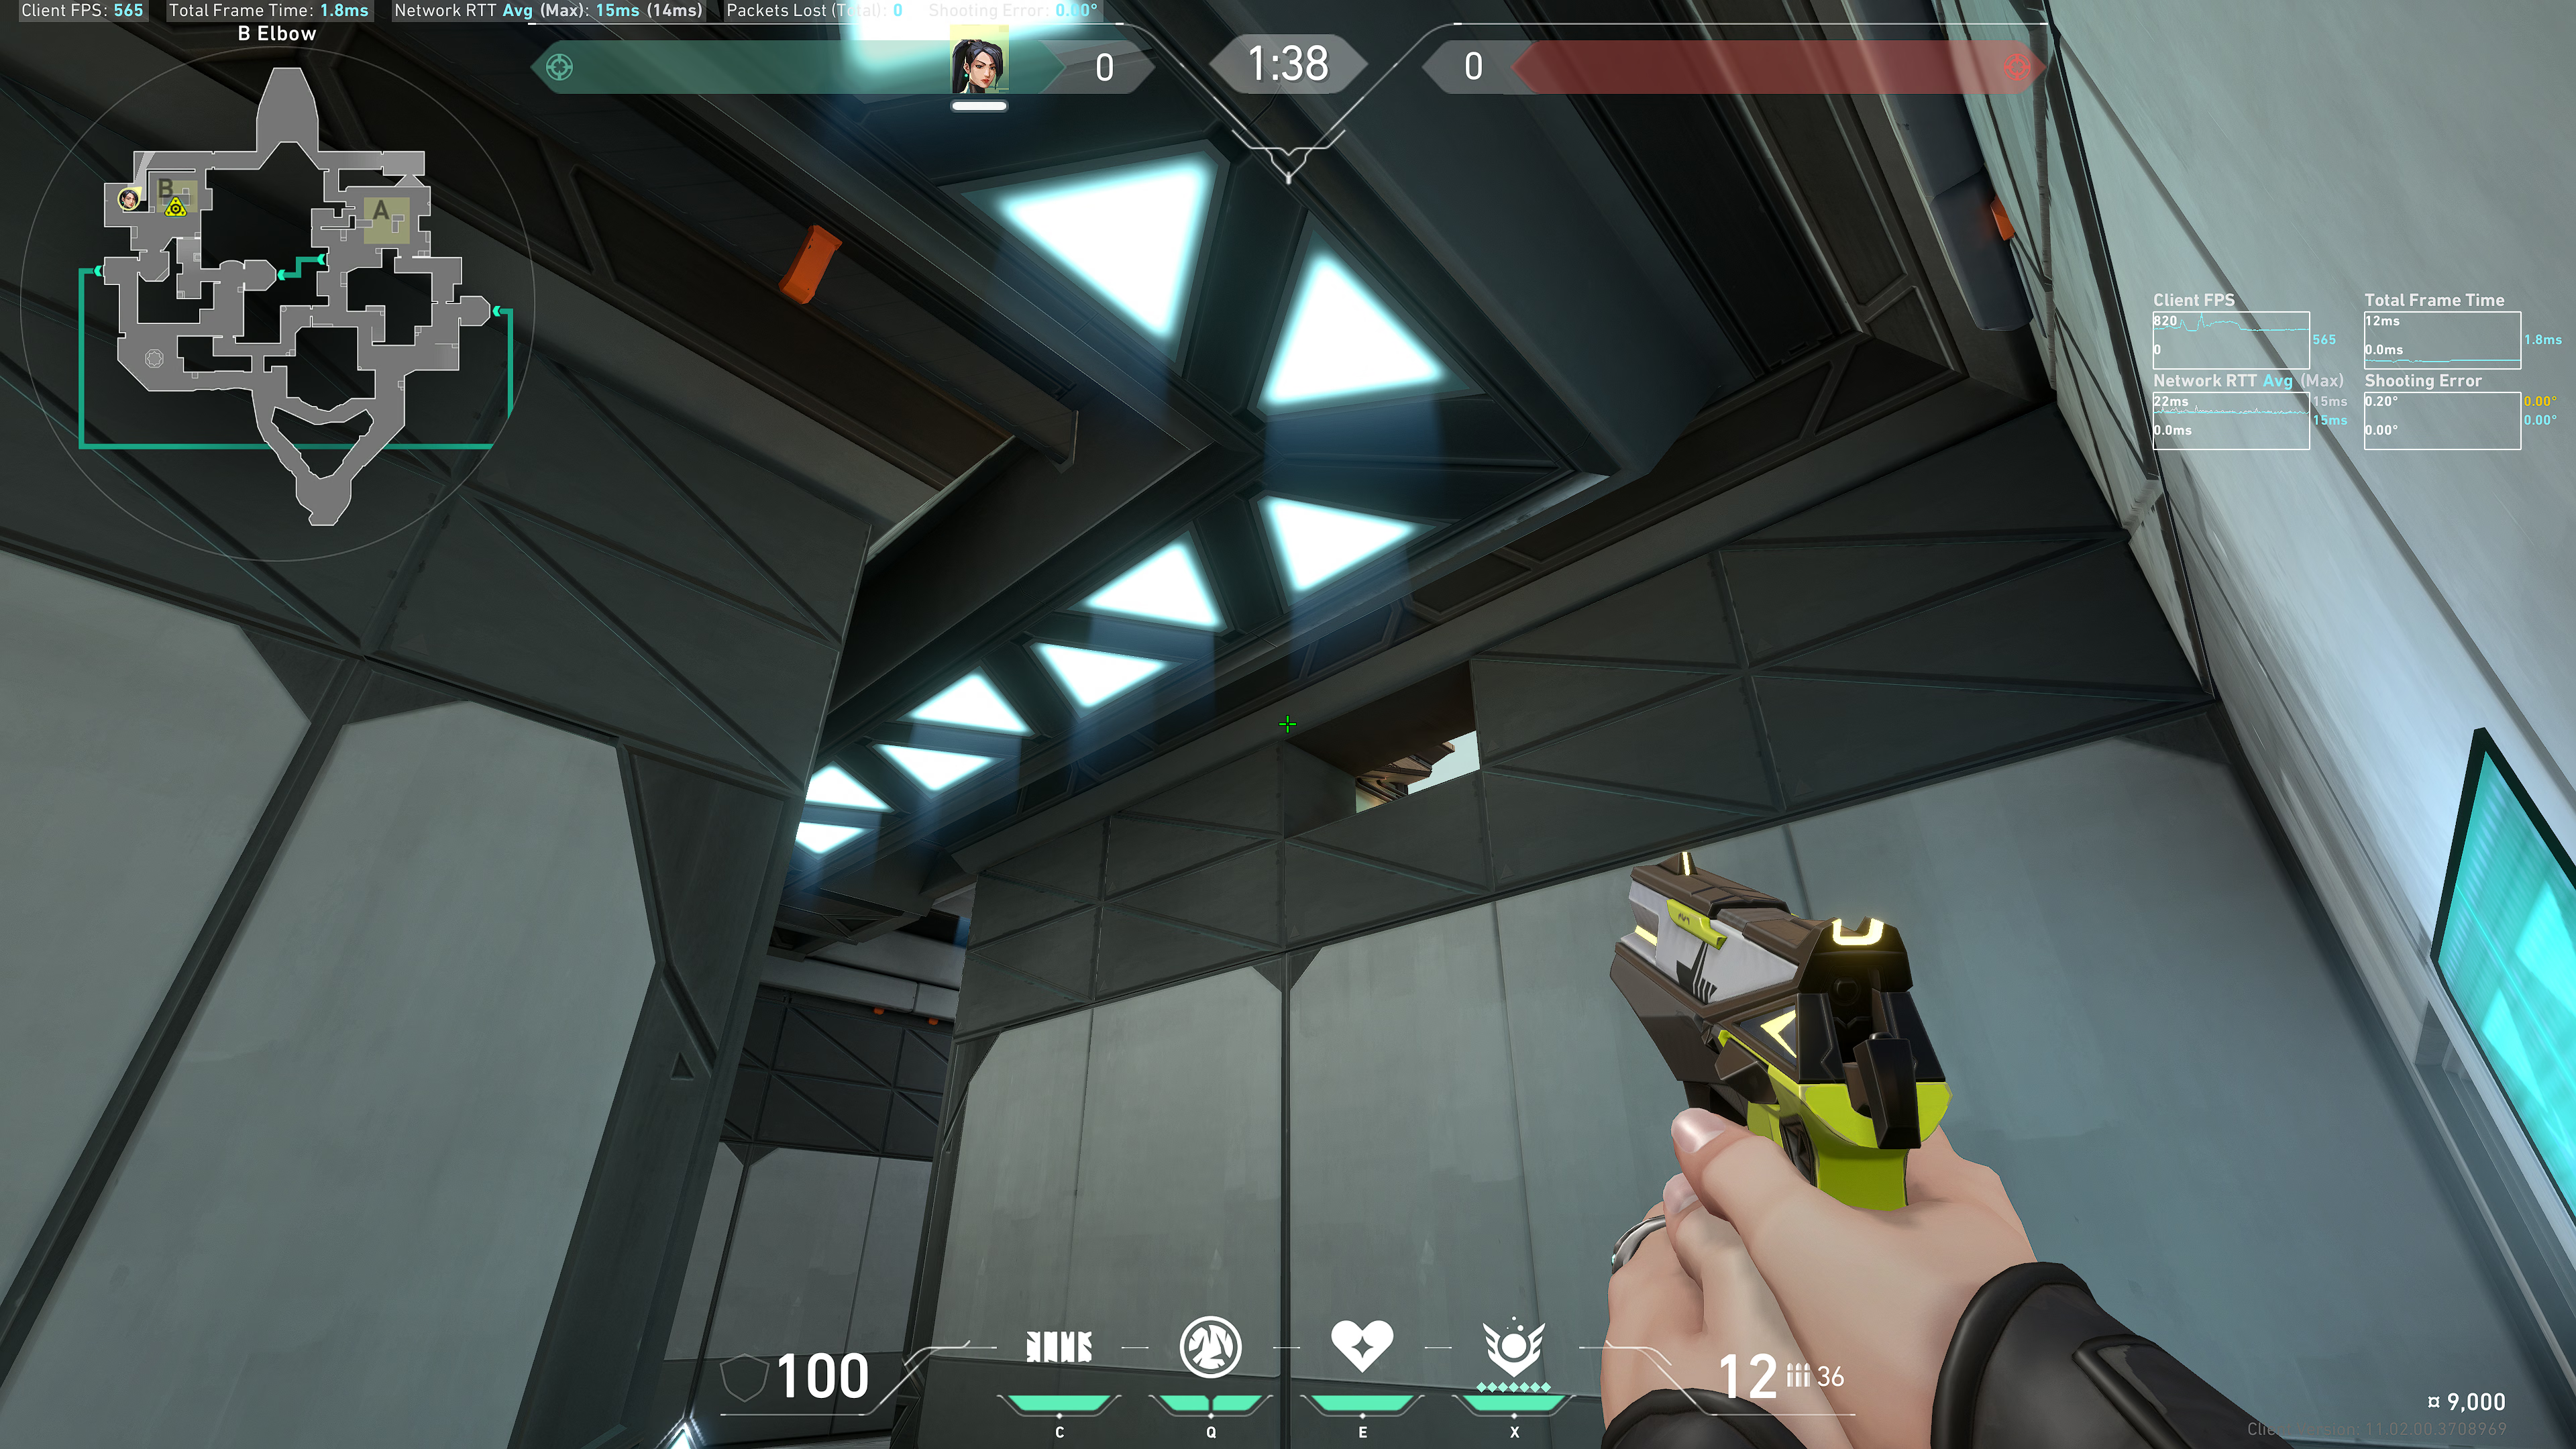
Run and throw. Result:
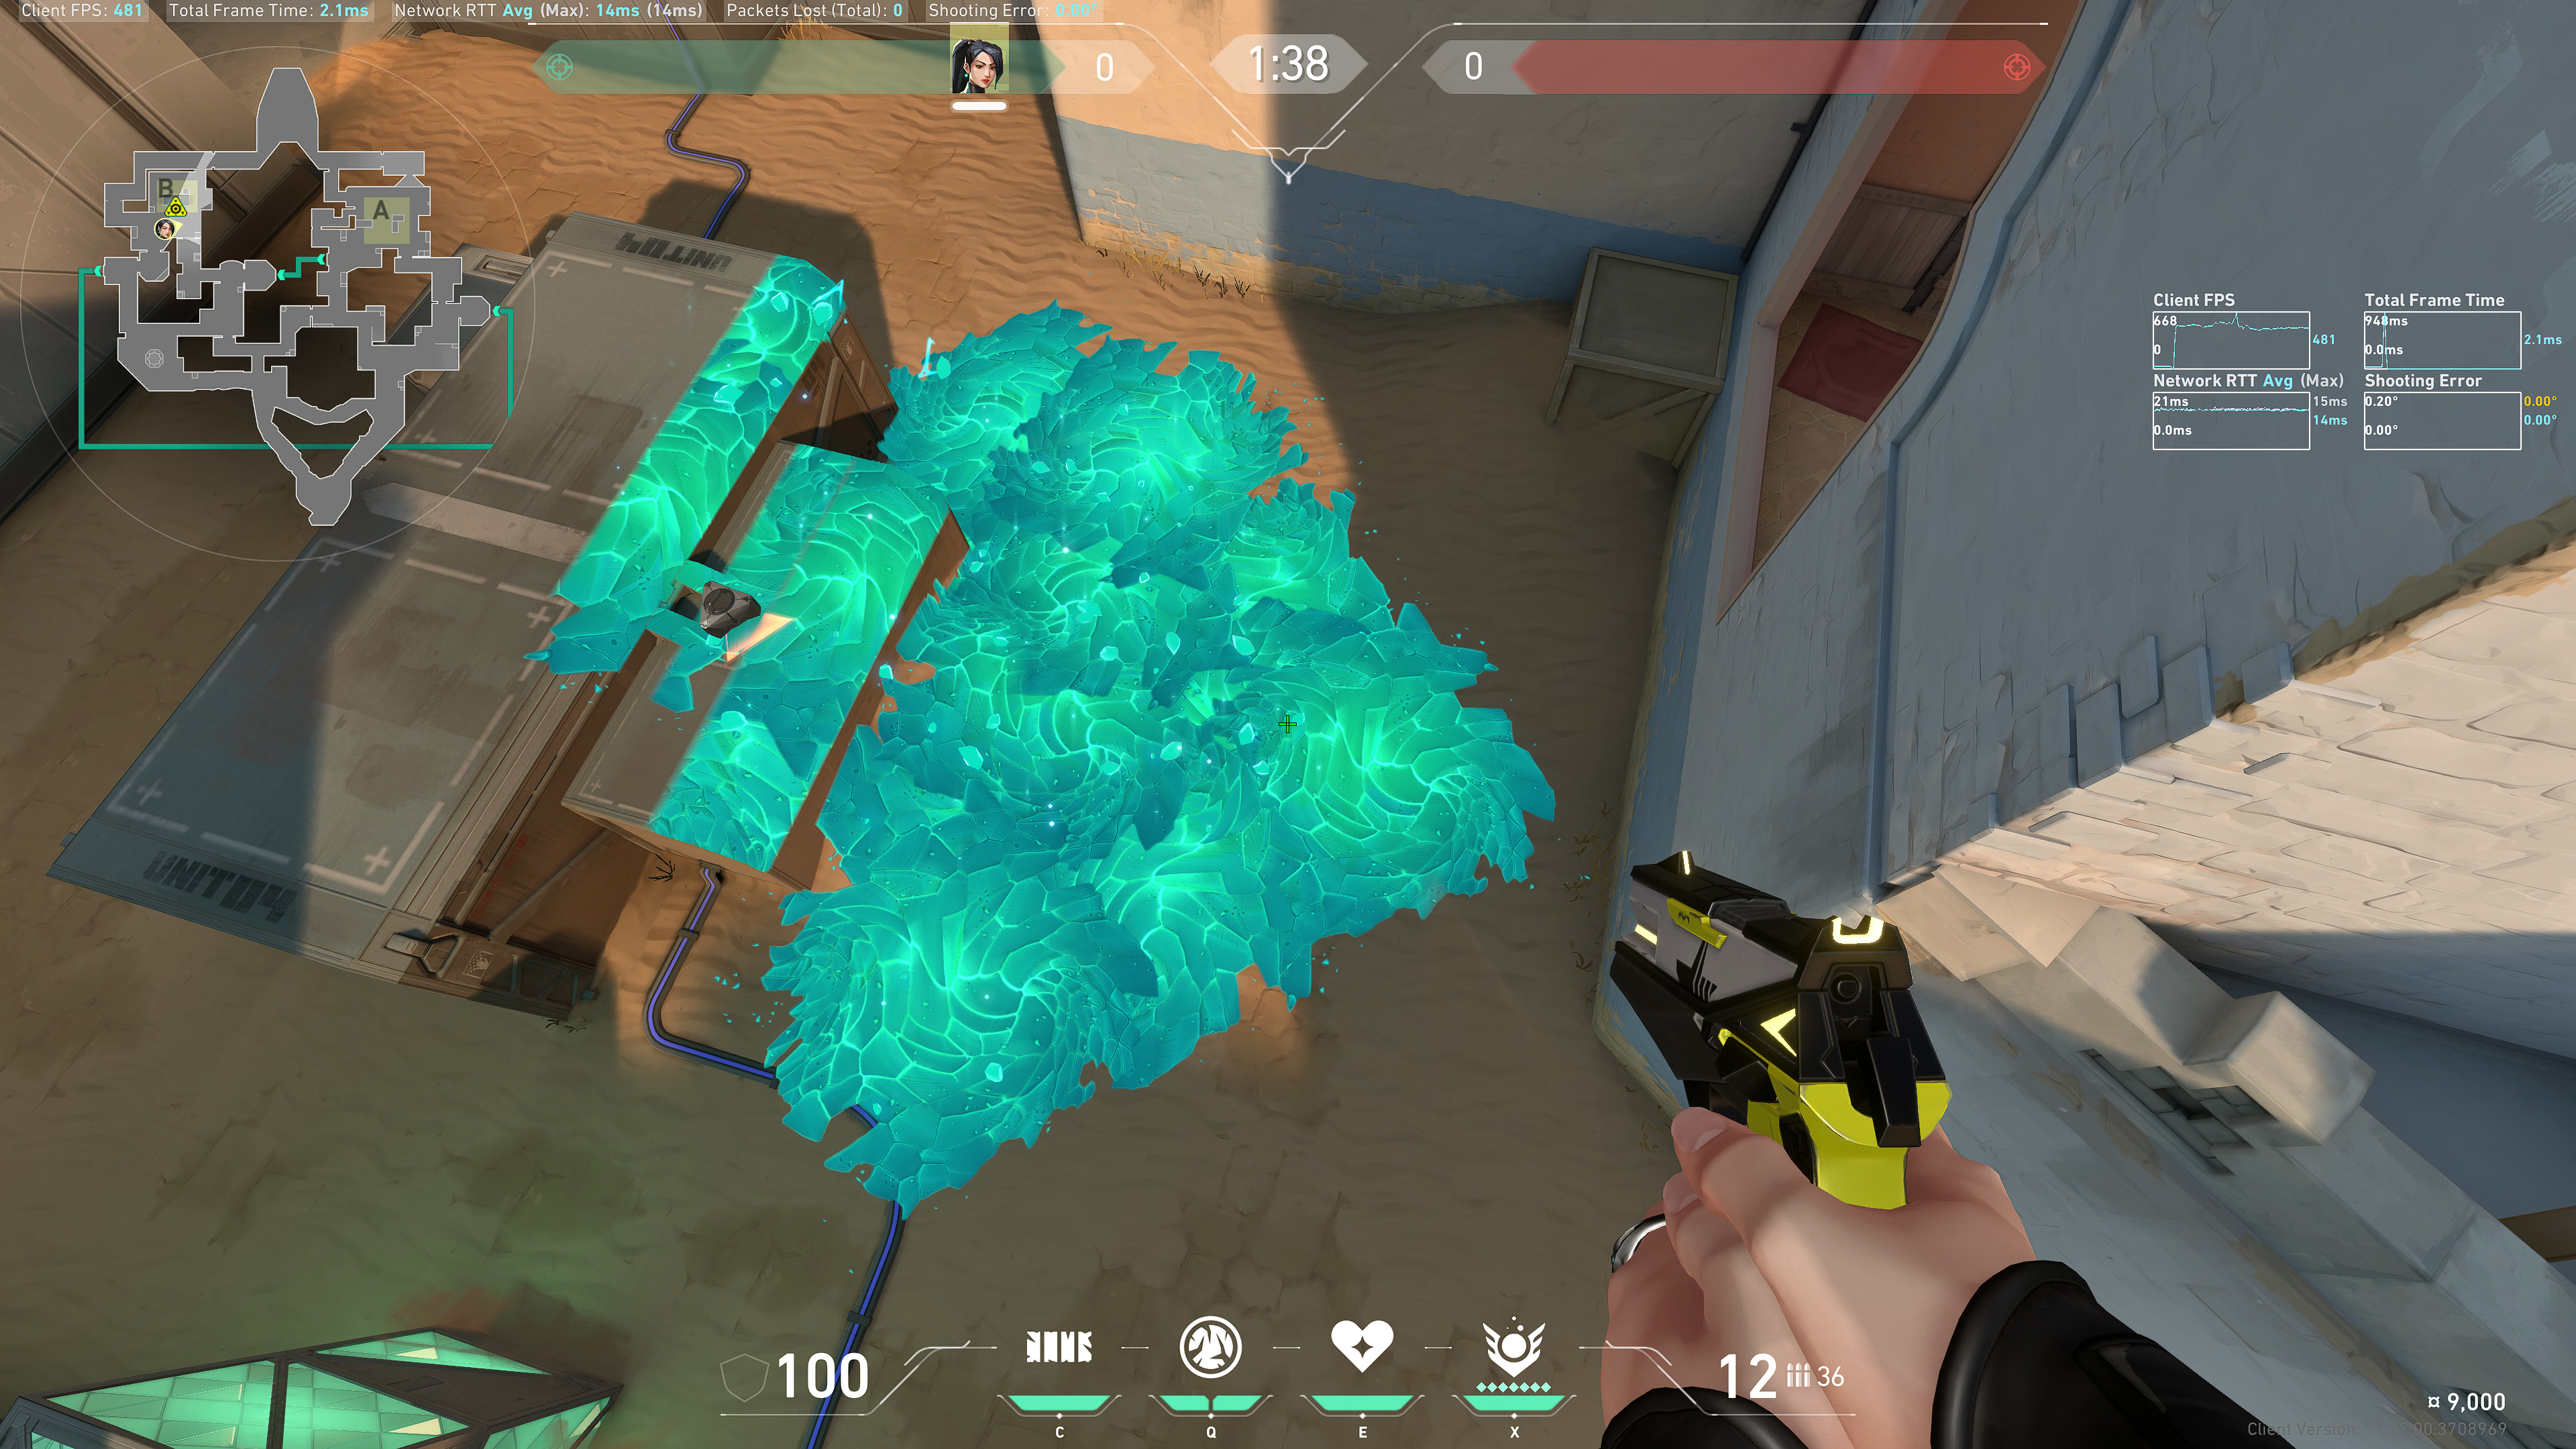
Note: the timing of this can be tricky. Be sure to practice it before using it in a match!
Post Plant (adhoc)
Close this angle so you're not yet exposed to site and Garden:
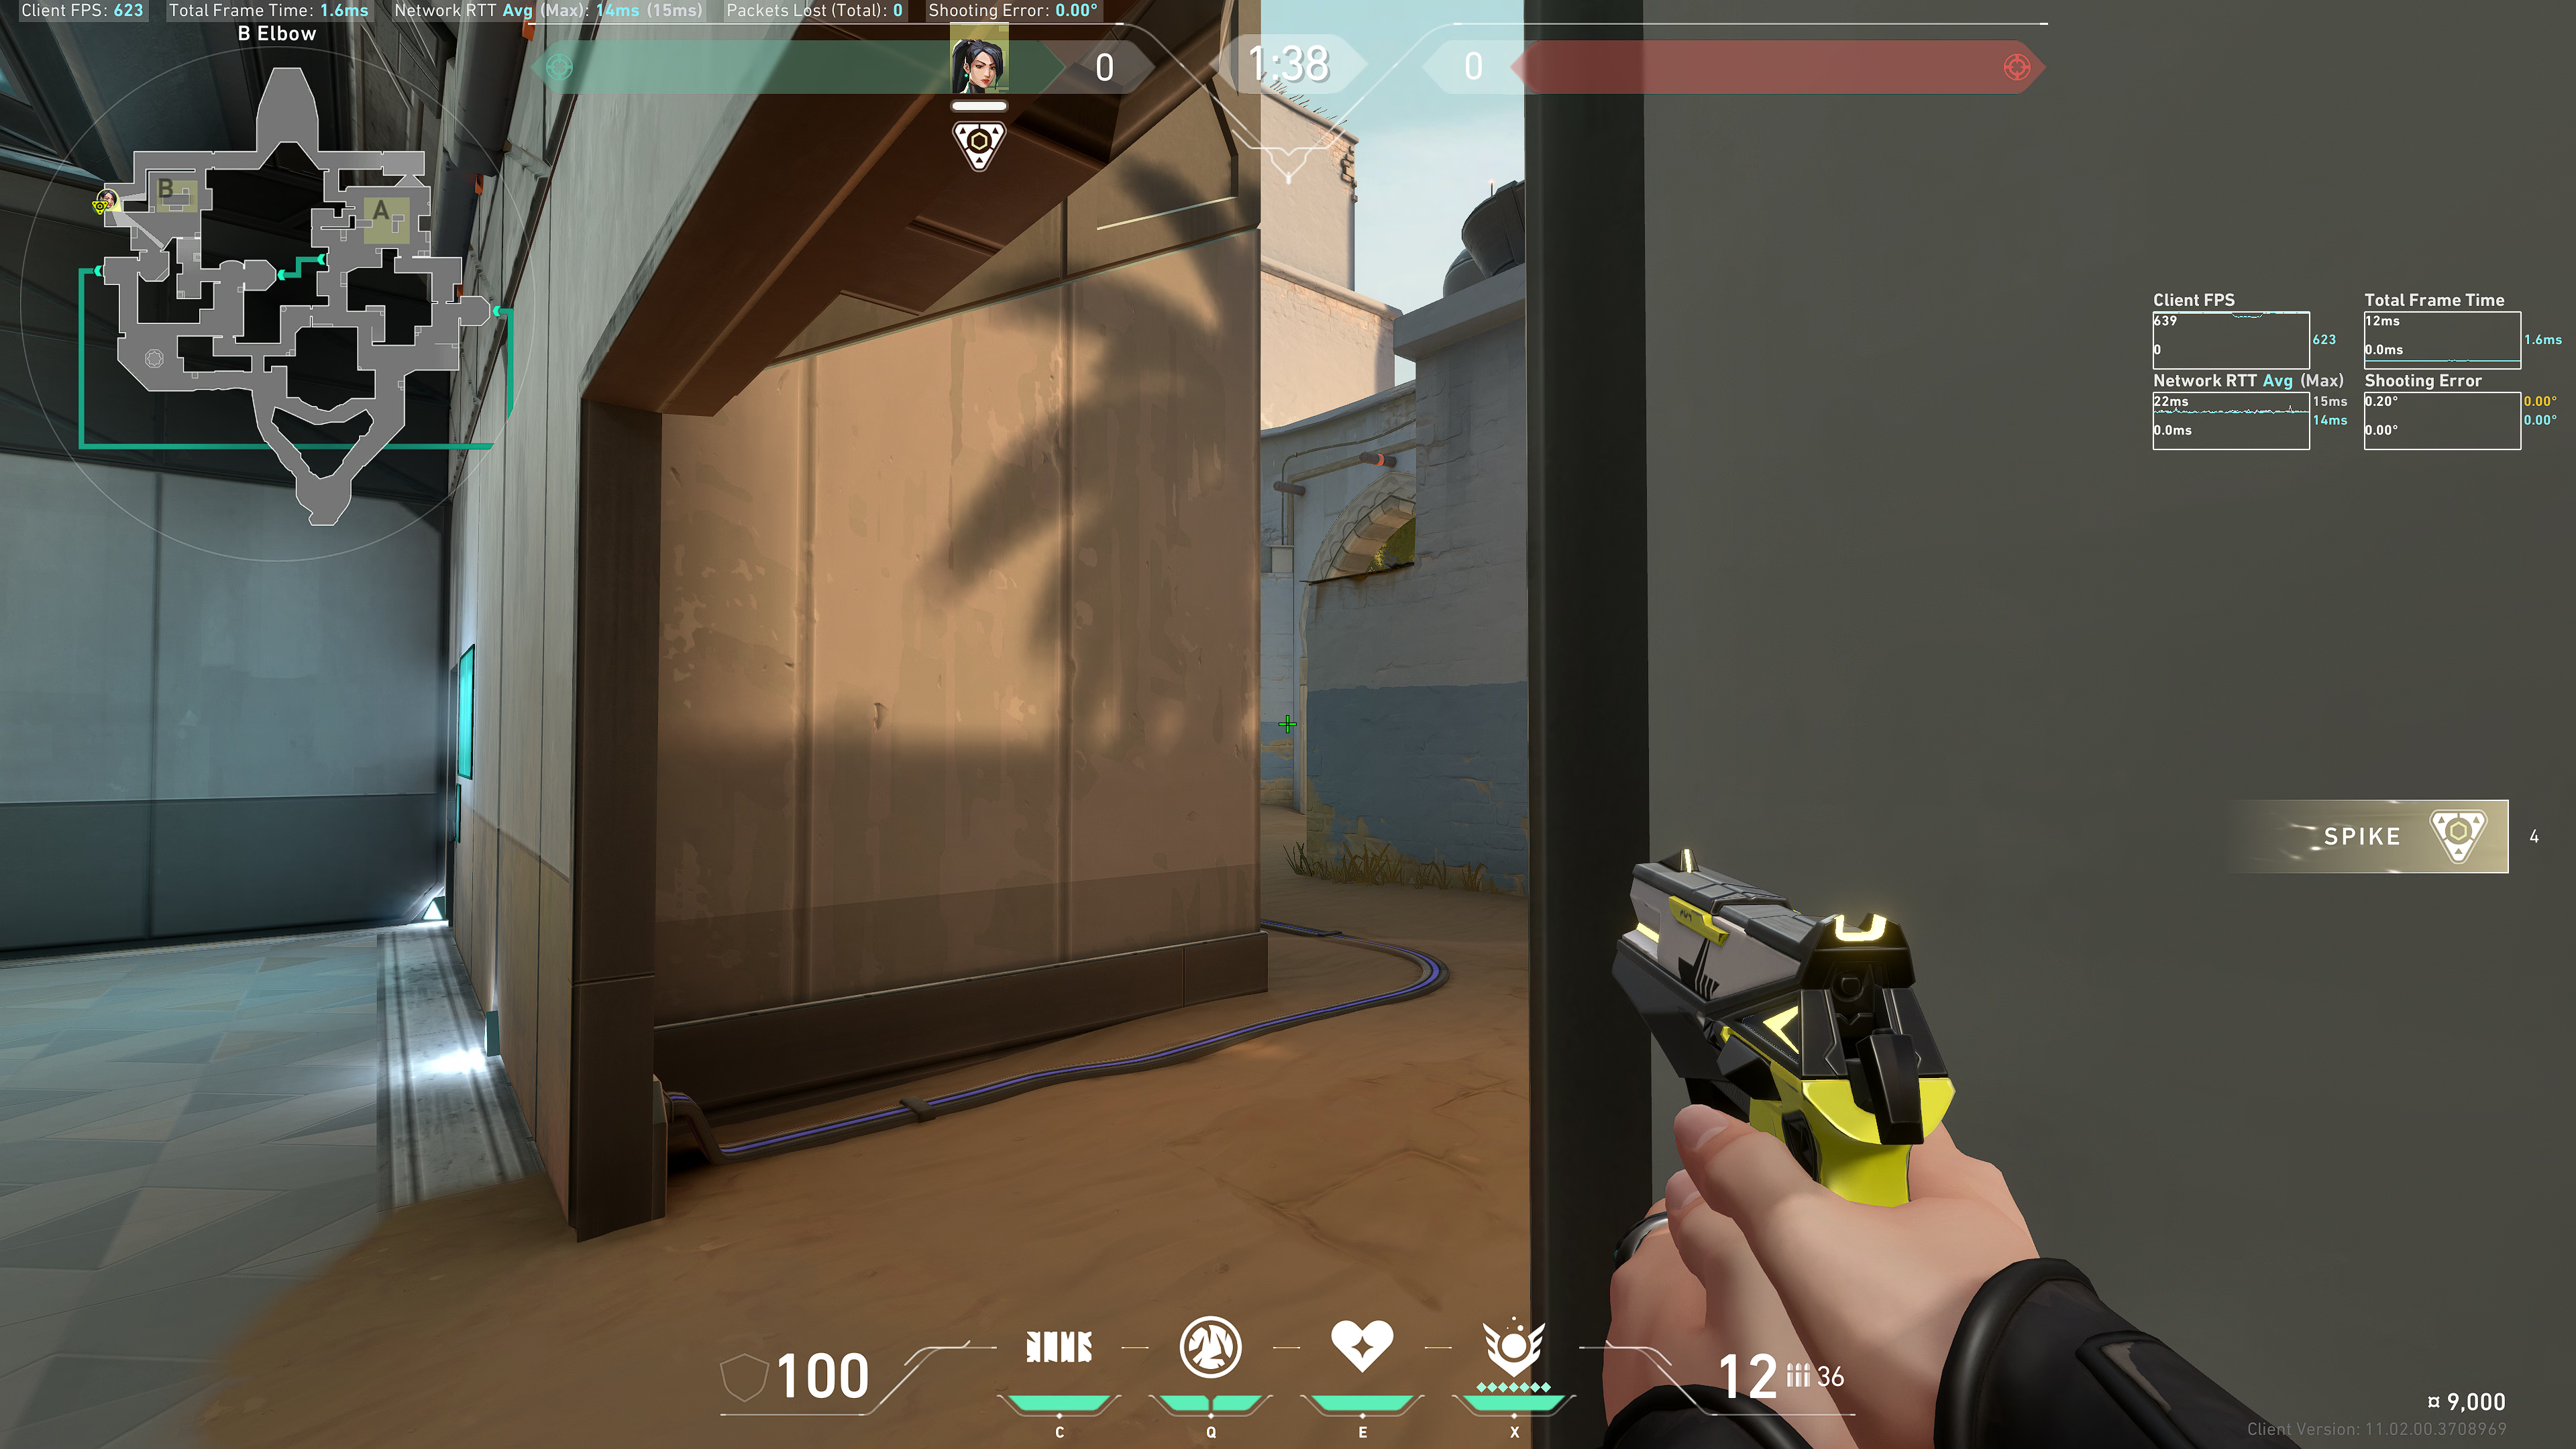
Aim along the rim of this roof:
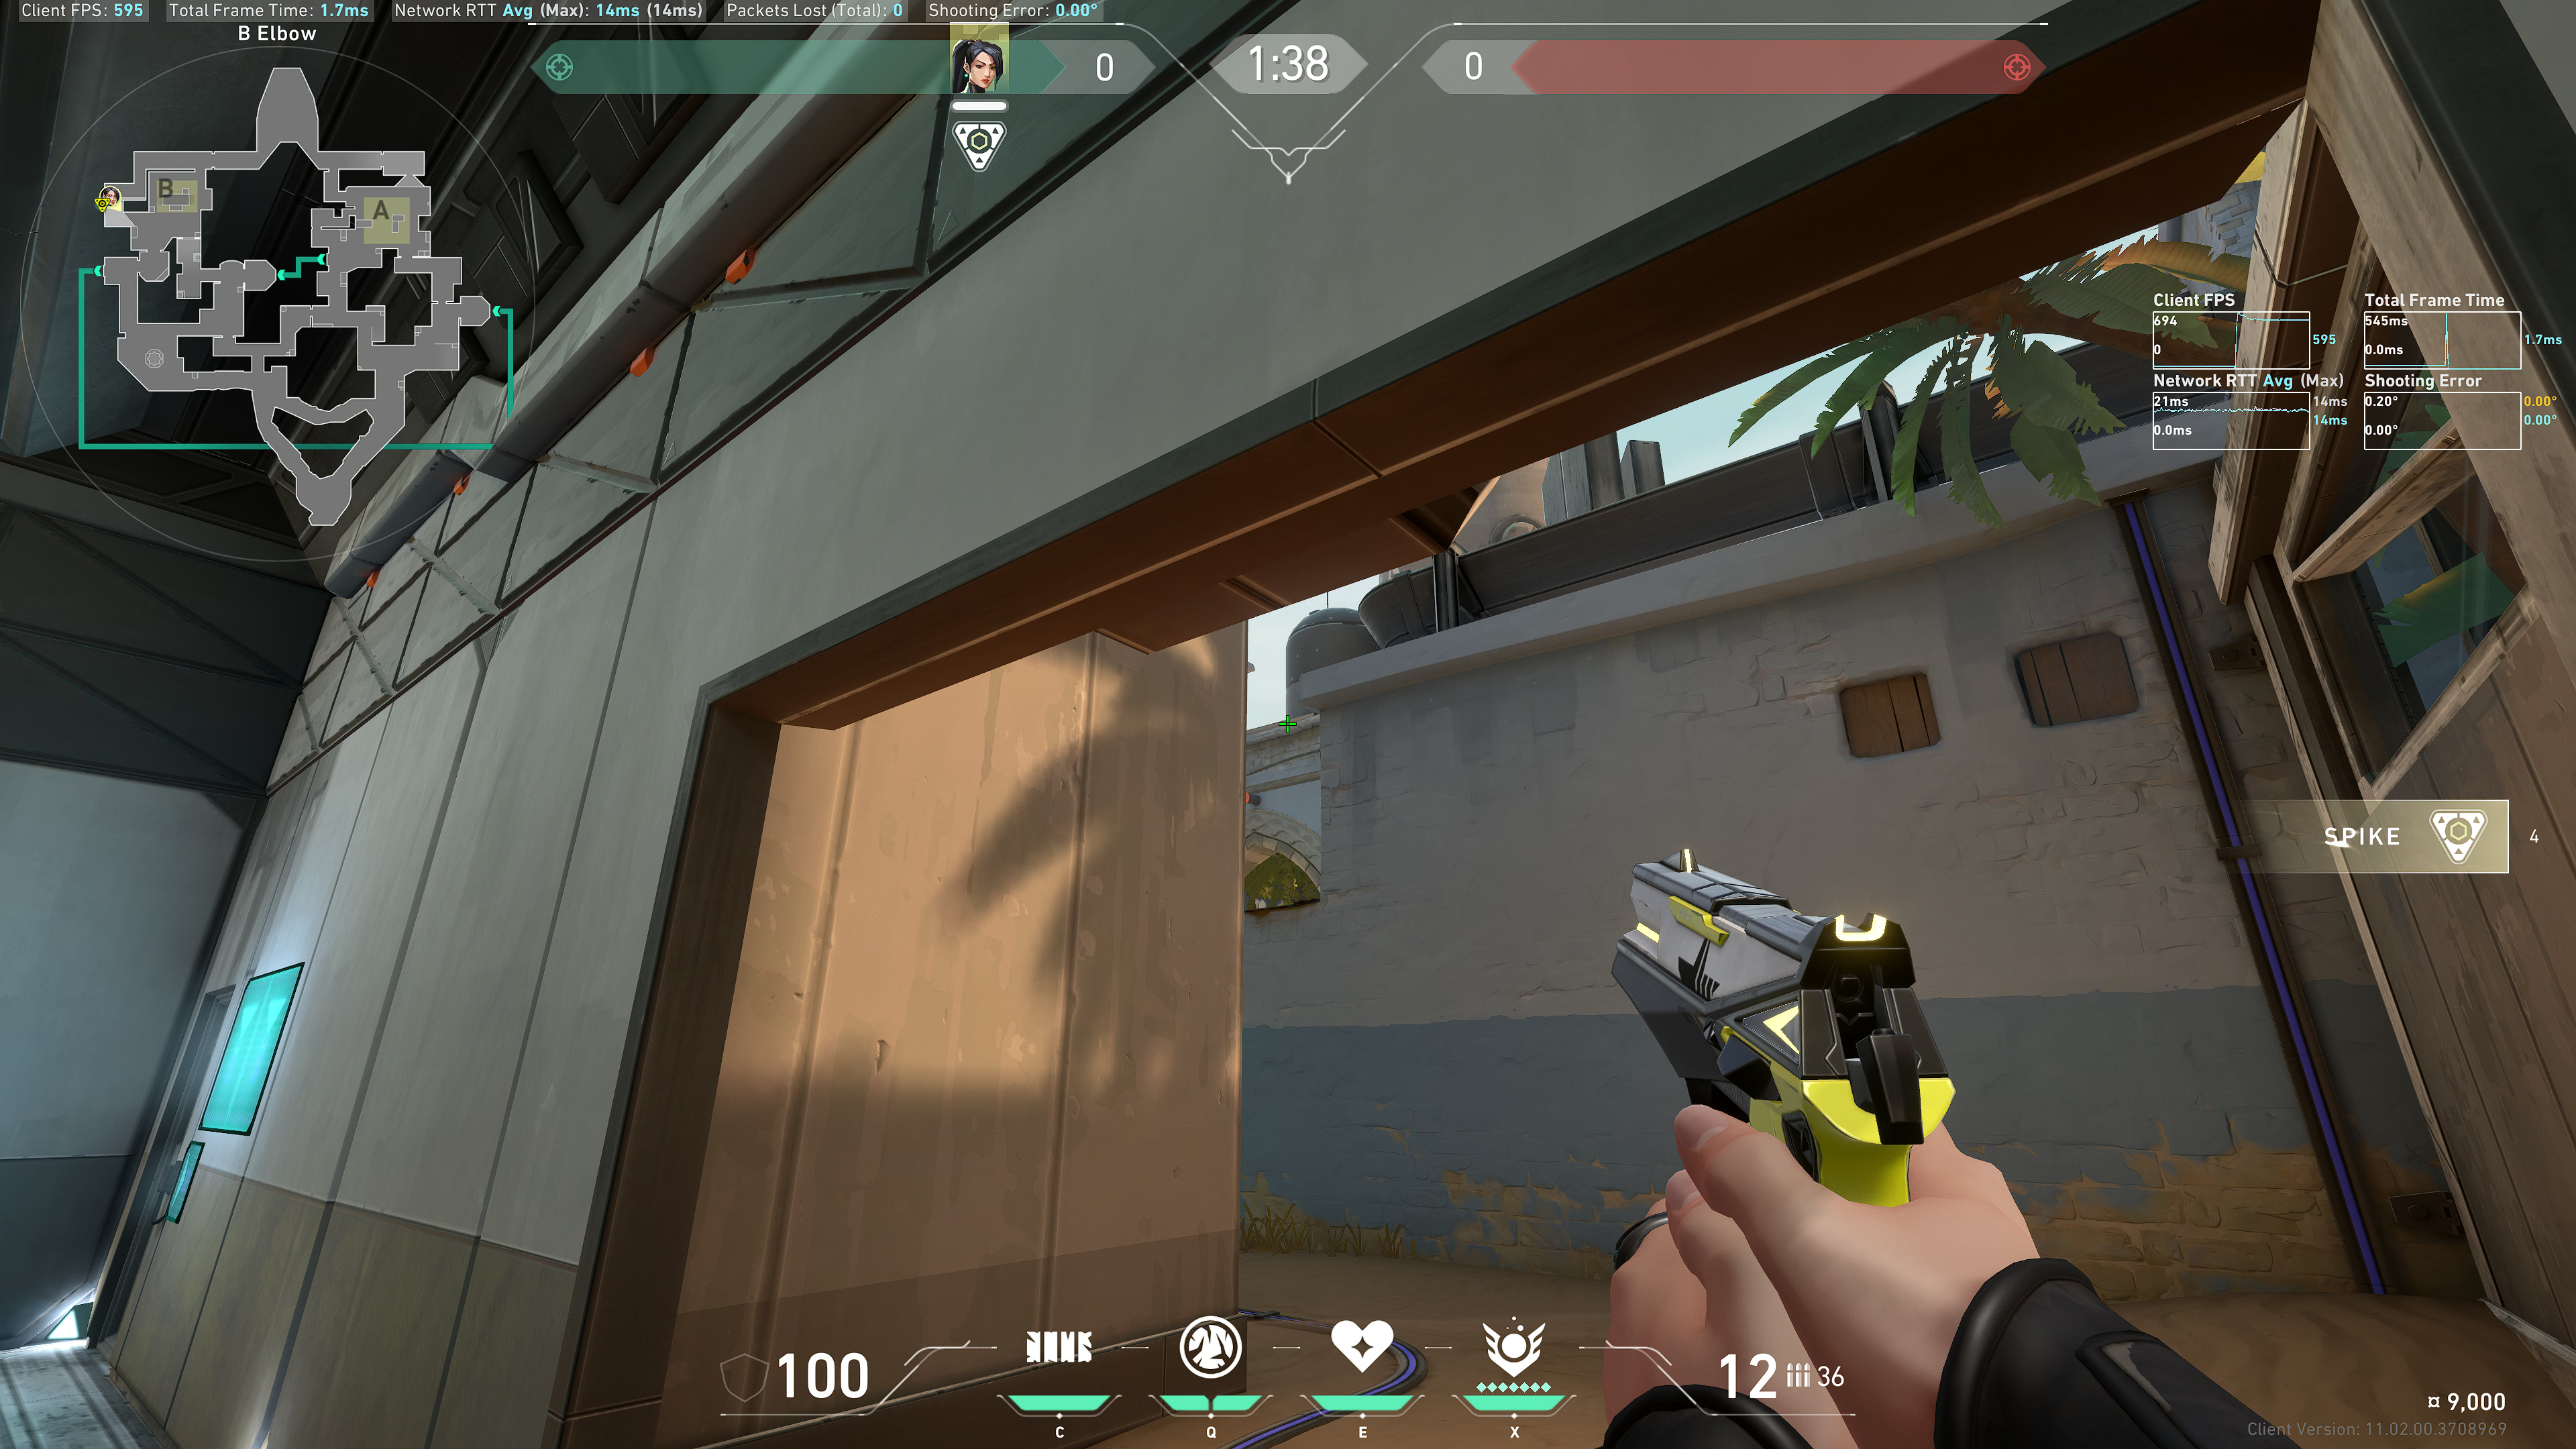
Run and throw. Example result:
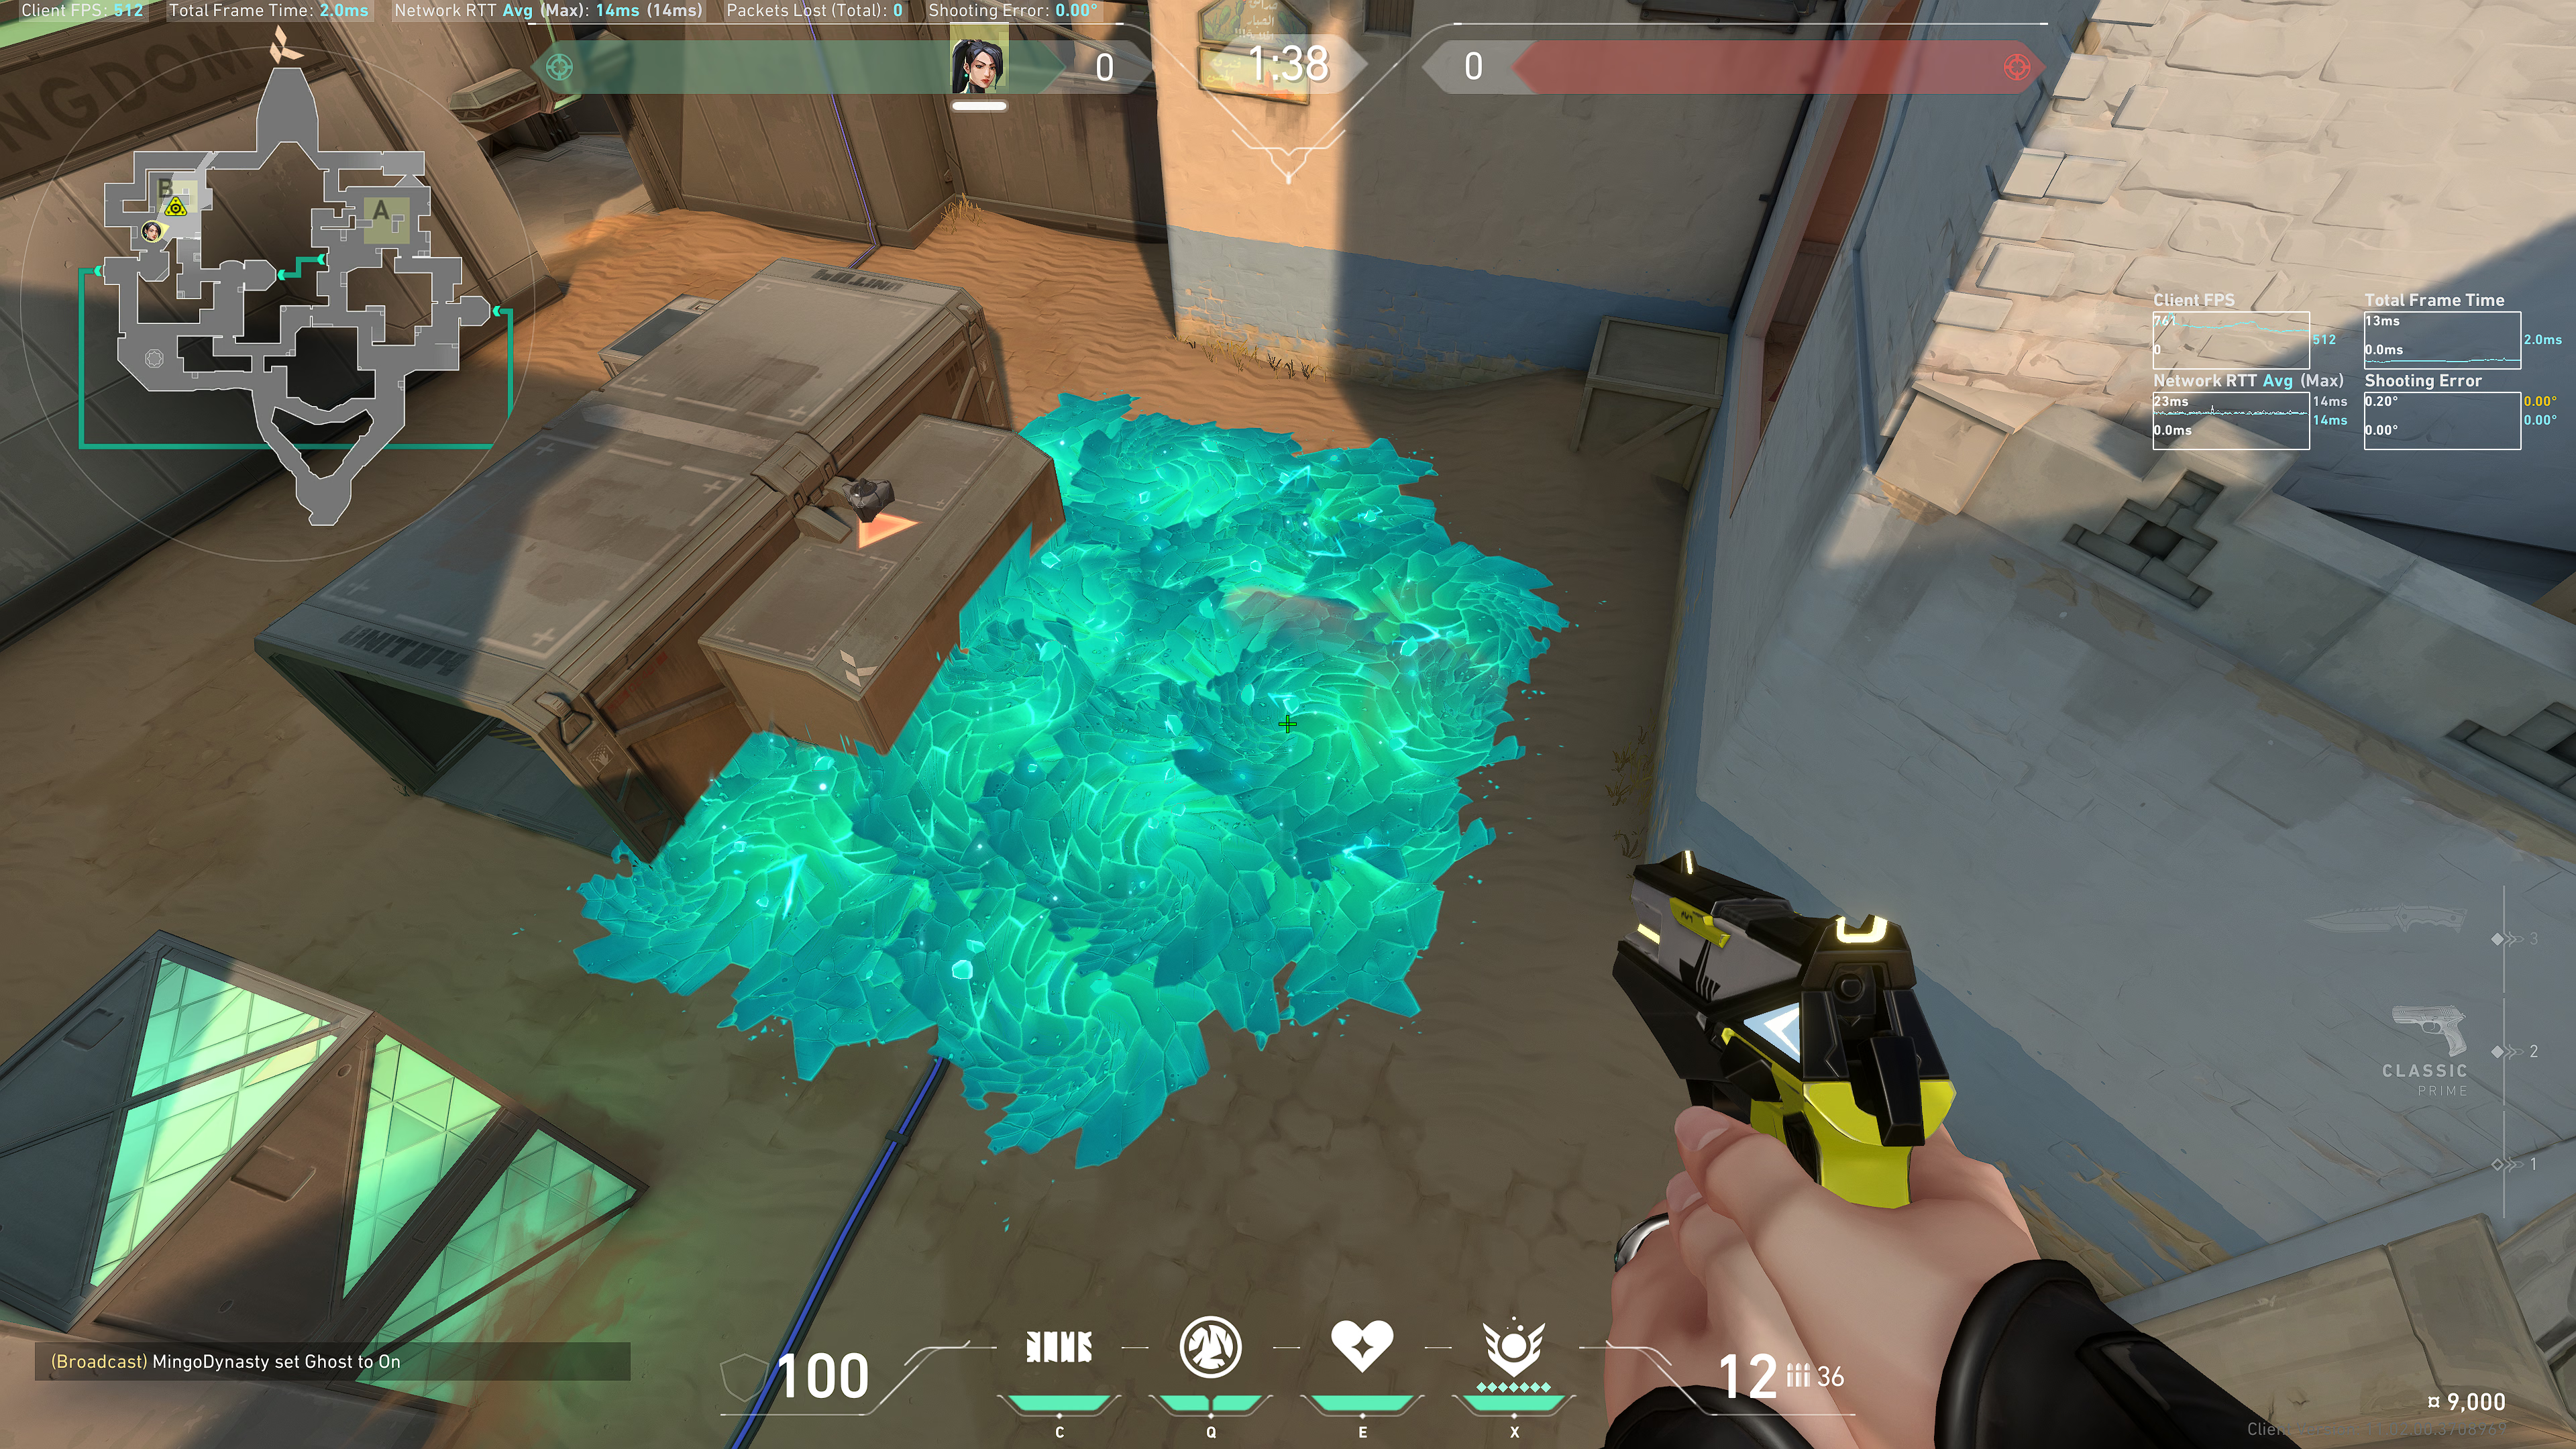
Defense
B Site Retake
Position 1 (Elbow door)
Hug this door:
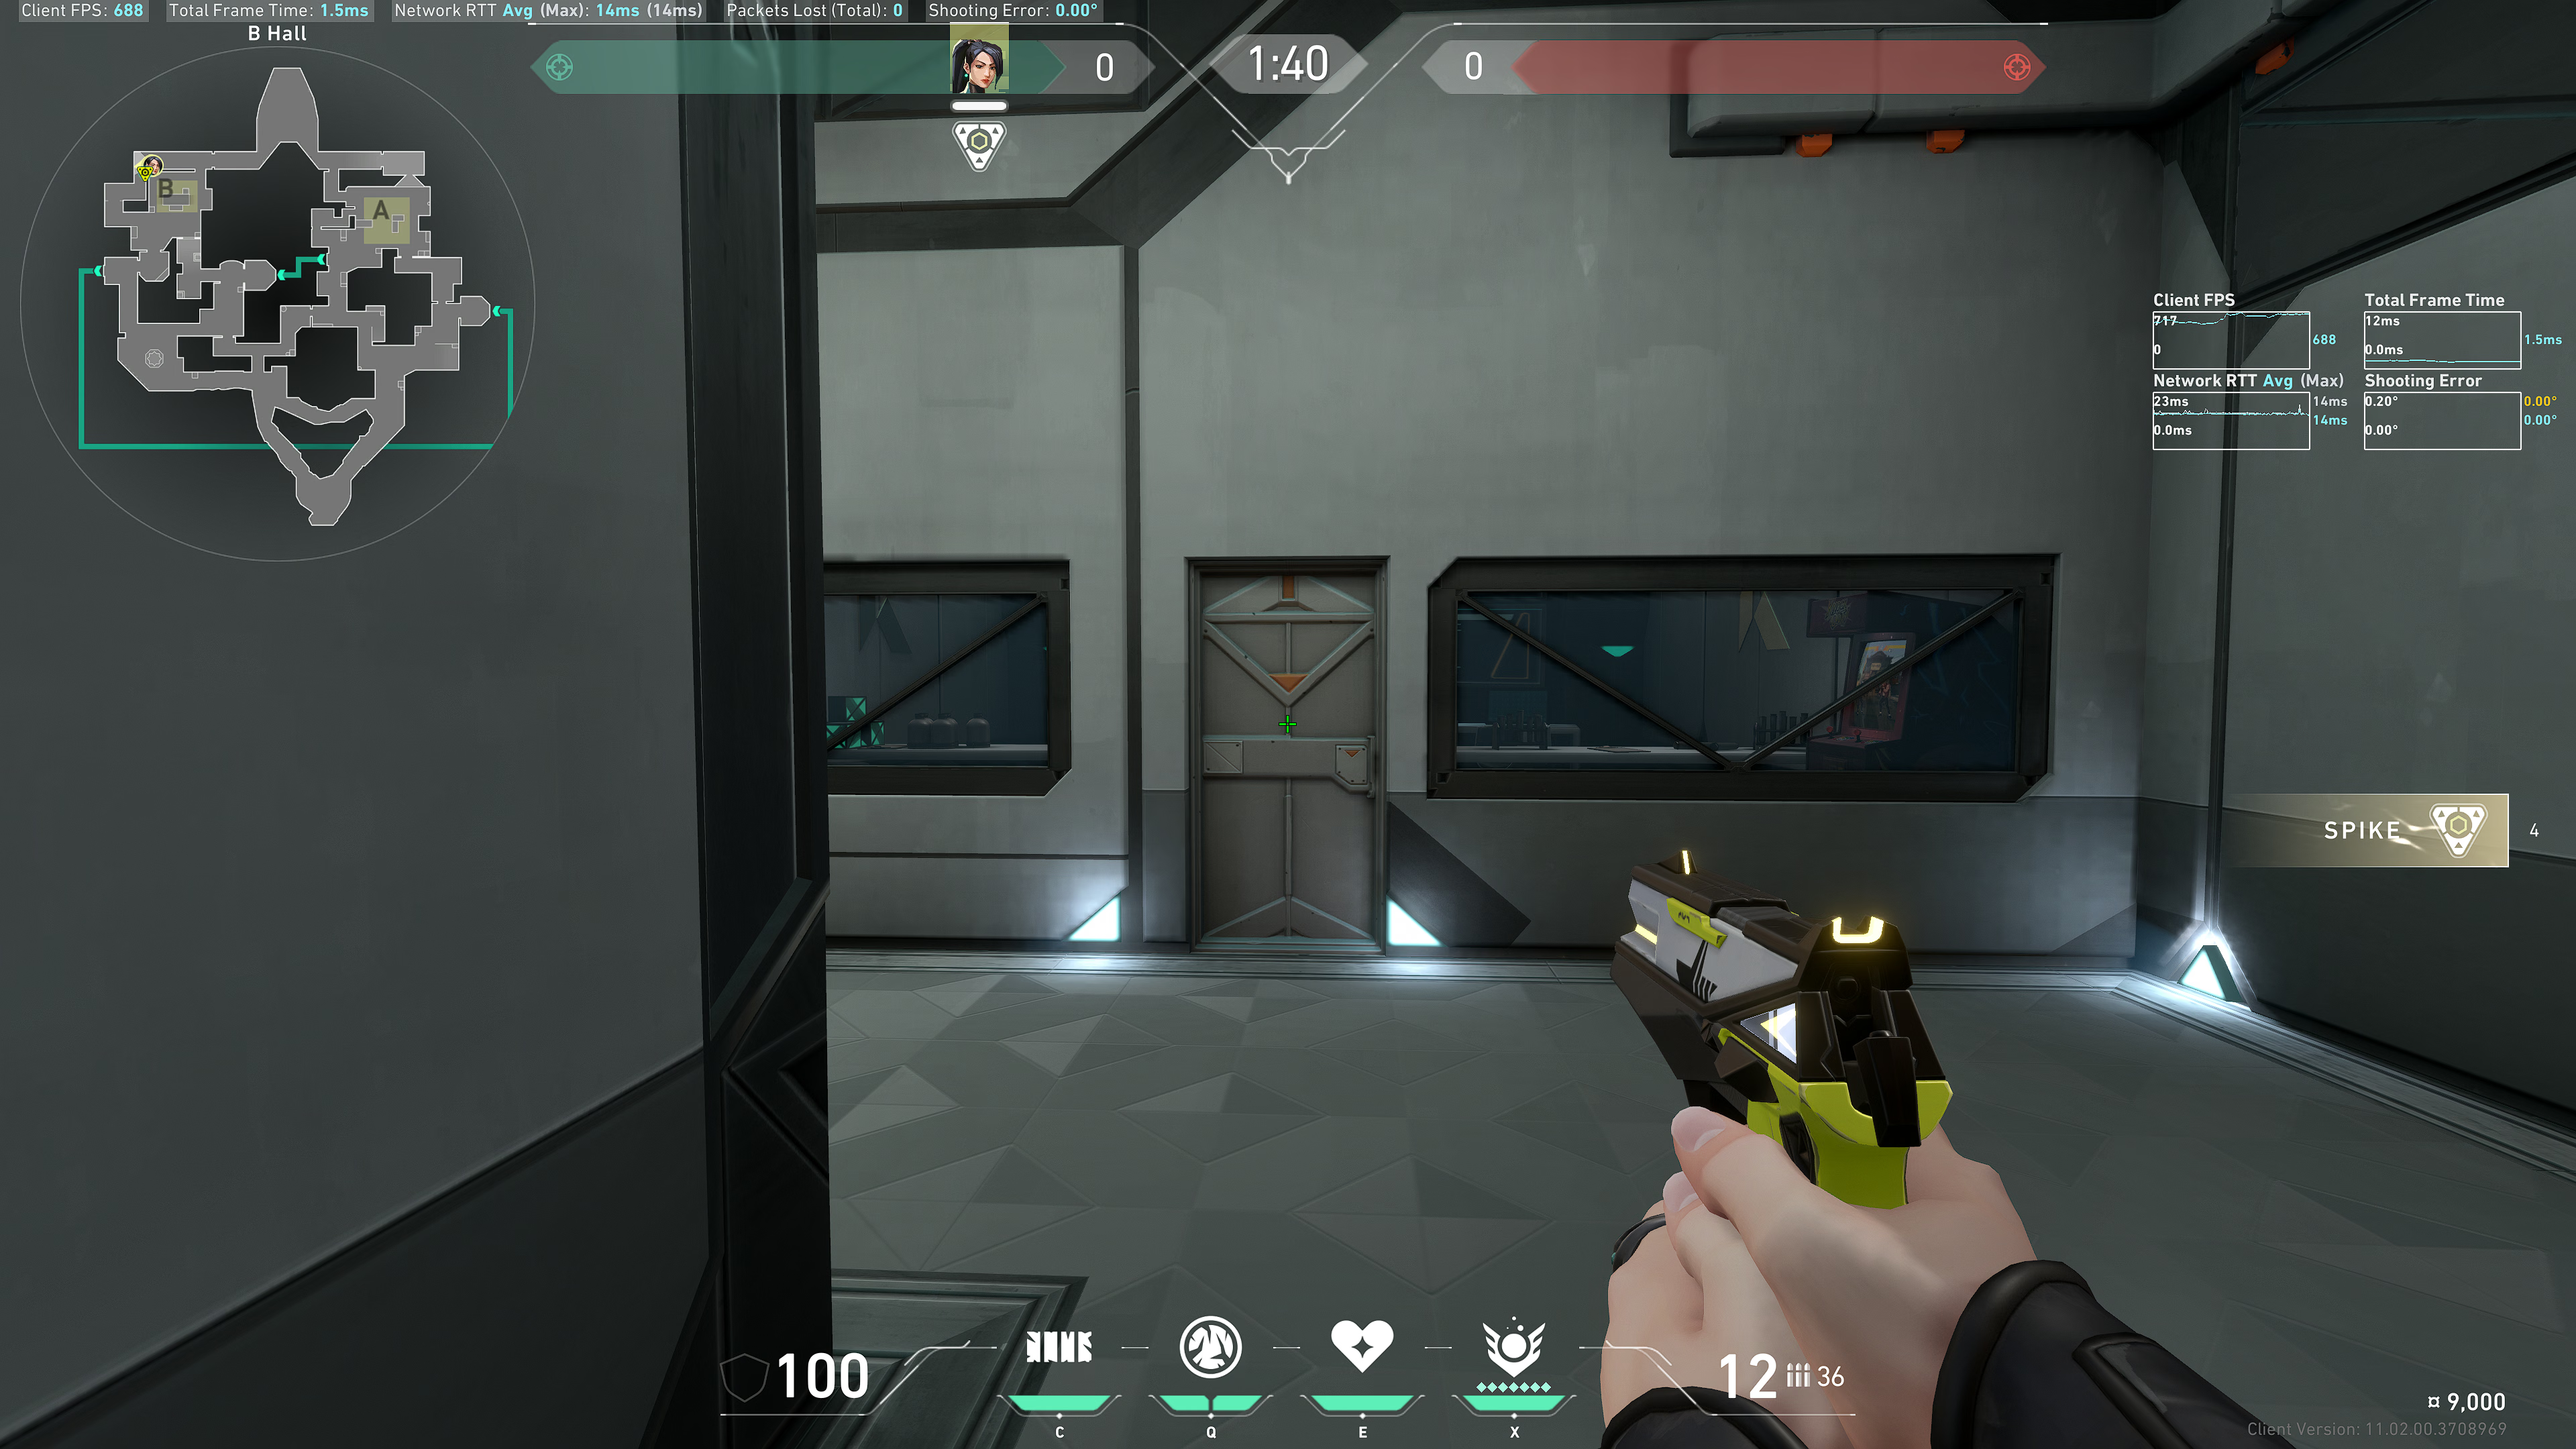
Put your crosshair slightly right of this part of the wall, below the window:
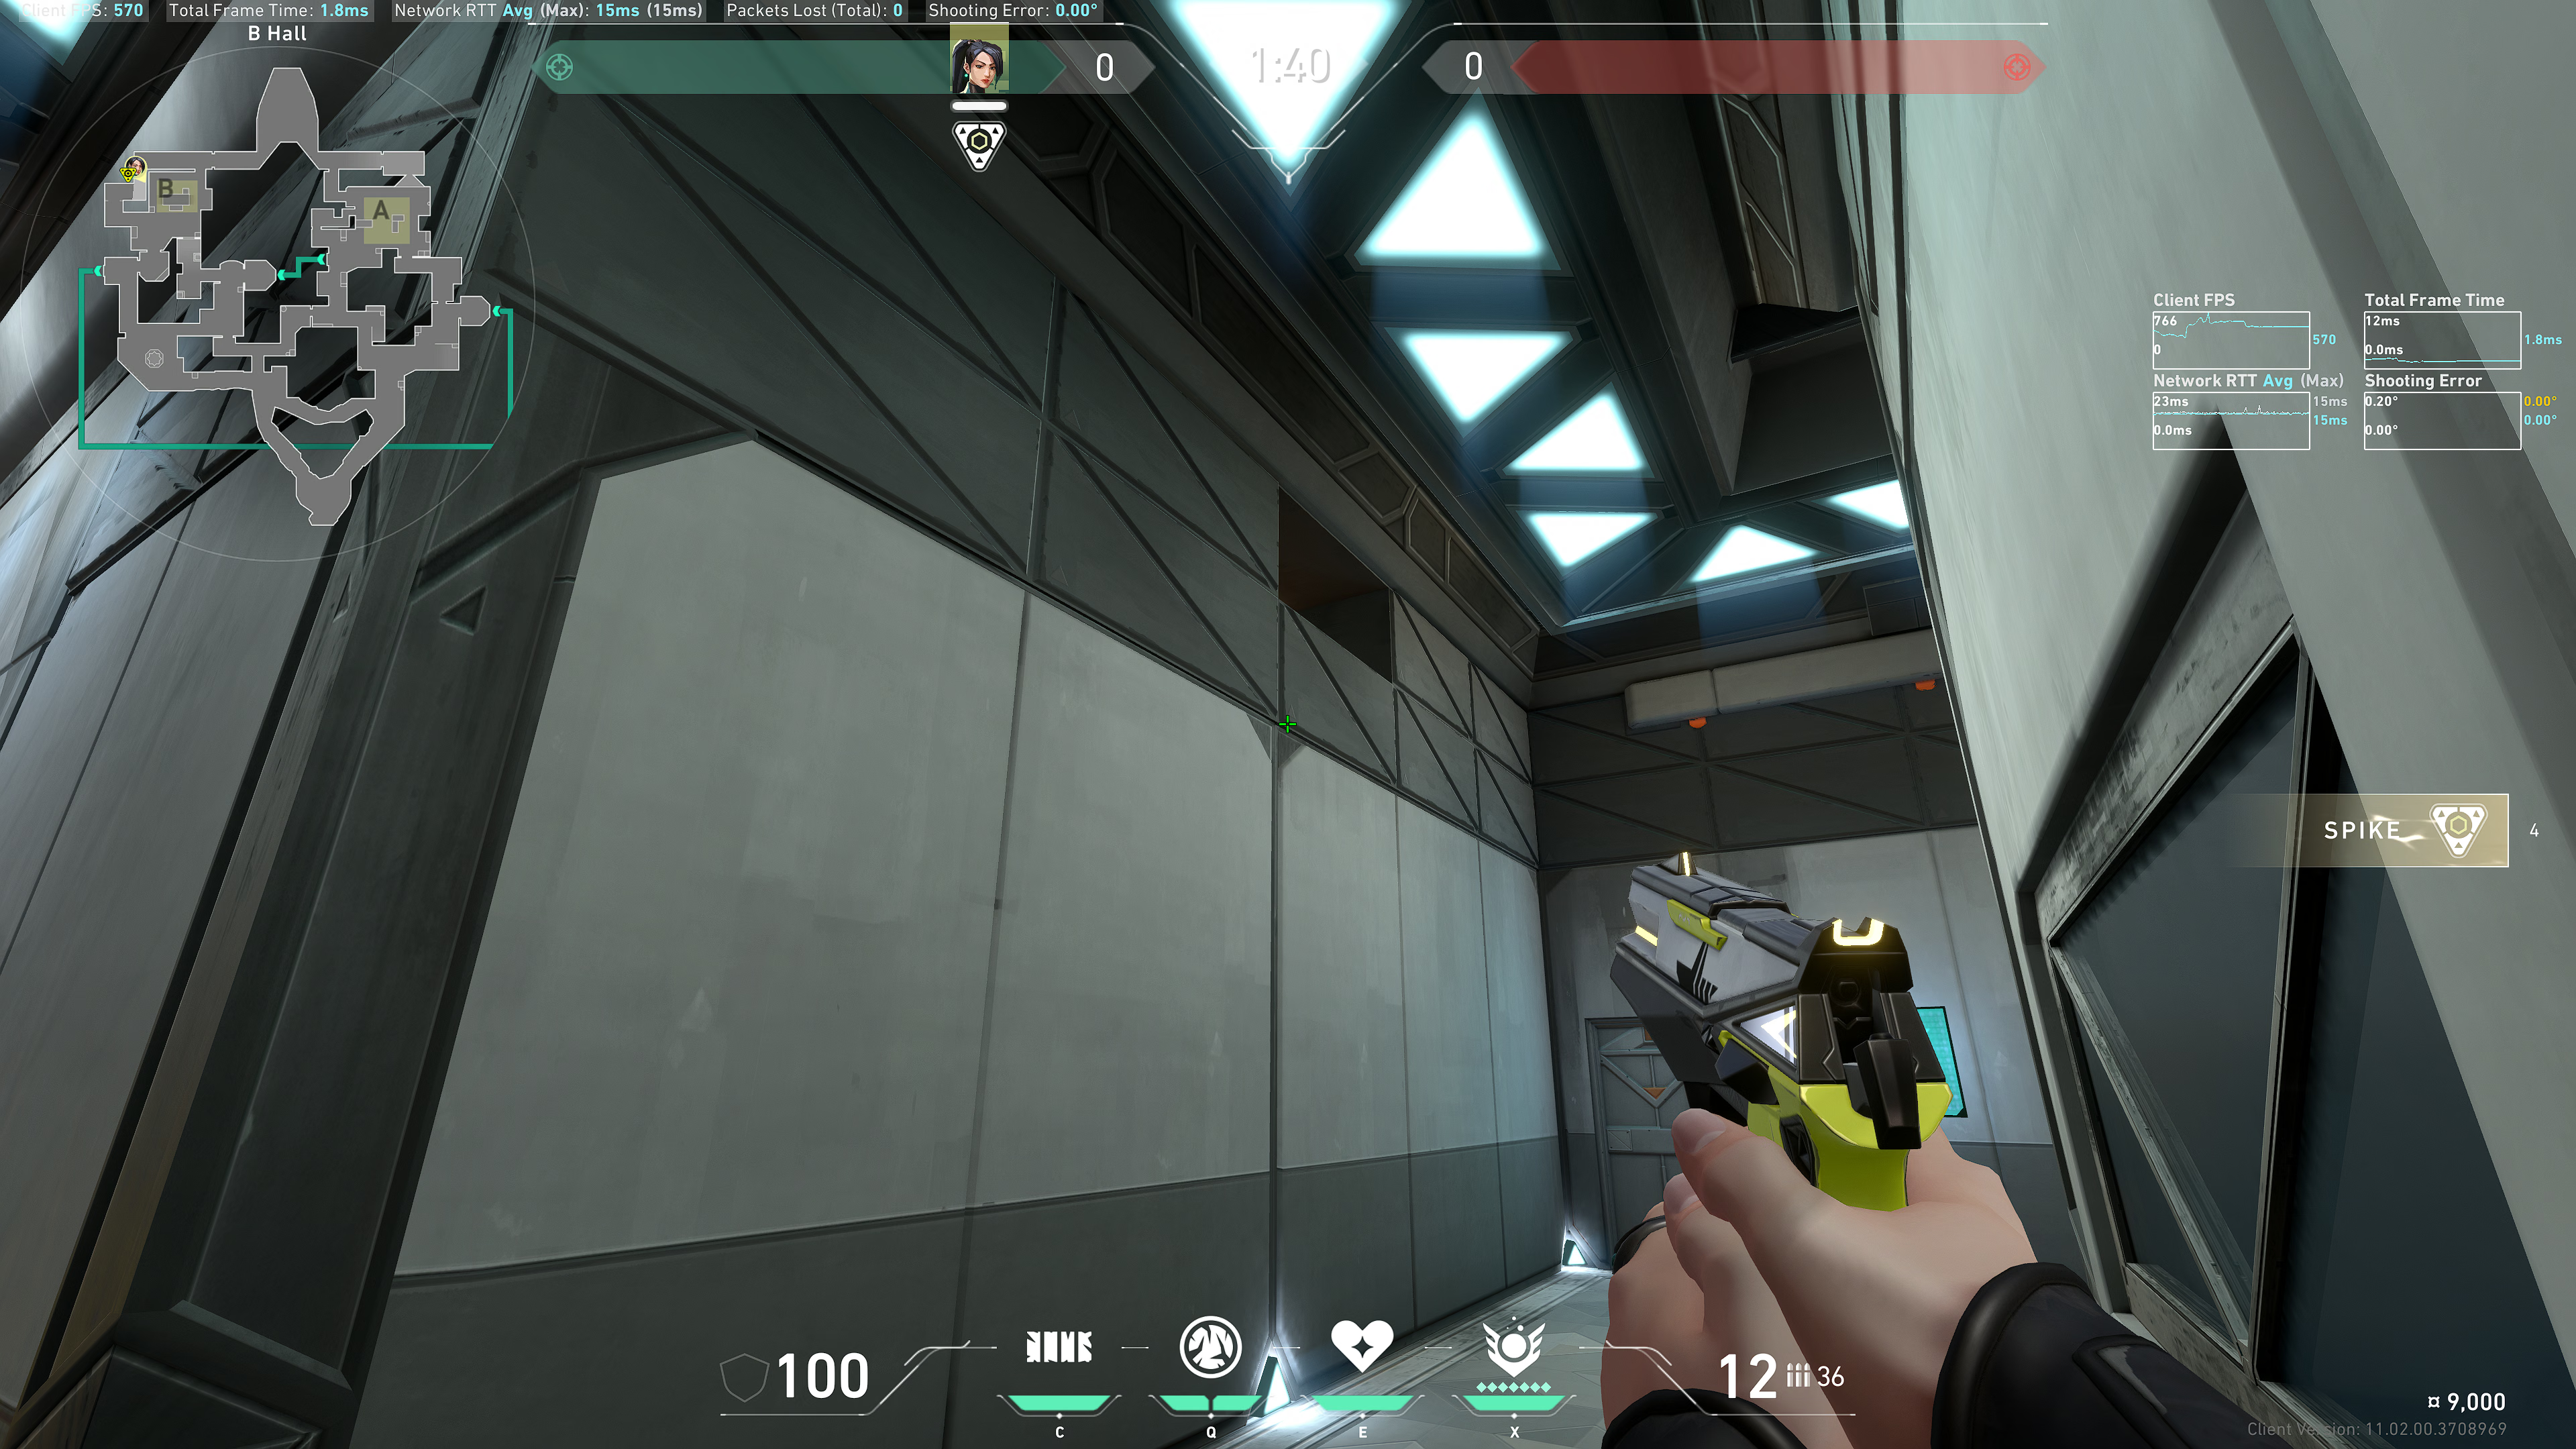
Jump, and while falling, throw. Example result:
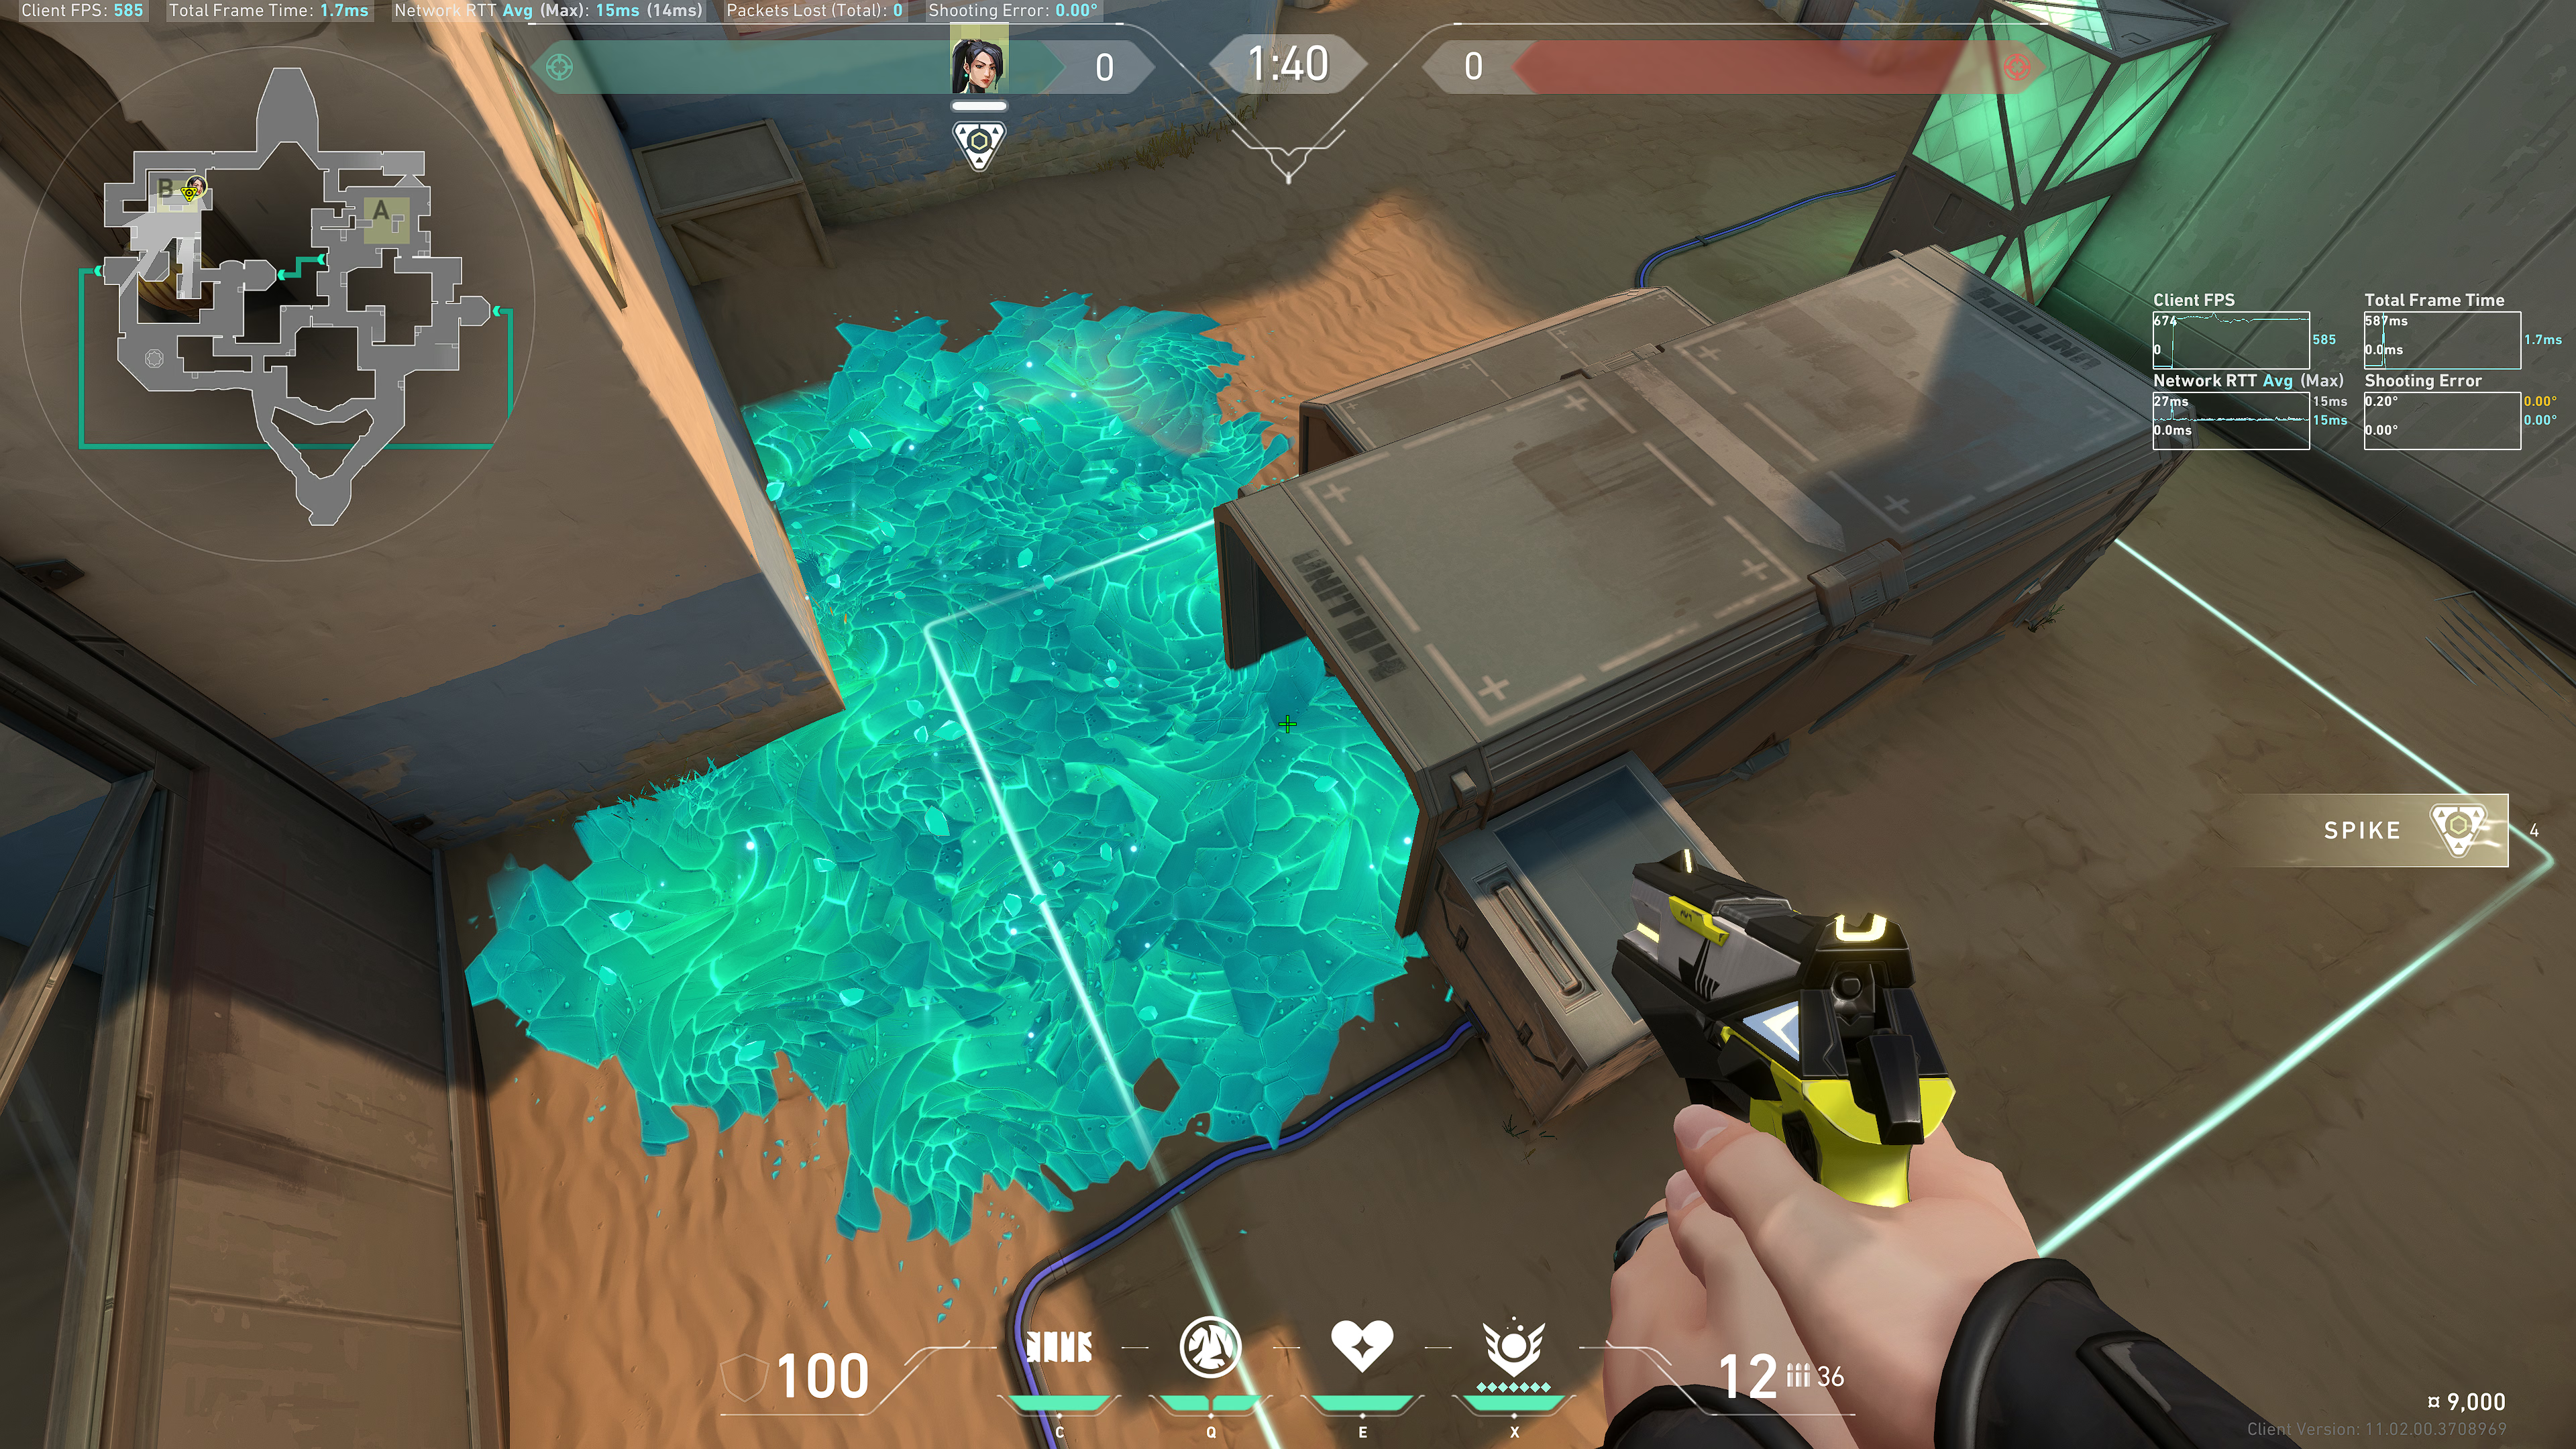
Position 2 (Elbow wall)
Stand along this wall and hug this vertical line:
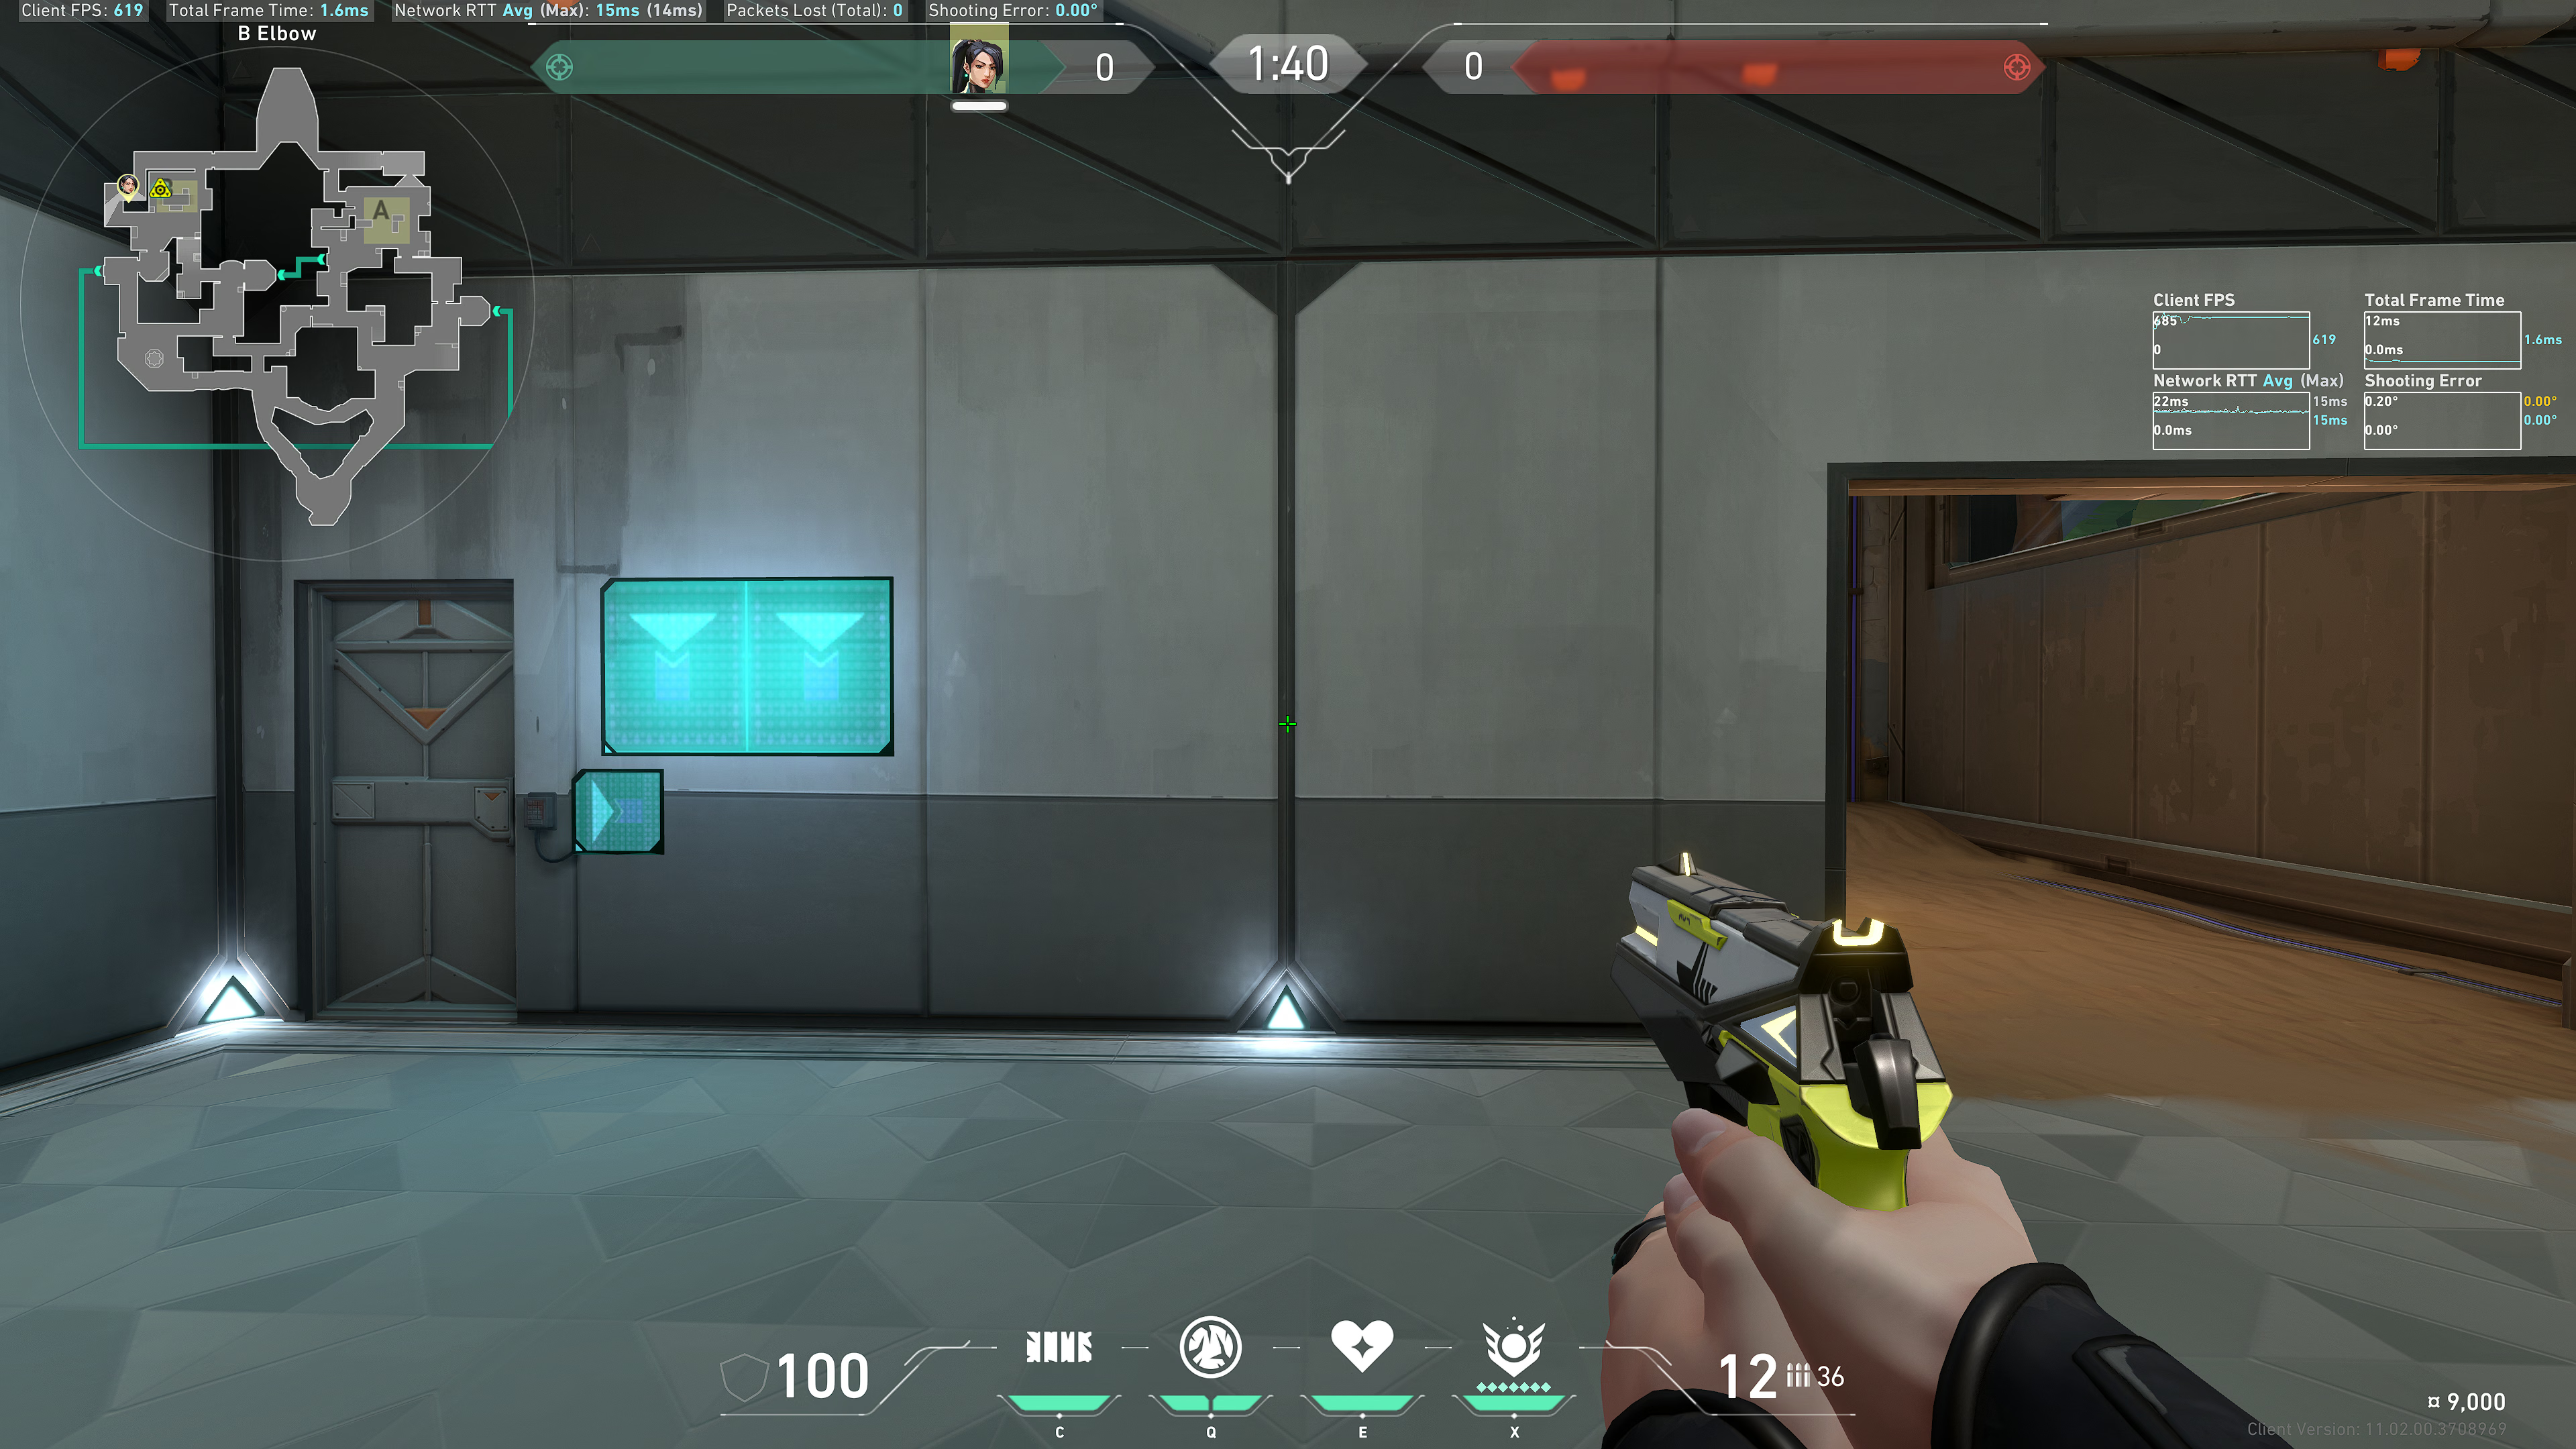
Aim at the bottom left of this window:
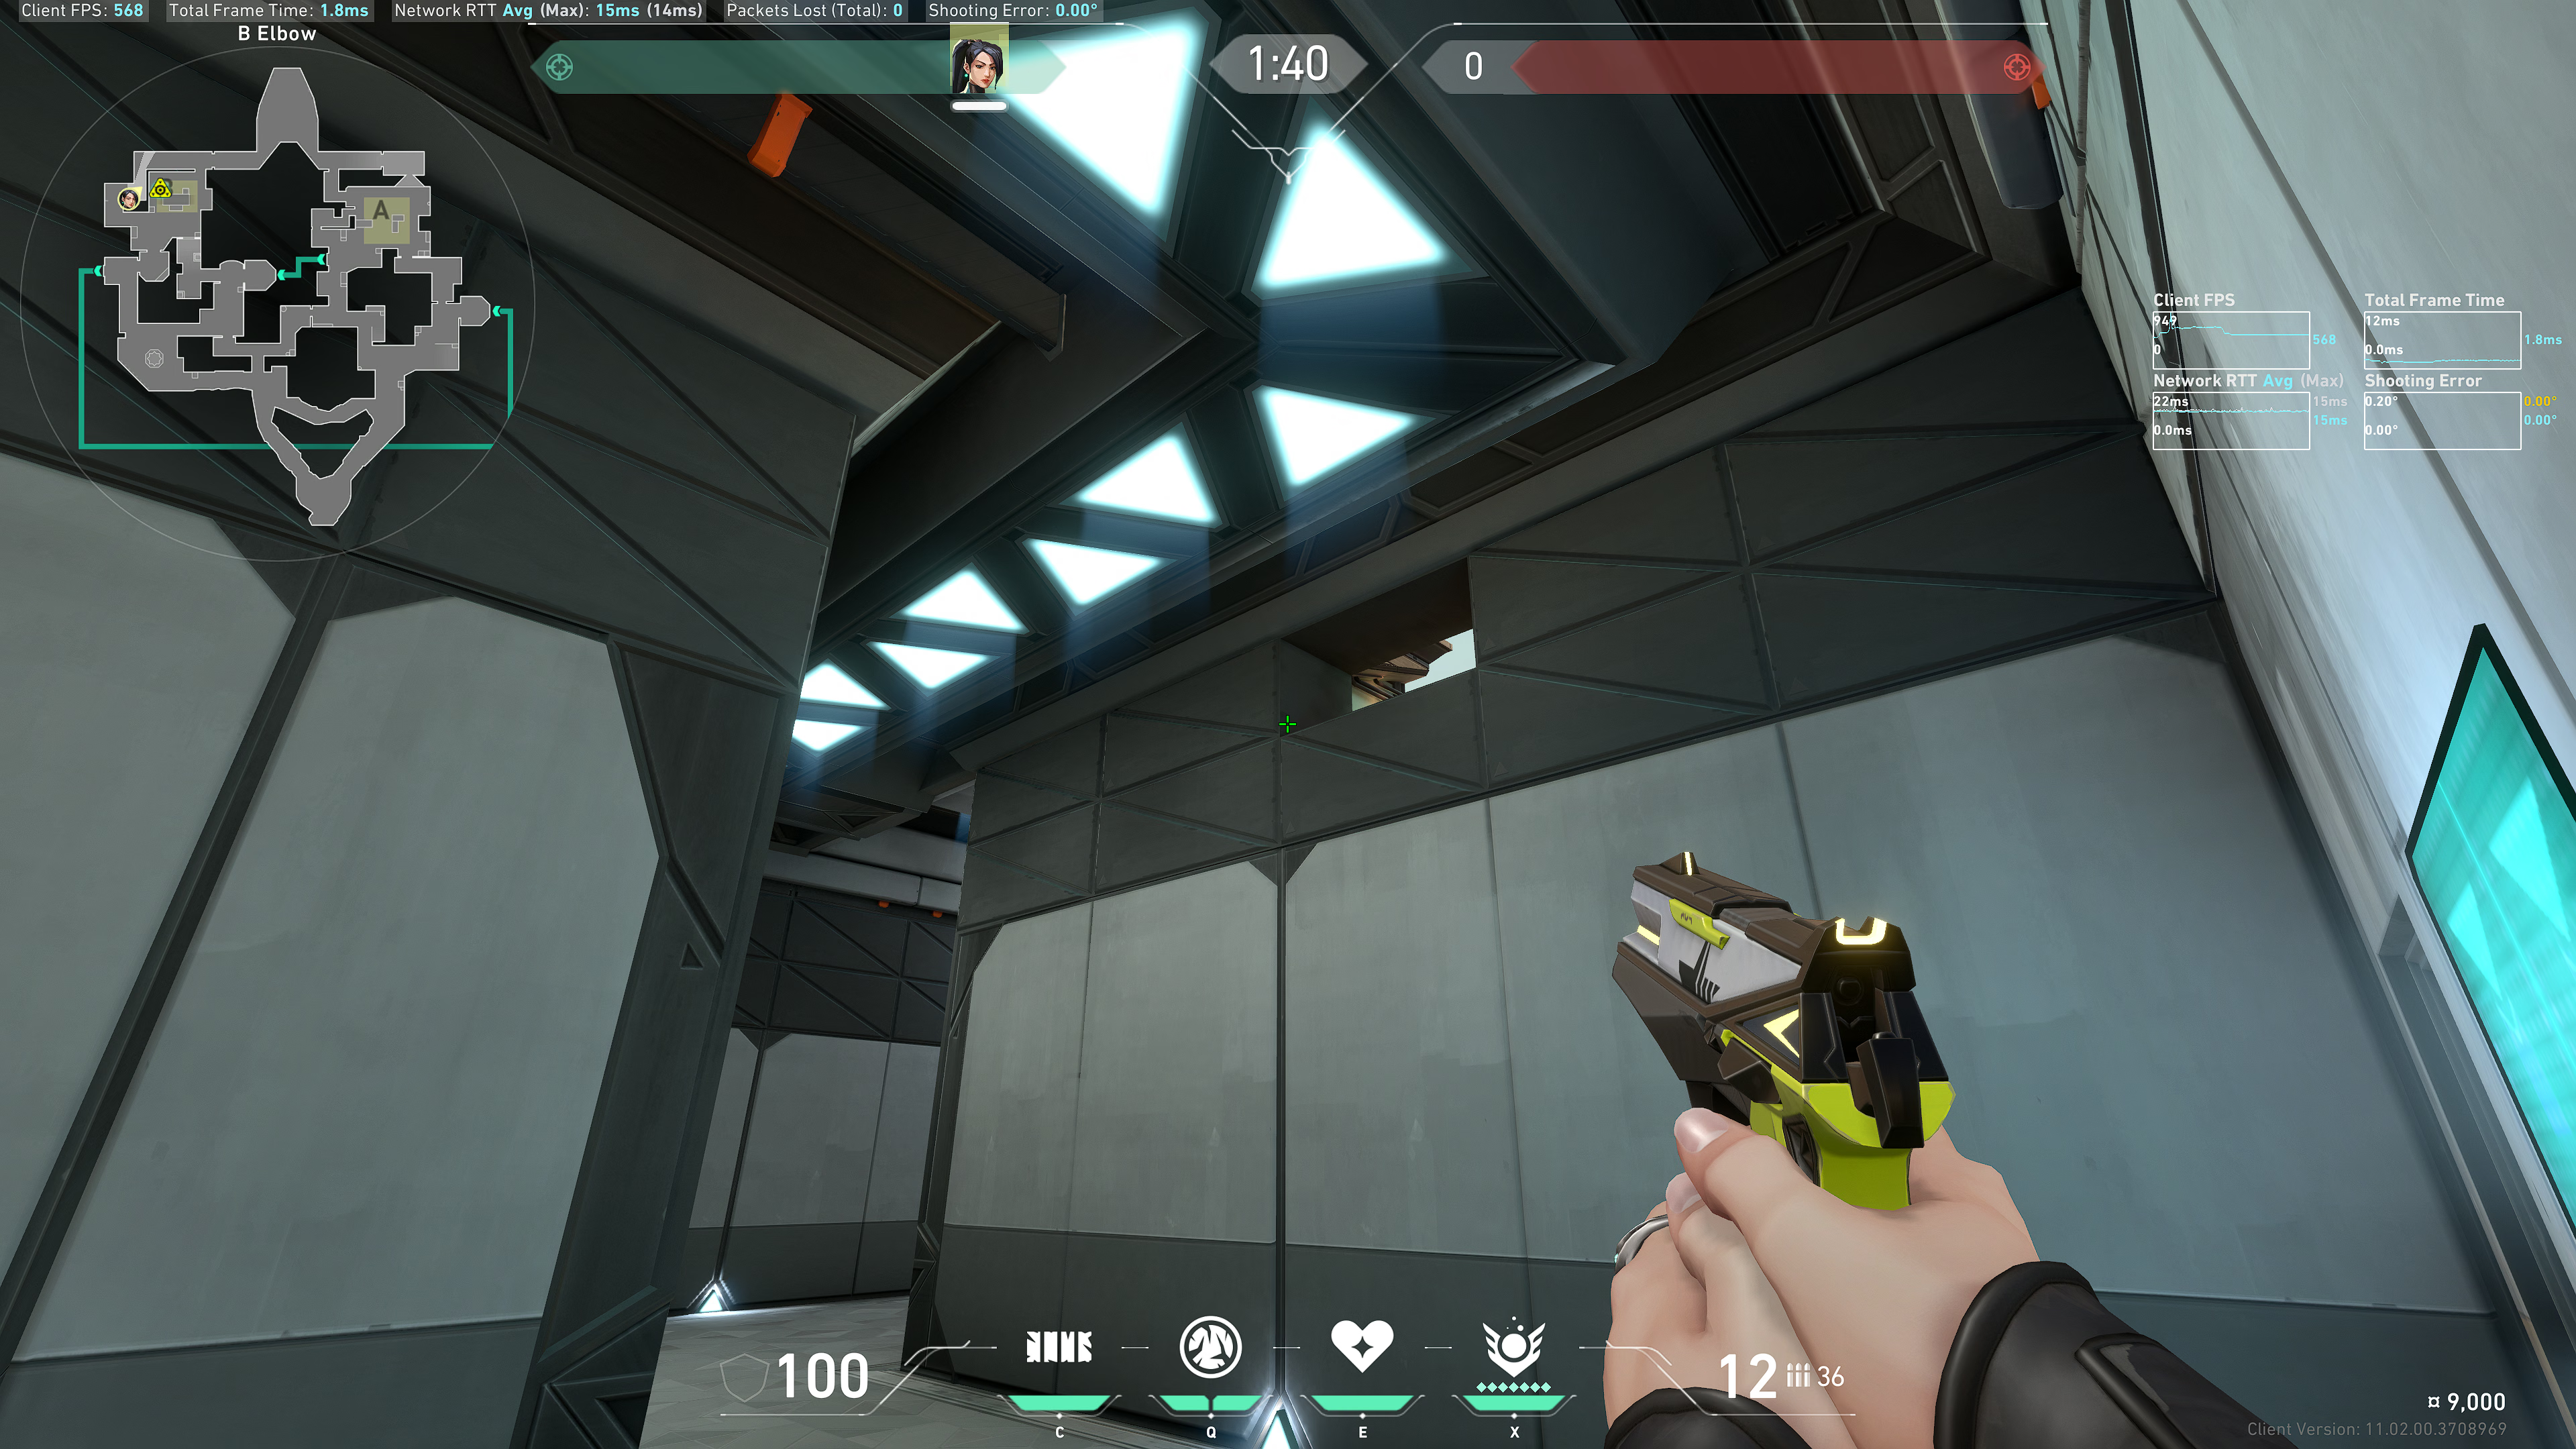
Result:
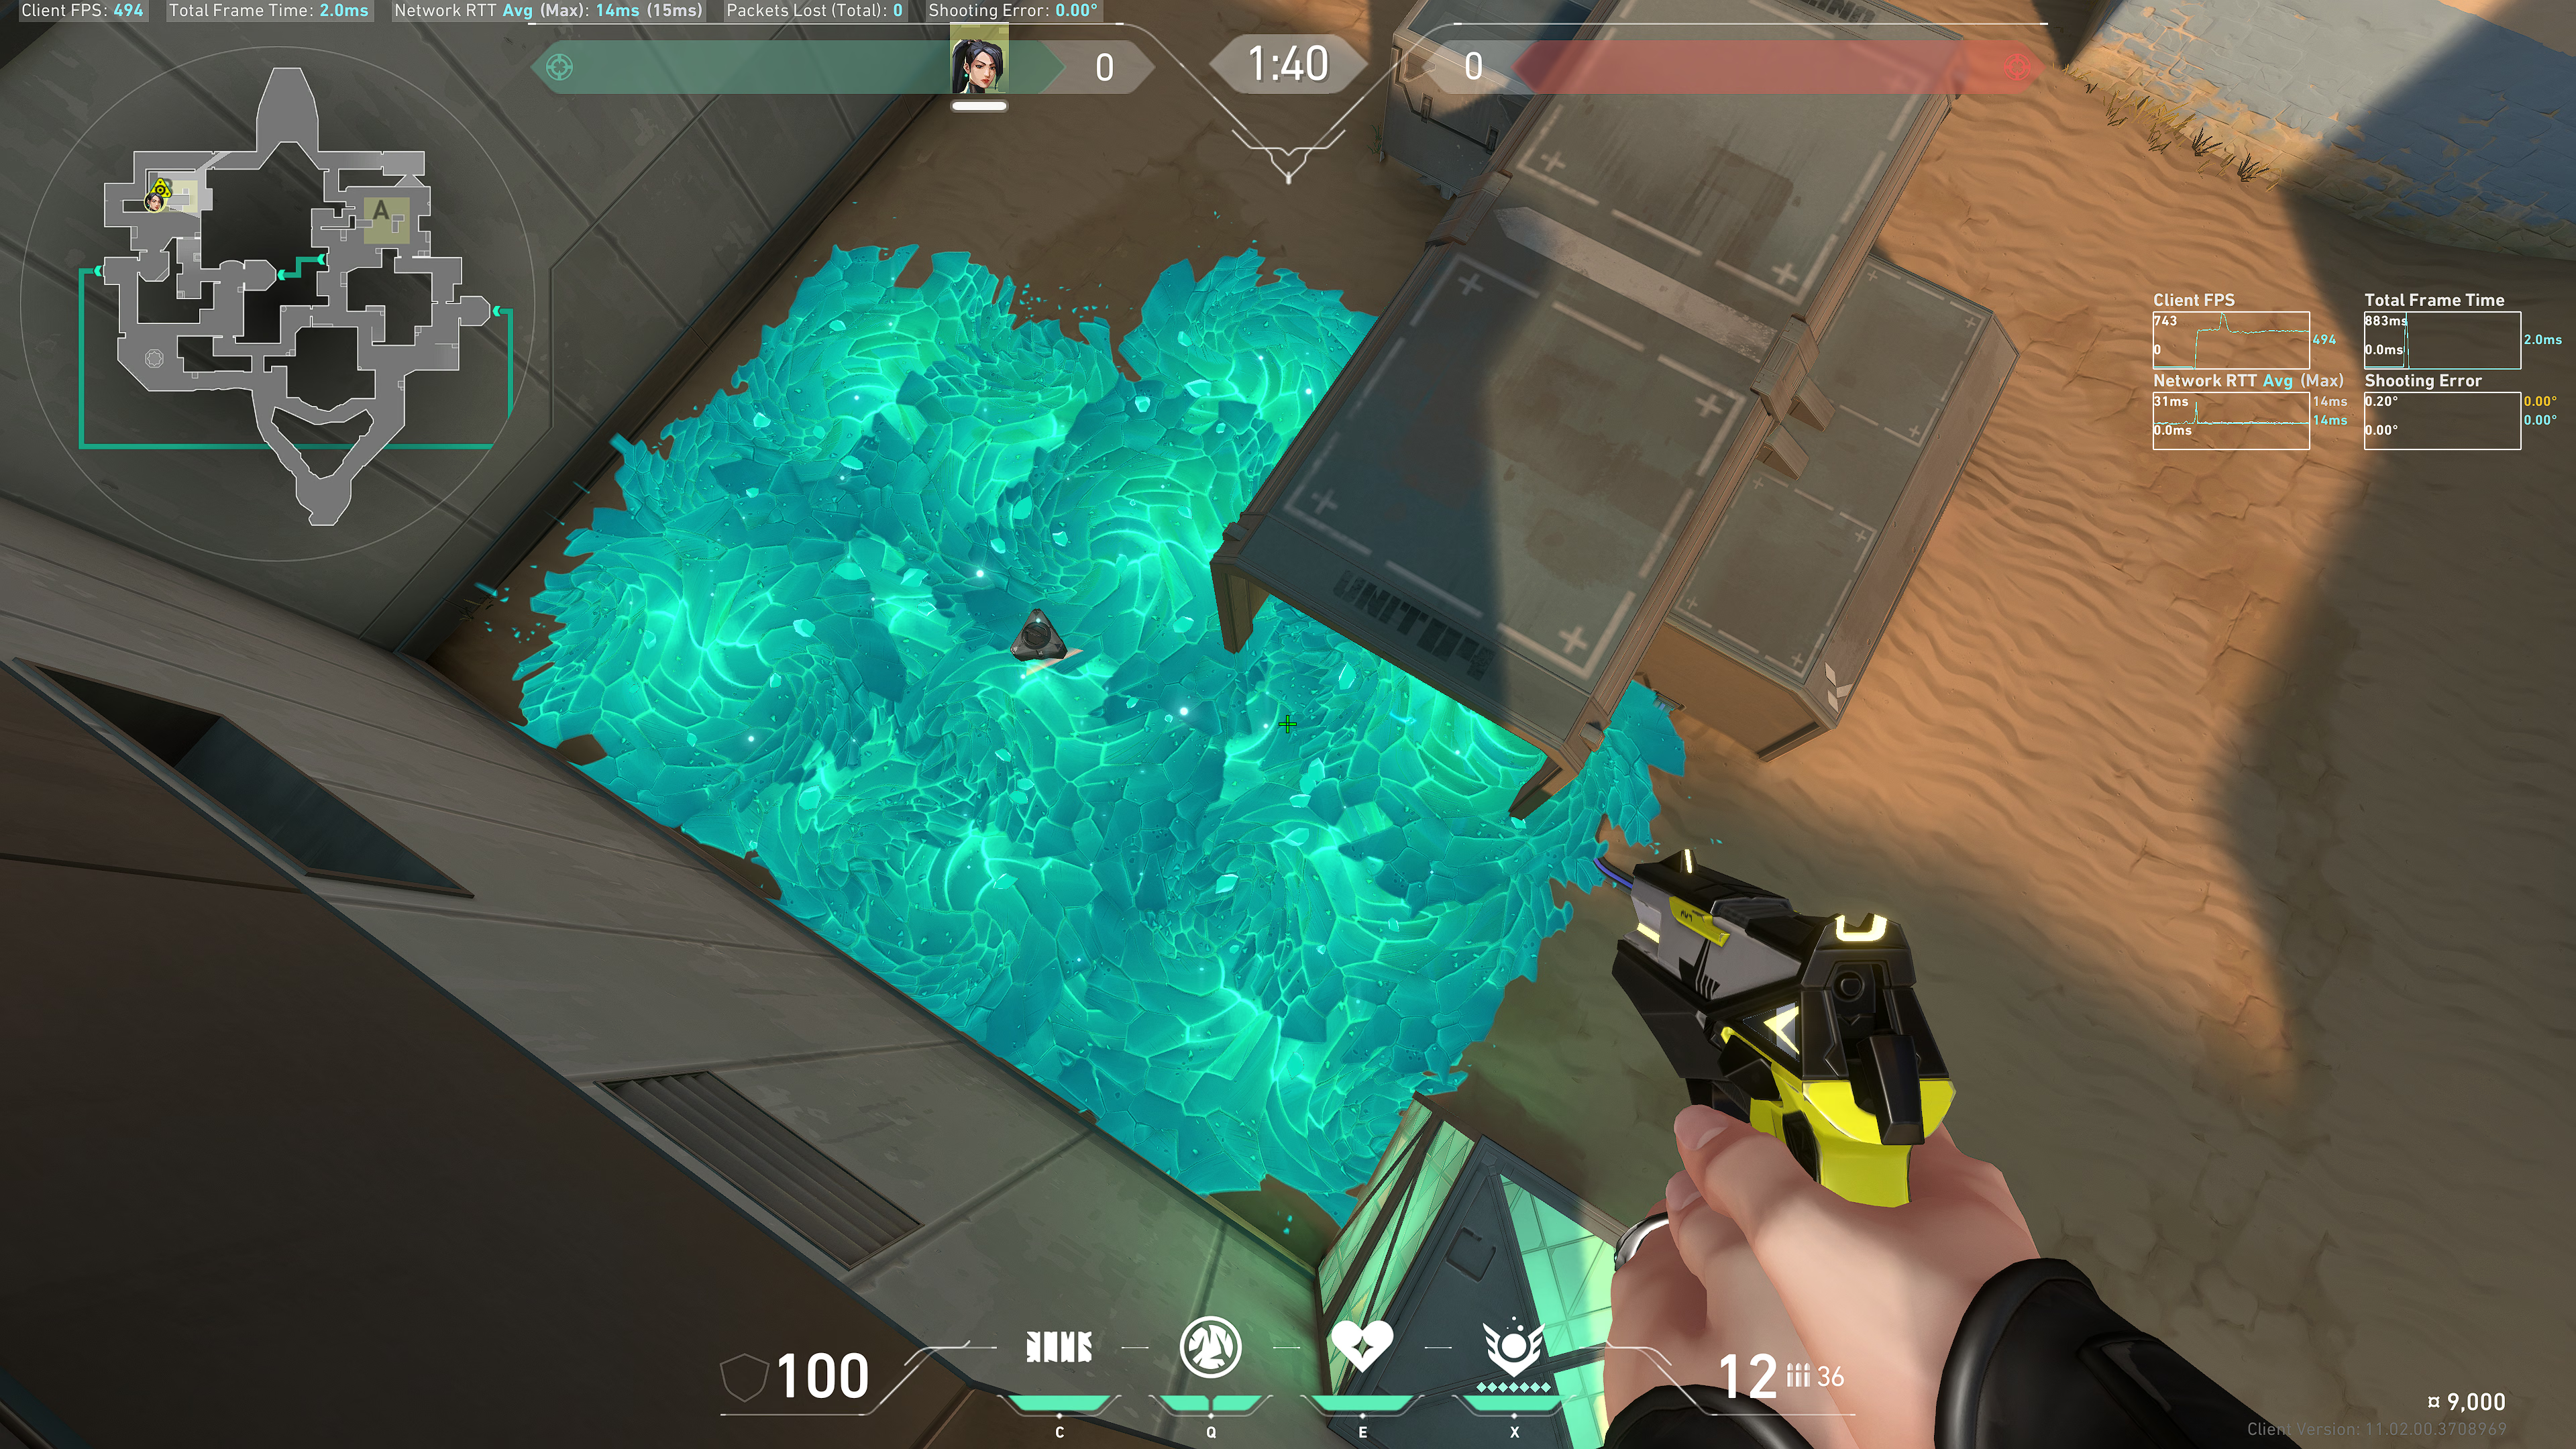
Combined results: